Heya guys! Sensei Pranjal is back with another tutorial for you. Today we will talk about a collection of ways through which you can make your Windows 8 device look and behave exactly like Windows 7. I guarantee you that once you are done with following this tutorial completely and thoroughly, you will achieve at least a 90% resemblance to Windows 7 on your Windows 8 machine, while keeping all the cool features of Windows 8 still intact. So without further ado, let us pull up our socks, and get started!
Step 1: Getting the Windows 7 Start Menu Back on Windows 8
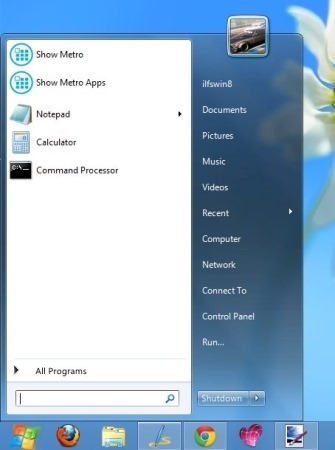
Windows 8 lacks the Start Menu that was present in all the previous versions of Windows. This is a big shame, because those accustomed to using the Start Menu have not taken well to the new design of Windows 8. And I’m not saying this, a quick Google search will show you how depressed Windows 8 users are with the new interface. Fortunately for us, there is a fix for this.
Several apps exist which enable you to get the Start Menu back on Windows 8.
ViStart 8:
This Start Menu is the closest you can get to having an absolute Windows 7 Start Menu look alike on your Windows 8 device. The app is absolutely free, and can be easily downloaded from the publisher’s website.
Read more about ViStart 8 by clicking here, or get it here.
There also exist other alternatives like Start Menu Reviver and Start Menu 8 for restoring the Start button in Windows 8, but ViStart 8 remains my favorite because of the striking resemblance that it bears to the Windows 7 Start menu.
Step 2: Booting directly to the desktop
Windows 8 boots to the “not so classy” (well, at least according to me) Metro Screen. This is another feature that you might want to get rid of if you want your Windows 8 machine to behave like a Windows 7 machine. Removing the boot up to Metro screen can be easily replaced to boot up to Desktop via a simple Scheduled Task. To do so, simply click here and follow the instructions in the article, and when you are done scheduling the task, poof! Your system will now boot to desktop mode whenever it is started up! In addition to this method, you can also use Start Menu 8 that I linked above.
Step 3: Getting the Windows 7 file explorer “details pane” in Windows 8 file explorer
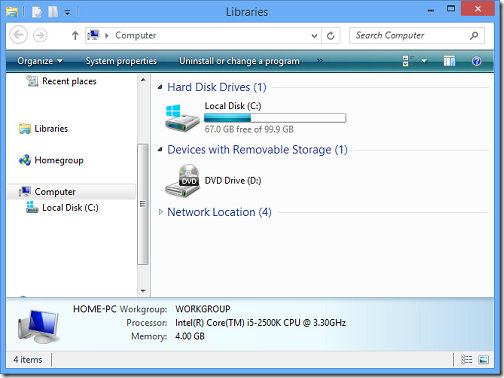
With Windows 8, Microsoft disabled the details pane that popped up at the bottom of the file explorer Window when you clicked on a particular item. This details pane showed you a quick preview of the various properties of the folders/files including details like file size, date created etc. You can also get back this functionality on Windows 8 via a simple exploit. All you have to do is to download a simple shell32.dll patcher (which is in essence, an installer). Before running the installer, it is always recommended to create a system restore point in case anything goes haywire!
Read more about getting the Windows 7 details pane in Windows 8 file explorer by clicking here.
Get the shell32.dll patcher by clicking here.
Step 4: Disable the Ribbon UI in Windows 8 File Explorer
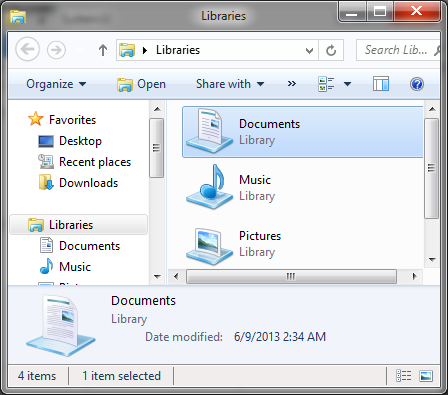
With Windows 8, the Ribbon UI was introduced in its file explorer. To make the file explorer look and feel more like the Windows 7 file explorer, you can use Resource Hacker to disable the Ribbon UI and get back the control bar interface at the top instead of the Ribbon UI.
Read more about disabling the Ribbon UI by clicking here.
Get Resource Hacker by clicking here.
Step 5: Enable Aero Transparency And Aero Blur On Windows 8
With Windows 8, Microsoft disabled the eye candy transparency effects that it had included with its previous Windows Vista and Windows 7 versions. Fortunately for us, a talented developer has released a tool Aero Glass for Win8 which allows us to duplicate the Windows 7 like transparency and blur effects in Windows 8 as well. Aero Glass for Win8 patches the borders of the Windows to make them transparent and give a blurred look to them. The effect in itself is pretty neat, should you ask me.
Read more about Aero Glass for Win8 by clicking here.
Get Aero Glass for Win 8 by clicking here.
Step 6: Get the Windows 7 theme up and running on Windows 8
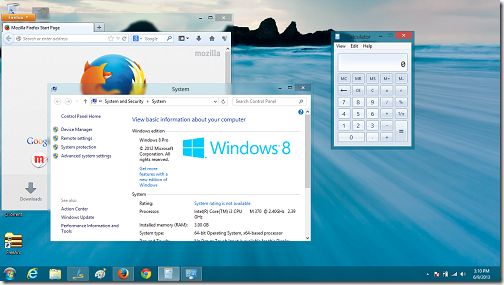
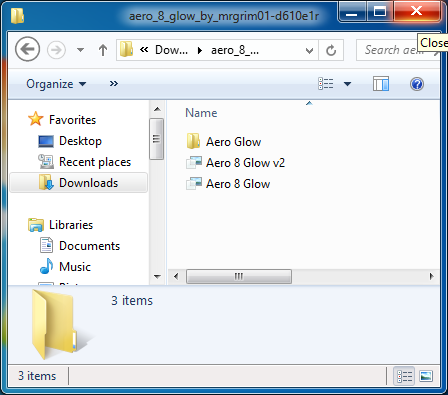
Now that we have got all the cool Windows 7 features on Windows 8 already, the last step would be to get the Windows 7 theme on Windows 8. Developer MrGrim01 has released the Aero 8 Glow theme for Windows 8 which not only makes Windows 8 look a lot like Windows 7, but it also gives rounded corners to the windows. We know that Windows 8 introduced the sharp square-esque window corners, but if you are not a big fan of those, this theme takes care of that as well! When you have installed the theme, your Windows 8 should look like the below screenshot!
P.S. I already have the Aero Glass for Win8 installed and running in the below screenshot. You WILL NOT achieve the transparent borders should you wish to not install the Aero Glass for Win8 program on your machine.
Read more about installing this theme by clicking here.
Get Aero 8 Glow theme for Windows 8 by clicking here.
Step 7: The Windows 7 Gadgets
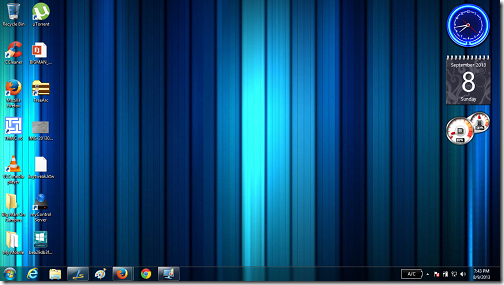
Windows 8 disabled adding gadgets to the desktop, but due to the hard work of a developer who spent many sleepless nights designing this tool to overcome this drawback, we finally have solution! 8GadgetPack re-enables the lost functionality of adding gadgets to the Windows 8 desktop, by providing the very same Gadgets option in the right-click desktop context menu. The app packs the same gadgets as that of Windows 7, plus several others as well!
The below screenshot is what your Windows 8 desktop would look like after adding the gadgets to your Windows 8 desktop!
Read more about 8GadgetPack by clicking here.
Get 8GadgetPack by clicking here.
The roundup
So folks, this pretty much sums up Sensei Pranjal’s dojo for today. If you followed each step carefully, you will now end up with a Windows 8 machine which looks and behaves a lot like Windows 7! Let me know what you thought of this tutorial in the comments below. Till then, I’ll take my leave. Sayonara readers, and happy theming.
