Nero BackItUp – Android Backup is a free Android backup app that allows you to create backup of the content on your Android device, either to cloud storage, your PC, or your SD Card. The app is perfect for creating backups of content that you might need, for restoring it on your device at a later point of time when you might need that data. The app is available for free, and does not consume much space on your Android device.
Nero BackItUp is a very easy to use app that allows you to create backups with just a click, and allows you to restore them with a click as well. So without further ado, let’s dive deeper into how this app actually works.
Using the Nero BackItUp app on your Android:
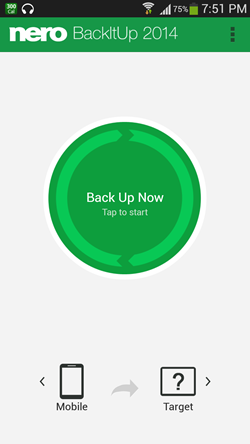
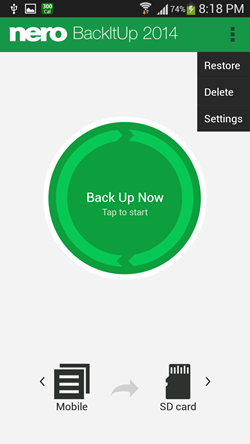
When you download and run the Nero BackItUp app on your Android device, you will be presented with an interface which looks like the below screenshot.
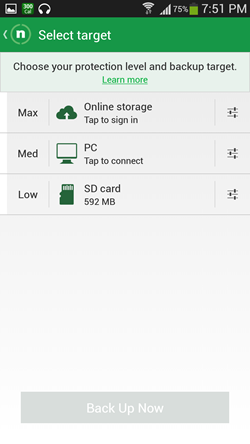
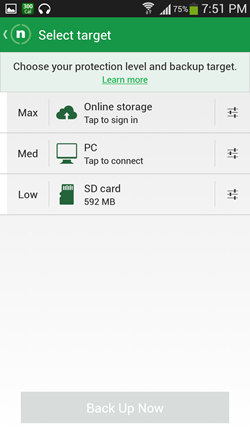
In the above screenshot, click on Target at the bottom of the screen to choose where you want to create the backup to. From your Android device, you can either backup to Cloud, your PC, or to your SD card. We’ll talk about backing up to PC later. Let’s talk about the Cloud and the SD Card options for now. Clicking on Target will launch a screen which looks like the below screenshot.
Let’s talk about each of these methods now.
Online Storage:
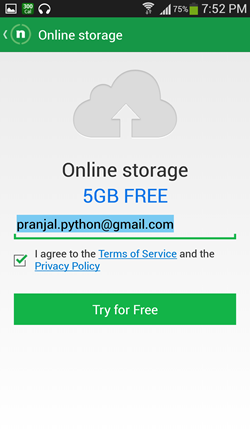
Clicking on the Online Storage option will allow you to sign in/sign up for Nero’s cloud services. You get 5GB free, which should be more than sufficient for taking a backup of your contacts, pictures and messages. If you want to take a backup of your music files as well, you can do so upto the 5GB limit that you get, else you can also purchase more space. Clicking on Online Storage fires up a screen which looks like the below screenshot.
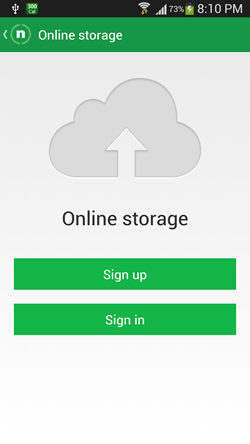
Click on Try For Free. Now, you can set up a password by clicking on the link that you will receive on the email id that you have entered. Once you do that, click on the Sign In button in the next screen.
Click Sign In above, and after signing in, select the items that you want to take the backup of, and click on Backup Now.
The option of online backup is one of the best feature of this Android backup app. However, this is not the only app that provides that. We have already talked about G Cloud Backup, and Backup Android to Dropbox.
SD Card:
Using the SD Card for storing your backups also involves similar steps. Click on the SD Card option in the screen that appeared after you clicked on ‘Target’ at the bottom right corner of the screen.
Once you click on SD card, you will be taken to the main screen of the app, and you can click on the Backup Now button to initiate the backup.
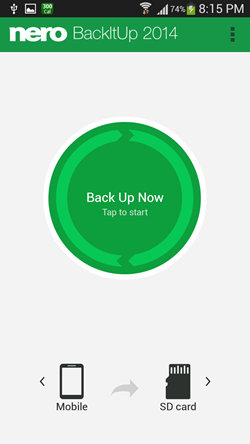 In place of Target, you will see SD Card. To select the options that you wish to backup, click on Mobile in the above screen, and you can choose what all to back up. You can now click on the back button to come back to the main screen and click on Backup Now to begin the Backup process.
Restoring the backups.
To restore a backup, click on the triple dotted button at the top-right screen corner, and select the Restore option.
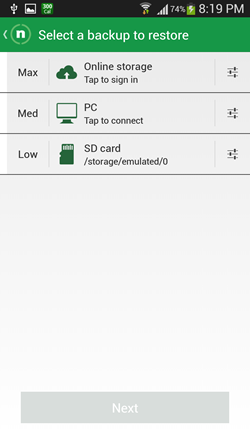
Once you click on Restore, you can select the source from where you want to restore from.
On selecting the source, you will be asked to choose the backup that you wish to restore. Click on it, and select the Restore option. That’s all, your backup will be restored.
Backing up to PC:
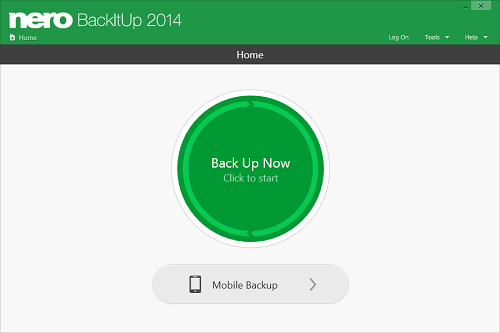
Backing up to PC requires you to download the Nero BackItUp app for your PC. You can get the PC app by clicking here. Do note that your Android device and your PC have to be connected to the same WiFi network for this option to work, as the app does not support USB connections yet. If you don’t have a WiFi network at home, you can set up a mobile hotspot on your Android device, and connect your PC to that. Once installed, open up the Nero app on your PC.
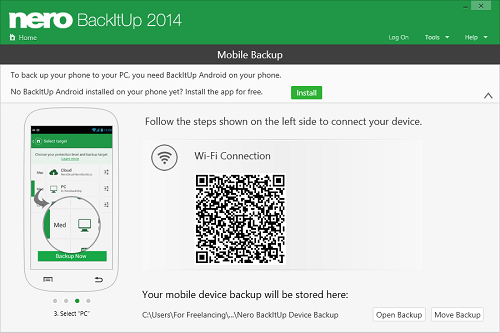
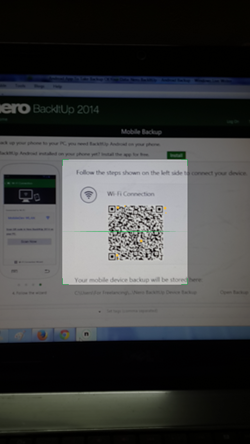
Click on Mobile Backup in the above screenshot, and you will be shown a QR code.
Now, come back to the Nero BackItUp app on your Android device. Select the Target as PC from the main screen of the app, and click on Scan Now option.
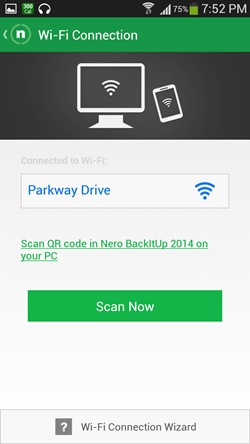 Now a barcode scanner will open up on your device. Use this to scan the QR code which should be displayed on your PC’s screen now.
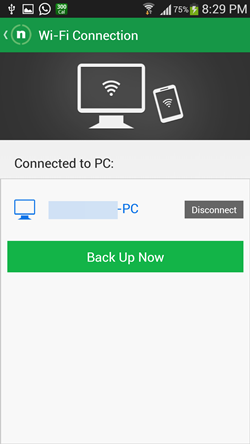
Once it has been scanned, you will see a screen like below screenshot on your Android device.
Now, you are all set to take a backup on your PC. You can configure the location of the backup on your PC where the QR code was displayed. (see below screenshot)
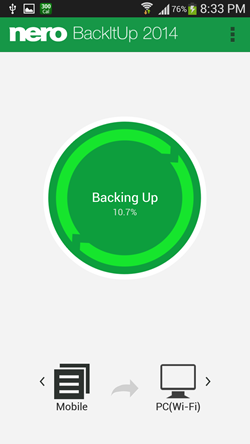
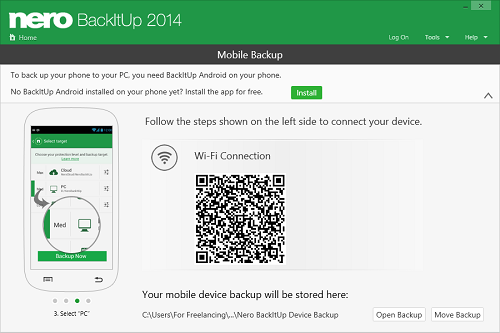 You can change the default location by clicking on Move Backup location and select the new location. Once that’s done, click on Back Up Now on your Android device. Now, the backup process will start, and this is how the progress of backup will look like on your Android device.
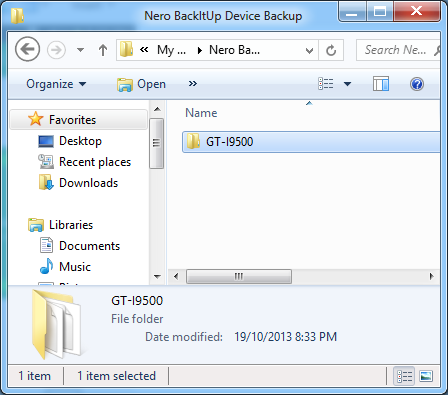
And once the backup finishes, you will see the location open up on your PC where the backup was done. You can see in the below screenshot that I’m immediately taken to the folder where my Backup of Galaxy S4 (GT-I9500) was created.
And that’s how you create backups on your PC!
Also check out other Android Backup apps.
The verdict…
Nero BackItUp is a great app to have on your PC as well as on your Android device to create complete backups of the data on your Android device. The app is very functional and easy to use, and it gets a solid 4 out of 5 from me, losing one mark just because it does not support usb connectivity to the PC yet, and that’s my only complaint with the app.
