This tutorial explains how to digitally sign PDF documents using JSignPdf. JSignPdf is a free tool to digitally sign PDF documents that you can send over the internet without worrying about the information being changed or stolen. JSignPdf takes the source PDF file and asks you to specify the position of the signature in the source PDF file. And you can also opt to attach an invisible signature to your document. It supports various hashing algorithms for digital signature, such as SHA1, SHA256, RIPEMD160, etc. If you want to encrypt the PDF file after signing it, then also you can do it. It also has option to encrypt the output PDF file.
Digital Signature is nothing but a public key cryptography technique that uses two different keys to encrypt and decrypt messages. Using this method of cryptography, you can digitally sign a document and send it over an insecure channel. If an intruder compromises its integrity or identity, then the receiver will know about that. As the message encrypted by the sender can only be decrypted with the private key of the receiver, so it’s quite impossible for anyone to breach in between the two communicants.
It is not the only software to digitally sign documents, there are plenty of other software out there to do the same. But, JSignPdf is very unique among them. Let’s see, what it takes to digitally sign PDF documents using JSignPdf.
How to Digitally Sign PDF Documents using JSignPdf?
JSignPdf is a very handy software that can digitally sign documents in a very efficient manner. Before getting started with JSignPdf, I will assume that you have certificate files in your PC signed by you. If you don’t have them yet, then you can see here how to make a test certificate. After that, follow the steps below:
Step 1: Download and install JSignPdf from this link. After that, open it up and you will see its interface similar to the following snapshot.
Step 2: The default interface only contains some basic signing methods. If you are familiar with advanced signing techniques, then you can switch to the advanced interface.
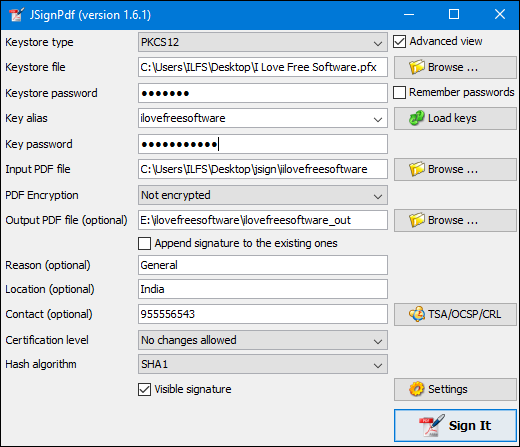
Step 3: When you switch to the advanced options, you will see some fields there:
- Keystore type: In this drop down, you will find various Public Key Cryptography Standards (PKCS), such as PKCS12. Also, it has some native Windows Keystore types such as Window-My. You can choose any one of them depending on what type of certificate file you have.
- Keystore file: Keystore file is the certificate file that you want to use. Do note that the certificate file should be selected according to what keystore type you have chosen. Certificate files corresponding to PKCS are generally .pfx or .p12 files. Java Keystore files can also be used, which are in .jks format.
- Keystore password: It is the password that you specified during creation of the certificate.
- Key alias: It is used when you have more than one private key in the keystore file (.pfx or.cer) that you have provided. You can also click on the Load Keys button to list all available keys in the specified keystore.
- Key password: It is the password to the corresponding private key whose alias you have provided.
- Input PDF File: Here you have to provide the path of the source PDF file that you want to sign.
- PDF Encryption: If you want to encrypt your PDF document for an extra level of protection, then you may check this field. After that, provide the password that you want to set to encrypt the file.
- Output File: Though it is optional, but if you want to specify a different path and name to the final file, then you can use it.
- Certification Level: Certification level specifies what changes can be done to the digitally signed PDF document. There are currently four levels of certifications, namely: Not certified, no changes allowed, form filling allowed, form filling and annotation allowed.
- Hash Algorithm: From this drop down, you can choose various hash functions that will be used for the signature. It supports SHA1, SHA256, SHA384, SHA512, and RIPEMD160.
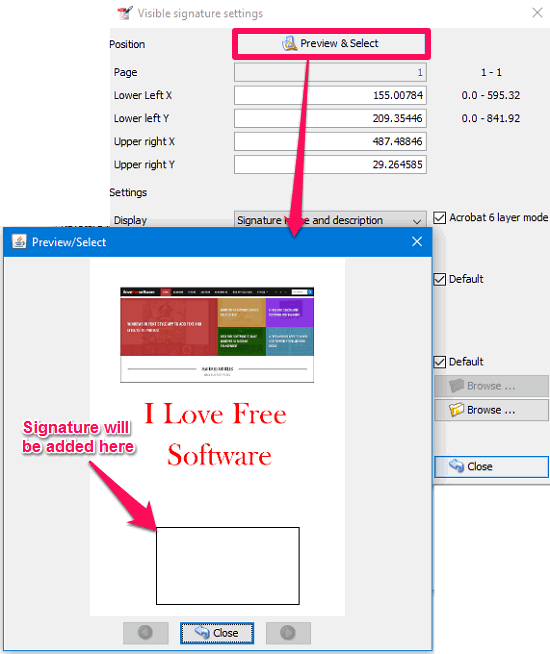
Step 4: By default the signature will be added to the document at the bottom of the page. But you can set a desired position for it. To do this, simply click on the settings button, and then Visibility signature settings window will pop up. Click on Preview & Select button. It will then open the PDF file in its viewer, and to specify a location for the signature draw a rectangle anywhere on the page. You can see the below screenshot.
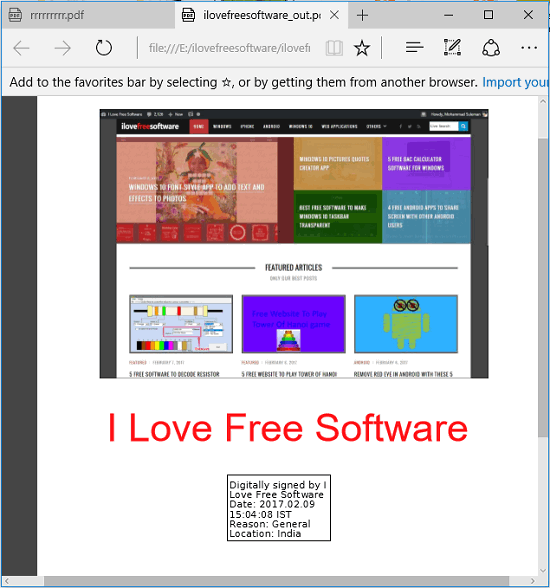
Step 5: When all the configuration has been done, to sign document simply hit the Sign It button. After that, the document will be exported to the directory that you have specified.
So, in this way, you can digitally sign the PDF documents using JSignPdf.
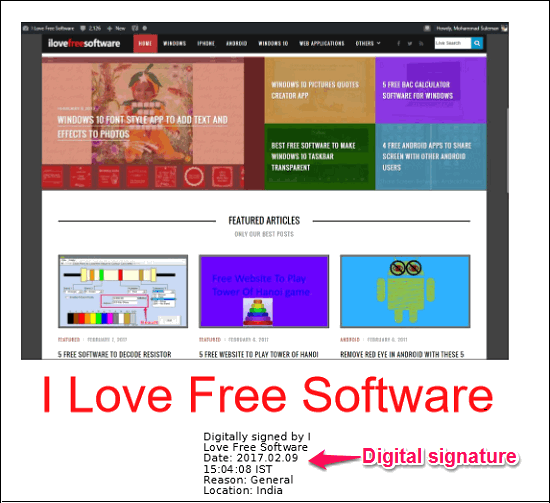
The entire process of digitally signing the PDF documents hardly takes few seconds. And the finally generated file shows the signature at the same position that you had specified.
Also See:
- How To Digitally Sign EXE, DLL Other Executable Files
- Sign Documents Online, Manage Contracts and Collaborate
- Free Software To Bulk Digitally Sign Applications
My Final Verdict
In the tutorial above, I have explained how to digitally sign PDF documents using JSignPdf. The software does what it promises and the best part that I like about it is that, you can choose multiple keystore and you can also embed an image in the document along with the digital signature. Though, for advanced options, some technical knowledge is required, but you will get a brief idea about all the technical stuff through the links that I have provided in this tutorial.