This tutorial explains how to stop auto updates of Google Chrome. By default, Google Chrome automatically updates on your PC and there is no direct option in the browser to stop that. However, there is a simple trick using which you can now stop auto updates of Google Chrome. This can actually be done by tweaking a registry setting and group policy setting, which I will explain in this tutorial.
Some of the web browsers allow you to set “Update” settings either as manual or auto, but in case of Google Chrome you don’t have such option. Although, it is not recommended to stop auto updates of your Chrome browser because updates also bring security enhancements with them. But, if you still want to gain more control over the Google Chrome auto updates, then follow steps in this tutorial to stop Chrome updates.

How to Stop Auto Updates of Google Chrome:
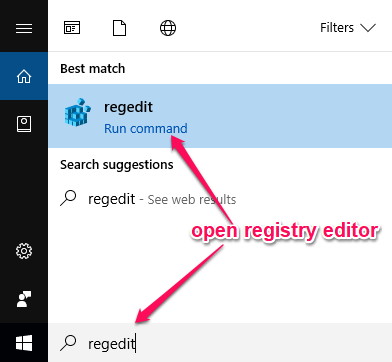
Step 1: To get started, simply type “regedit” in the search bar at the bottom of your PC screen. Then click on the “regedit” program to open up the Registry Editor.
Step 2: After that, simply go to the following registry key location:
HKEY_LOCAL_MACHINE\SOFTWARE\Policies\Google
Then right-click on “Google” and select “New → Key”. This will create a key which you need to name as “Update”. When you do that, you would need to create a new value under the Update key. For this, right-click on “Update” and select “New → DWORD (32 – bit) Value”. Now, name the value as “AutoUpdateCheckPeriodMinutes“.
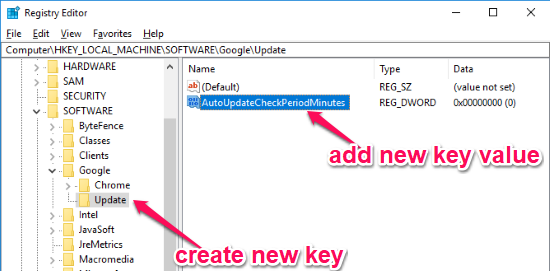
Step 3: Now, what you need to do is double-click on the new value and then set the “Value Data” as “0”, as shown below. After that, click “OK” to save changes. This will stop Google Chrome from automatically checking for “Updates”.

Do note that Google Chrome resumes “Update” checking after some hours (~77 hours). So, we will follow the below steps to completely stop auto updates of Google Chrome
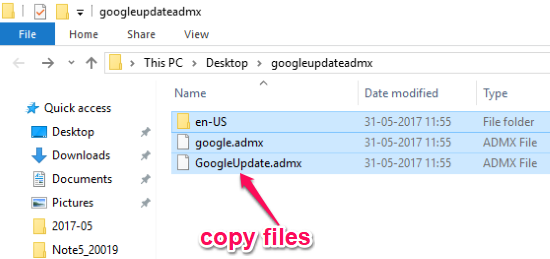
Step 4: After you’re done with the Registry Editor, you would need to download the “Google Update Administrative Template XML-based (ADMX) file” on your PC. Then extract the ZIP file and copy all the content from the extracted folder to “C:\Windows\PolicyDefinitions“.
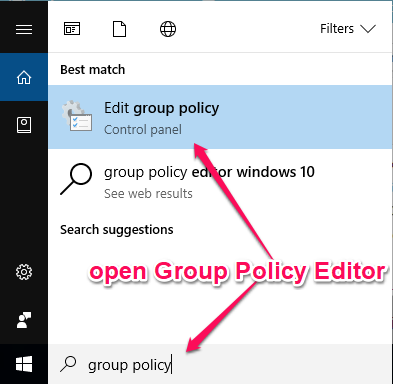
Step 5: After you have done that, simply type “group policy” in the search bar visible at the bottom of your PC screen. Then select the “Edit Group Policy” program to open “Group Policy Editor”. Do note that if you are on Windows 10 Home edition, then Group Policy Editor will not be available on your PC. You will need to separately install Group Policy Editor on Windows 10 Home version.
Step 6: Now, you would need to navigate to the following policy:
Computer Configuration → Administrative Templates → Google → Google Update → Applications → Google Chrome
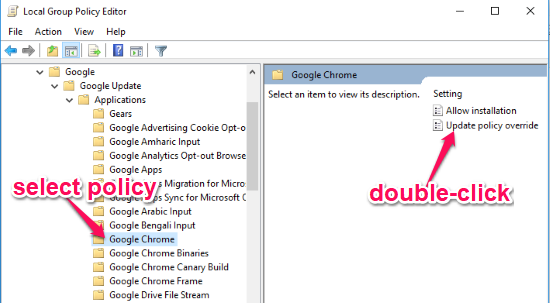
After that, click on Google Chrome and you will see two different settings named, “Allow installation” and “Update policy override” on the right panel. Now, double-click on the “Update policy override” to proceed.
Step 7: Once you do that, a new window will open on which you need to select the “Enabled” option at the top. After that, simply click on the “Policy” drop-down menu and select the “Updates disabled” option. Then click “OK” to save changes and completely stop auto updates of Google Chrome.

If you want to manually control the Google Chrome updates, then you can select the “Manual updates only” option instead of “Updates disabled” option.
Closing Words:
If you have some reason to stop auto updates of Google Chrome completely, or switch to manual updates only, then the steps above let you do that. These might look a bit lengthy, but they won’t take a lot of time to do. If you know of some other way to stop Chrome updates, do let me know in comments below.