This tutorial explains how to synchronize VLC playback on multiple PCs.
Syncplay is a free application that is used to play and synchronize a particular media file in VLC Player on multiple PCs. All you need to do is, install this application and connect with same public server. After this, you can add a media file to synchronize. Your friends also have to do the same task. All users connected with the same server and playing same media file will be able to play, pause, and move playing media file to forward/backward position.
Syncplay provides its interface module to let you easily configure preferences and play media files in synchronization. What makes it more interesting is that you can sync media file even if you are connected with different network. Thus, synchronize VLC playback on multiple PCs from the remote location is possible.
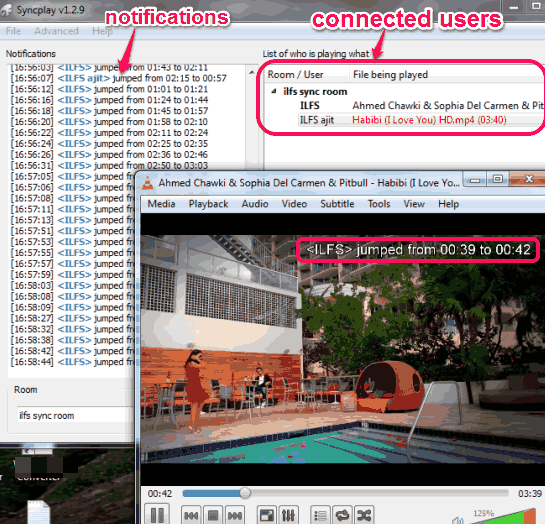
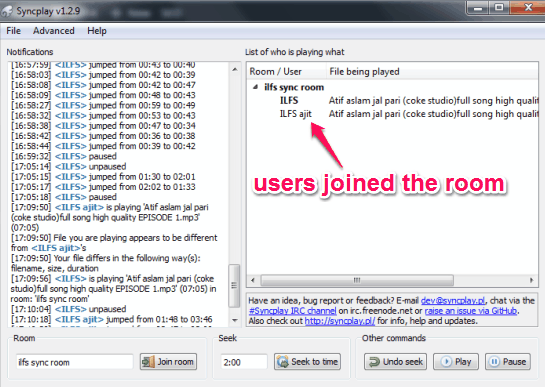
In the above screenshot, you can see the interface of this application, and media file played by me in synchronization. Whenever any connected user jumps to a particular position or play/pause media file, notifications are shown on its interface.
Also check these free VLC plugins covered by us: Playlist Cleaner and Resume Media V2.
How To Synchronize VLC Playback On Multiple PCs?
Just follow these steps to synchronize VLC playback on multiple PCs:
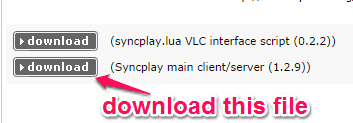
Step 1: Go to its download location using the link given at the end of this review. You will find Syncplay main client/server download option. Simply click on associated download button to grab its setup file to PC.
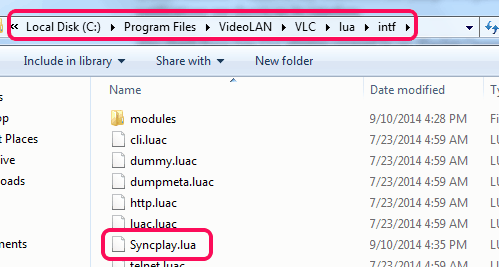
After installing it to your PC, it will also automatically add ‘Syncplay.lua’ file to “intf folder” present in your VLC player installation location. If this file is not added automatically, then you need to use download button available for syncplay.lua.
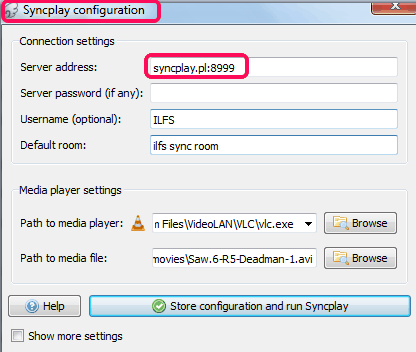
Step 2: Once the first step is completed successfully, run Syncplay. While running it for the first time, it will prompt you to set Syncplay configurations. See the screenshot below. Simply add Server Address as “syncplay.pl:8999“. After this, enter any desired username and password (optional) of your choice. Apart from this, you also have to enter a desired room name to join the server.
Step 3: Enter application file (vlc.exe) location of your VLC player using Browse button. After this, you can enter a particular media file that you want to play on other PCs in sync. Media file can be added later on also.
Step 4: Once you have completed above steps, simply tap on Store configuration and run Syncplay button. This will open the main window of Syncplay.
Step 5: Wait for your friends to join the room created by you. They have to repeat all above steps to join your room. That means, install Syncplay on their PCs, enter same server address, username of their choice, and then use the password set by you.
Step 6: Once they join the room, you all need to play the same media file, otherwise synchronization will not take place. Use File menu to add any audio or video file.
After inserting the same media file, all of you will be able to forward, rewind the media file, and pause media file.
If all the steps are performed by you correctly, you won’t face any kind of trouble to synchronize playback of same media file on multiple PCs.
