In this post, I will try to explain how to schedule posts to Mastodon for free. To do this, here I will talk about 2 free tools that you can use to quickly schedule your Mastodon toots to be published at a later date and time. Using the tools, I have mentioned below, you can schedule your text-based toots or if you want to include some images then you can do that as well. Not only this but one of the tools here even offer you a social media post planner that will help you plan your future Mastodon tools for the entire week or even the entire month.
There are many social media post scheduler tools out there. But the problem is that they don’t support Mastodon like micro blogging networks. There are some self-hosted or open-source Mastodon schedulers, but they are complicated to use and set up. But after a thorough research I have managed to find 2 free online tools that you can use to schedule all your Mastodon posts. Use any of these tools and just schedule as many toots as you want.
How to Schedule Toots on Mastodon for Free?
1. Buffer
Buffer is a very popular social media scheduling tool that you can use. So many professionals and digital marketing agencies use it to plan their social media posts and schedule them in advance for their clients. Previously, they were just limited to Facebook, Twitter, Instagram, TikTok, and LinkedIn. But now, they have added the support for Mastodon as well.
You can now use Buffer to schedule your toots and even plan them on a calendar like interface. Buffer has a free plan, and you can easily use it to schedule your Mastodon posts. The best part is that it even allows you to use images in the scheduled posts you push to the queue. In addition, you get to edit the scheduled posts and plan them in advance.
To schedule, Mastodon posts on Buffer, follow these steps:
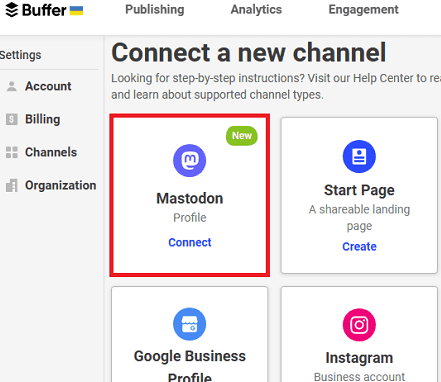
- Connect a new channel. Choose Mastodon and then proceed with the authentication.

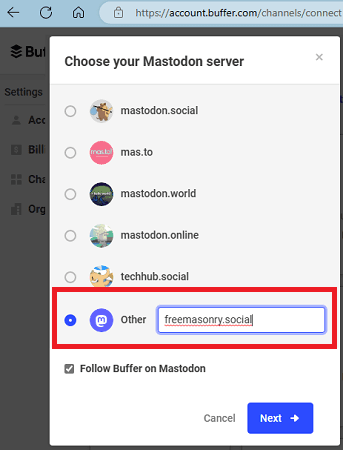
- If you are using a custom server then you need to specify the server URL there.

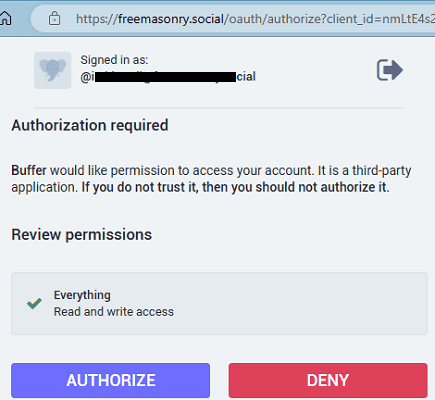
- Allow Buffer to access your Mastodon account now. Simply click on Authorize button to do it.

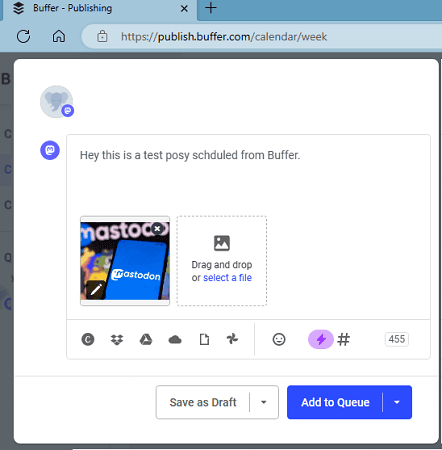
- After the authorization has completed, you can now start creating your post.
- So, create your first post now. Enter the text and add an image that you want to post.

- Add the post to the queue and then just forget it.
- The scheduled post will be published on the specified date and time. You can check that on your profile.

- Done.
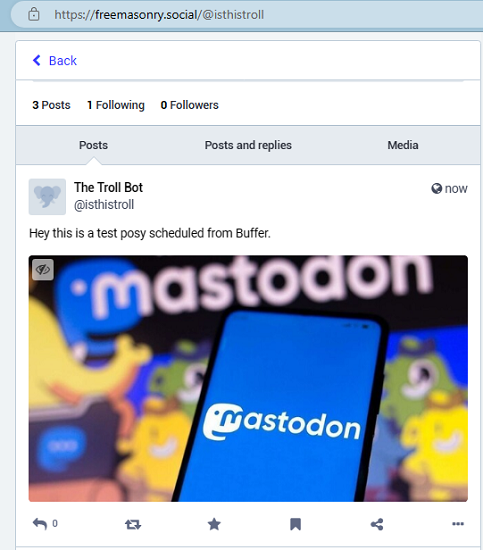
This way, you can now easily schedule Mastodon posts easily and with images. Buffer offers you a social media calendar planner to plan your upcoming posts. You can use it to plan your Mastodon toots for the whole month. However, the free version of Buffer does come with some limitations. For more scheduling quota and features, you will need the premium version of Buffer.
2. Mastodon Scheduler:
Mastodon Scheduler is a free online tool that you can use send your toots at a later time. It is completely free to use, and you can use it to schedule as many toots as you want. However, a little downside with this is that it only lets you schedule text-based toots. And to work, it needs to have an access token for your Mastodon account.
To use Mastodon Scheduler, follow these steps:
- Go to the preferences section on your Mastodon profile.

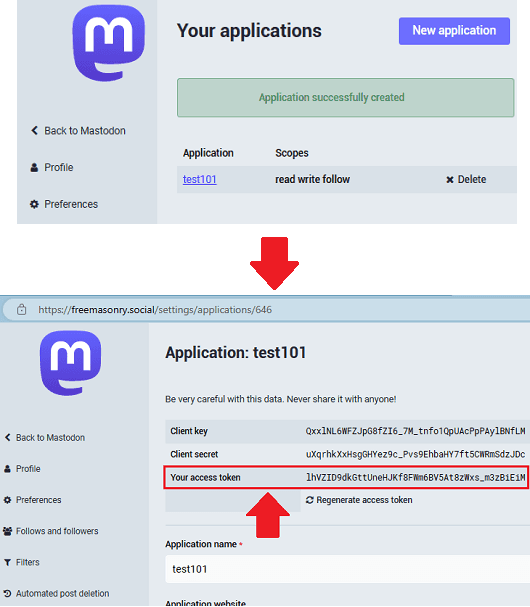
- Go to Development and add a new application. Give the new application a name and leave everything else as default.

- Save the changes by clicking on the Submit button.
- Open the application that you just created and copy the access token.

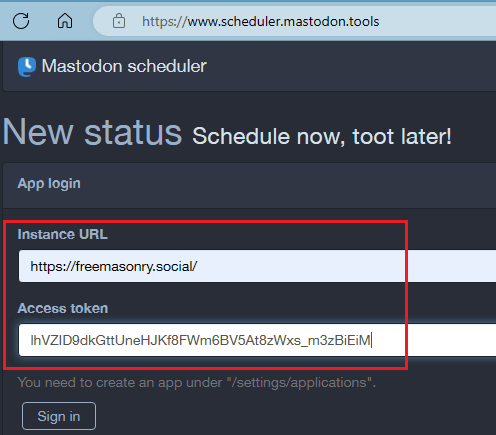
- Come back to the Mastodon Scheduler.
- Paste the token that you copied. Also, copy the server URL of the Mastodon where your account is.

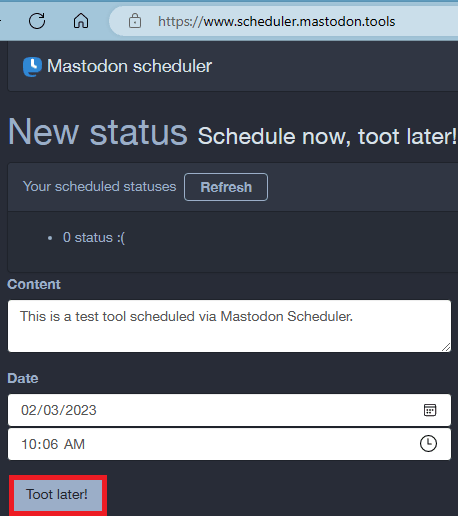
- Next, you need to specify the text for your Mastodon toot. So, enter it and then go on to specify date and time.

- Finally, click on the “Toot later” button and sit back relax.
- When the time comes, the scheduler will publish your toot. You can find it later on your profile.

- Done.


In this way, you can use this simple website to quickly schedule Mastodon posts or toots. You can use it in this way any number of times. All you need is server URL where your account is created and the access token. The interface of this tool is very simple, and you just have to specify the toot along with a future date and time.
In addition to scheduling your Mastodon posts, you can also use this website to inquire about the scheduled posts in the queue. The process is the same. Just paste the access token and sign in. If there are some posts in the queue to be published later, then it will show them to you here.
Closing thoughts:
If you are looking for a way to schedule mastodon posts then the two tools, I have mentioned here will help you. Just choose any of these and start scheduling all your toots in advanced. Both of them are pretty easy to use. Use Mastodon Scheduler, if you just want to schedule a text toot. And if you want to also include images in your toots then you use Buffer. It even offers you a calendar like interface where you can plan your future toots visually.