In this article, you will read about how you can create and add a watermark in your next Google Docs without any add-ons.
Google Docs application provides an easy way to create and edit documents online where the progress of the document is not required to be saved again and again in the online mode. Although there are various types of document formats and features such as the ease of edit on the go are available, there are some limitations that you may face time and again when compared to Microsoft Word documents.
One such tool is the Watermark tool. The ease of adding a watermark in MS Word document can be easily accessed but this feature not yet available in Google Docs. For this, you can use this technique that I am going to share with you which will allow you to add a watermark in Google Docs without any third-party supported add-on or any Chrome Web Extension.
How to Create and Add Watermark in Google Docs?
There isn’t any option available in Google Docs for adding a watermark yet. However, you can go about using a technique that will help you in adding the watermark, which will make your document more reliable. For this, you just have to follow some simple steps mentioned below in this article.
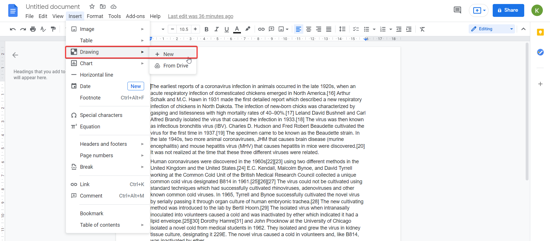
Firstly, you will need to sort out the Google Document that you want to add watermark on. Once you have opened the required Google Doc, then click on “Insert” and find the option of “Drawing”. Click on “Drawing” to access the option off “+ New” for creating the watermark.
Going through these options will open up a drawing box where you can customize the watermark that you want to add to the document. Click on the “T” option for adding the text box. Edit the text box using the tools given in the tool bar, which can be accessed by clicking on the three horizontal dots given in the right end of the tool bar in the drawing box.
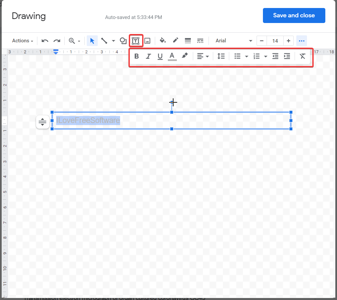
Make sure to edit the watermark in the form of a washed text so that it looks like a watermark.
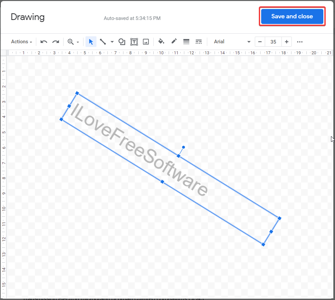
Once you finished creating the watermark, then click on “Save and Close” and the watermark image will be inserted in the document.
Then click on the image and access the edit image options in the bottom of the image by clicking on the three vertical dots. There, you will find the option of placing the image in the dropdown option of “Text Wrapping”. Select the option of “behind text” or “in-front-of text” to adjust the placement of the watermark in the document.
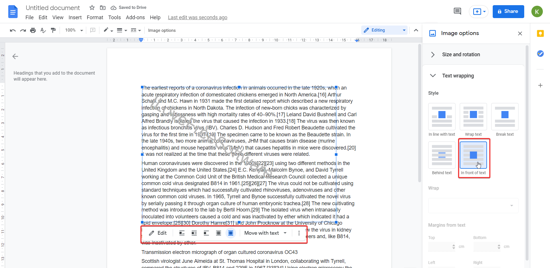
That’s it, you will see the watermark placed in Google document in the form of an image behind or in-front-of text based on your chosen option. You can access these option below the image as well.
Furthermore, you can do that with the image too. If you want to add an image as a watermark, make sure to edit the image as a washed image before uploading the image to the document so that it looks like a watermark and then edit the image placement as “behind text”.
In brief
Placing a watermark in Google Doc can be quite tricky but it can be done using some simple imaging placing techniques provided in the Google Doc application.