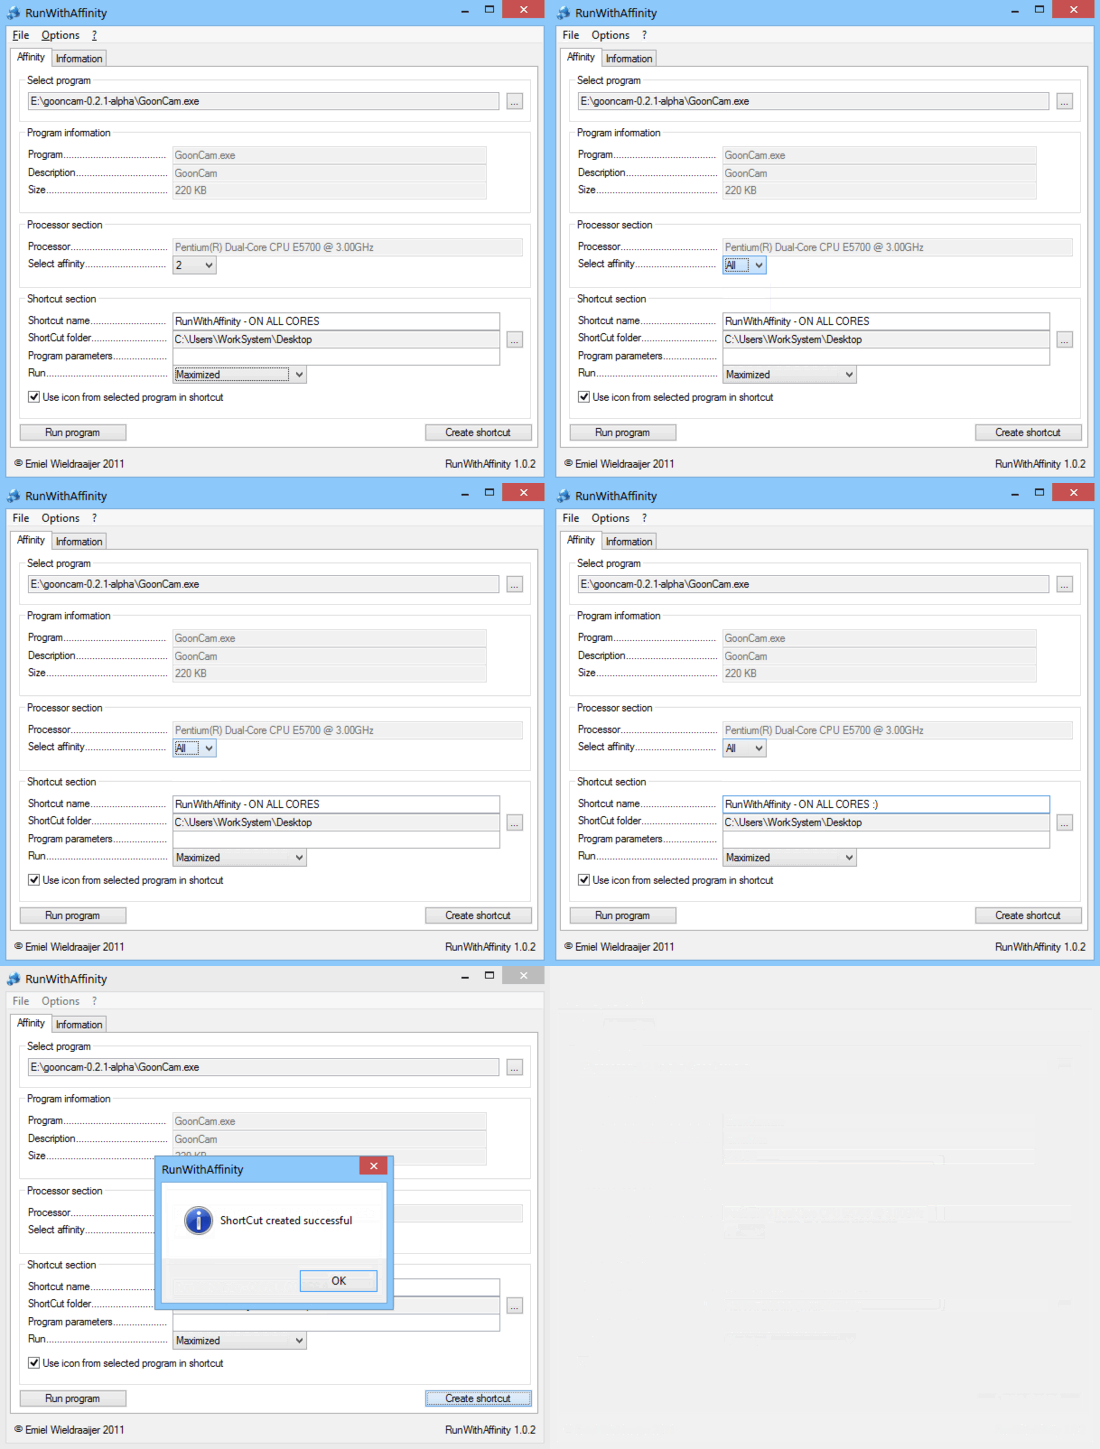
This tutorial details how to run a program on all processor cores. Normally, it’s up to the Operating System to decide which core(s) a program runs on. But there are some resource heavy and at times, important programs that need all the computing power they can get to work at their maximum ability. And if the OS, for some reason decides to run them only on a single core, it can lead to reduced performance. What if you could change this?
Turns out, it’s not really that hard. A simple software called RunWithAffinity easily lets you decide which processor cores a particular program runs on. It can be used to configure a program to run on either some of the processor cores, or all of them. And it’s simpler than you think. Don’t believe me? Keep reading, and I’m sure you will.

How To Run A Program On All Processor Cores?
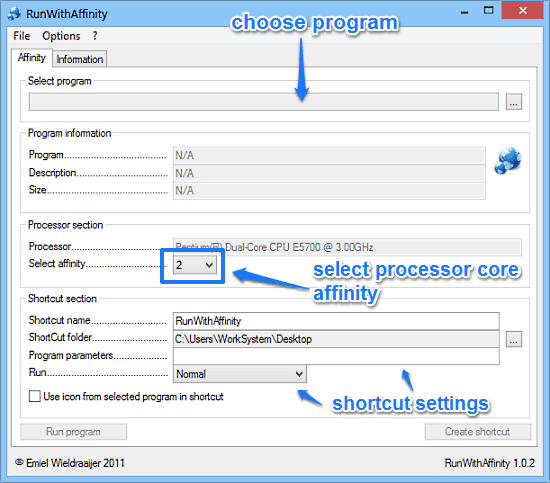
RunWithAffinity is an incredible lightweight application that lets you change the processor affinity of any program in a few clicks (Processor Affinity or CPU Pinning is the process of attaching a program to a specific core of CPU). And the fact that it’s available as a standalone portable application under 1 MB in size, makes things even better. Just like any other portable application, all you have to do here is download, extract and run. Here’s how RunWithAffinity looks like:

As illustrated by the above screenshot, RunWithAffinity has as simple and straightforward of a UI as possible (which makes sense, given its diminutive size). The single window UI just consists of two tabs: Affinity and Information, with all the action being under the former. The top section lets you select the program for whom you want to specify the processors that it should run on. The middle section details the (automatically detected) name of the processor, and lets you select the processor affinity for the selected program. Finally, the bottom section can be used to create direct shortcuts to the programs with changed processor affinities. Pretty simple if you ask me!
Just like its simplistic user interface, using RunWithAffinity to run a program on all processor cores is a cakewalk.
Here’s how to get it done:
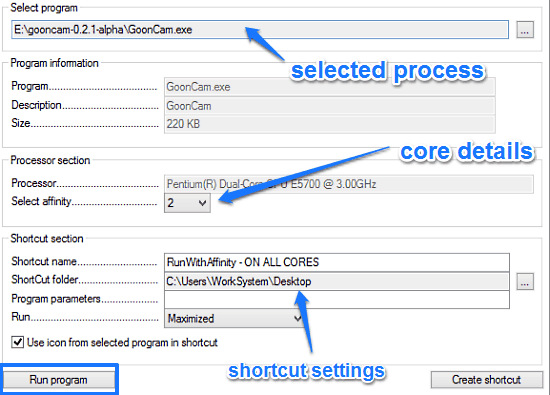
Step 1: Fire up the application, and use the three dot button in the Select Program section to browse to, and select the program whom you would like to run on all processors or only specific processors. RunWithAffinity supports files with extensions *.exe, *.bat, *.com, *.cmd, *.pif and*.vbs
Step 2: Once that’s done, head to the Processor section, and use the Select Affinity option to choose the processor cores to run the program on. You can choose between All, 1, 2 … (with the number going up as the number of cores). To run the program on all cores, simply select All.
Here’s a screenshot:

Step 3: Finally, use the Shortcut section to optionally create shortcuts to the programs with changed affinities. You can also change the shortcut location and name, as well as the mode the program would run in. Accordingly, click Run program or Create shortcut to execute the desired operation. Wasn’t that hard now, right?
Also See: Alternate TaskManager: Free Windows Task Manager Alternative
Conclusion
RunWithAffinity is a simple to use yet lightweight software to run a program on all processor cores. It’s a powerful application that lets you change the overall running performance of programs easily, in a few clicks, thereby increasing overall computing efficiency. To top it all, it’s free and portable. What more could you ask for? Do give it a shot, and let me know your thoughts in the comments below.