This tutorial here explains how to add screenshots animation to GitHub Pull Requests. Visual representation of a scenario always beats its textual counterpart so it is always a good idea to explain the steps involved in some installation/setup process via animation. In the case of GitHub, many developers write long documentation, explaining all the steps involved in the build or deployment process. But that’s kind of boring and time-consuming.
To make the demonstration clearer, you can create an animated GIF recording of the process by highlighting essential commands, configurations, environment variables, and I will show how you can do that. Here I will mention a simple screen recording software that you can use to record the video and simply upload it to one of the opened pull requests so other contributors or developers can see it.
GitHub doesn’t support videos and for that reason, you will need to record the screen in GIF format. Or, you can use any screen recorder to record desktop and use some video to GIF converter software additionally. We have covered a lot of tools related to screen recording and GIF conversion. Some pro developers already using this methodology and now I will explain how you can do that as well.
How to Add Screenshots Animation to GitHub Pull Requests?
If you have a GitHub repository then you can just create a new pull request or a new branch and then proceed by creating the GIF. Now, you have two ways to create GIF animation. One, you can take screenshots of the main steps and then combine those images in a GIF sequence using a free GIF maker. Or, you can use the recorded video of the screen and then convert the final video to GIF. The tool you can use for that is Recordit or ScreenToGIF.
Here are the steps how you do that with screenshot images:
Step 1: Capture all the screenshots of the main commands or configuration files and save them. You can use any screenshot software that you like for this.
Step 2: There are various software which can convert images to GIF. Just feed those images to any of the listed GIF maker software and then create the GIF with appropriate time-lapse and intervals.
Here are the steps how you do that with screencast video:
Step 1: Open Recordit or any other screen recorder tool and then record the screen by executing the steps involved in the deployment or build process.
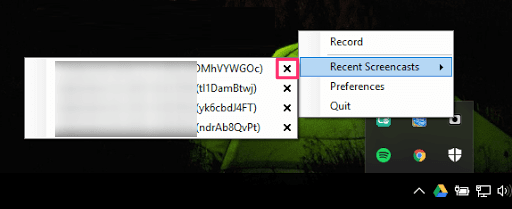
Step 2: You can set the output format to GIF if the software you are using supports that. In Recordit, you can easily get the GIF output. Or, you can also use a free online GIF manipulation service called EzGIF to do the video to GIF conversion, GIF optimization, and much more.
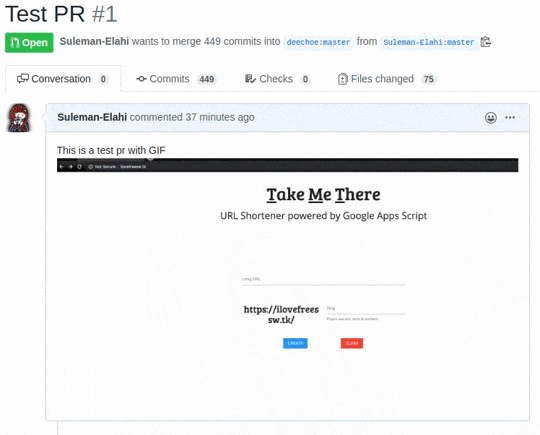
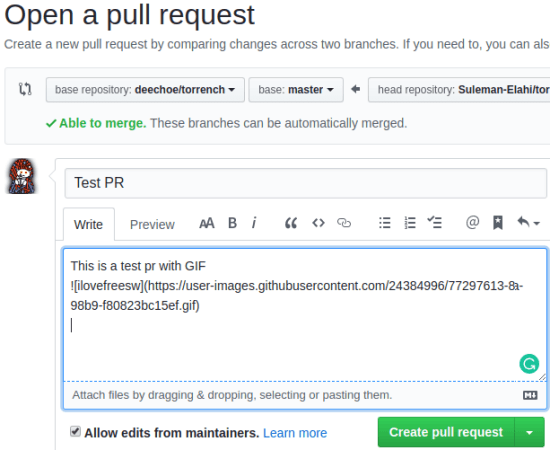
Now, you have a GIF and you can simply upload it to any pull request in the same way you upload images and create issues inside GitHub repositories. Next, just post that and it will start animating right away.
This way, you can create and add other animated GIFs to other parts of GitHub repositories.
Wrap up…
If you’re looking for ways to add screenshot animations to GitHub pull requests then you have come to the right place. There are two ways I have mentioned and you can use any one to generate a GIF animation that you can simply add to GitHub such as in Readme file, issues, and of course in pull requests. If you want to use just terminal in the GIF demonstration then there are some dedicated services to do that. Asciinema is a good option that lets you record terminal precisely and generates the corresponding GIF output.