Mollify is a free web file manager which you can install on your web server for easy file access and managing. Great thing about Mollify would be that multiple users can be created which can be given different types of file permissions. If for example you want someone just browsing files on your web server, on your website, you can create a user with read only permissions, in just a few clicks. A lot of other interesting features are included inside this free web file manager, you have:
- Basic file preview available on file mouse over
- Icon size and display type selection
- Easy file sharing with Dropbox
- Document and file preview – open images, PDF documents, videos, audios
- Easy navigation and very simple interface
- Writing file comments
- Multiple user system with configurable permissions
The Mollify user interface is very similar to that of the very popular cPanel, but unlike cPanel if you install Mollify you don’t need to give users permission to your hosting account, you can give them the same or even better file browsing and managing experience from the front- end, from your website.
Free web file managing with Mollify
To start using Mollify it will first gonna have to be installed on your web server. Installation requires a MySQL database, and the web server needs to have PHP code execution supported, since this is an application written in PHP. First step in the installation process would be to open up the Mollify installation directory on your web server
http://your.host.name/mollify/backend/install/
If you left the directory name of Mollify the same, you won’t have to change anything, just change your.host.name with your actual host name, and if everything was uploaded correctly you should be greeted with the installation page.
Once you’re there, you should have already created a database username and password, which you’ll enter during the installation process, the username and password are created in your hosting panel if you were wondering where to get them, and if you don’t know how to create them, contact your hosting support to help you out.
Finish up the installation and then first open up the administration panel where you can manage and create users which are gonna be accessing your files.
http://your.host.name/mollify/backend/admin/
Again remove the your.host.name with your own domain name, where Mollify is being installed. In the admin panel you can also edit other options, like permissions and groups, and when you’re done, you can open up the main interface of this free web file manager by again opening the same address as above, only removing the backend/admin/ portion of the URL.
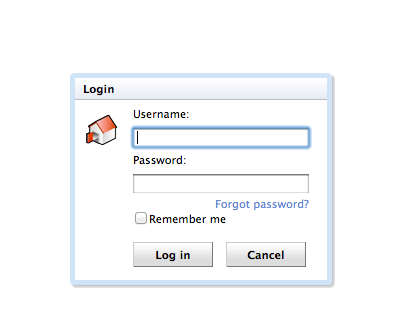
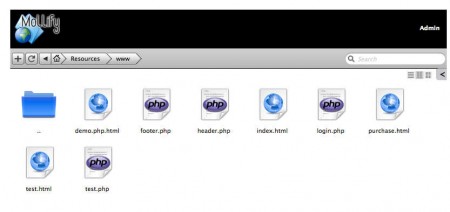
Login window will greet you, if everything went fine, use the login information used during installation and you should see the default interface of Mollify. Start browsing files and enjoying in all the features that were mentioned at the beginning.
New users can register themselves and be automatically placed into previously defined groups, with appropriate file permissions of course. You can arrange so that users can only browse and view files, or you can choose them to manipulate files present on the web server. Mollify is a free web file manager application, try it and see how it can help you out.