With AutoScreenCap you can take screenshots of your computer screen automatically during specific time intervals which can be adjusted to your liking. Program will create screenshots and automatically save them. It’s perfect for anyone who needs to record a lot of sequential screenshots of their screen. If you’re doing some kind of a task which has to be recorded, playing a video game or if you just want to keep tabs on what someone is doing on a computer without them knowing about it, you can do that with AutoScreenCap.
Program doesn’t have a lot of advanced options, and it’s very easy to use and understand. You can start creating screenshots in just a few clicks after setting up some of the basic options that the program requires in order to run properly.
Note that the program doesn’t require installation and it comes with two different languages included, Russian and English, English the default one. After clicking on the program file, it will start minimized, this is probably a bug, and it might confuse some. Program bar will appear in the window list down below in the windows taskbar, and also a tray icon should pop up, just click on them to unveil the program and everything should be fine.
How to take automatic screenshots with AutoScreenCap
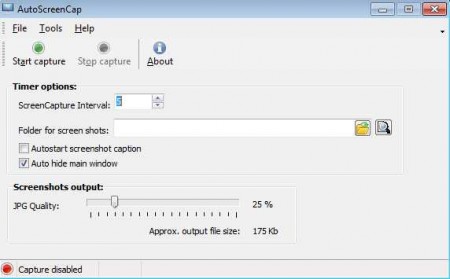
Start by setting the Timer options, where you need to adjust the interval in which screenshots will be made. Time is measured in seconds and the default value is 5 seconds. Change this value to any number of seconds you need, just make sure that you don’t enter a large number of seconds by mistake.
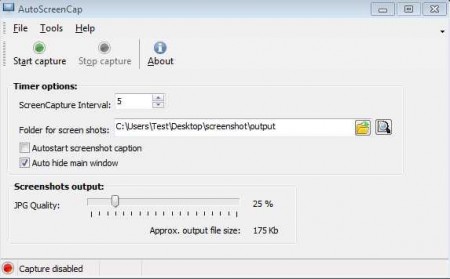
Select where you would like to save your screenshots. Do not select desktop because then you will have a desktop full of images. To avoid clutter, create a folder especially for AutoScreenCap where all the screenshots will be saved.
If you plan on creating a lot of screenshots, then you might want to change the quality of the images to save disk space, if you don’t have a lot of it. You’d be surprised how much space screenshots can take, especially if they are taken often and if you have a large screen resolution.
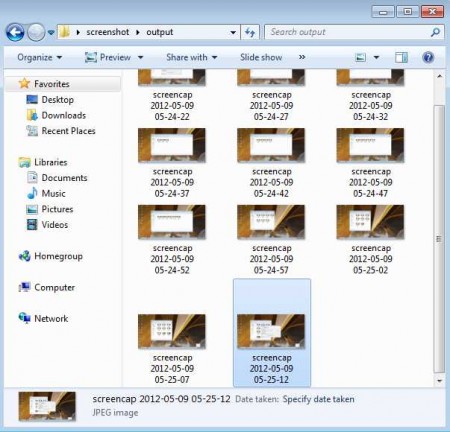
After everything is set, start creating screen caps by clicking on the Start capture button. Close the program to tray, you can leave it running as long as you want, and it will create screenshot after screenshot until you tell it to stop.
Track what people are doing with AutoScreenCap
I’m sure that this isn’t what this automatic screenshot tool is created for, but you can easily track what someone is doing on your computer while you’re away. Just setup everything and leave the program to create automatic screenshots. If someone comes by and start’s using your computer while you’re away, you will have images as proof that something went wrong.
If for whatever reason you need sequential automatic screenshots of your desktop then this is the tool for you. Images are saved in the .jpeg format, quality can be adjusted, what more can you ask, try AutoScreenCap and see for yourself how good it really is.