With the collaboration of Microsoft and Clipchamp, the results is that it is one of the built-in apps of Window 11 now for video editing. If you are a Windows Insider then from the 22572 version update, you will get it as one of the pre-installed apps to edit videos like a pro. It has all basic as well advanced video editing tools that you often use. But the best part is that it offers you screen and webcam recording as well.
Being one of the internal apps on Windows, however, doesn’t change its pricing. You will get the benefits of the same free plan and limits. There is no watermark though in the free version, but features are limited. You can do screen recording for 30 minutes and export the video in 480p quality. Besides that, you get cool video editing tools and features such as templates, transitions and animated text.
This new app is specially focused toward the creators. They can now record themselves live and even upload the record videos directly to cloud such as Google Drive and Dropbox. You get the streamlined video editor where you can edit every frame of the video. From basic tools like trimming and splitting, you can use the pro features and export stunning videos.
How to use Clipchamp to Record and Edit Videos in Windows 11?
Here is the complete set of features that you get in Clipchamp for video recording and editing.
- Basic video editing: If you just want to crop, cut, or trim your video then you can easily do that. All the tools are in the editor and available in a click.
- Timeline editing: It offers you a flexibility to fine tune details of the video that you are editing. It will give you the feel of state-of-the-art professional video editors such as HitFilm Express.
- Stock Library: Offers a vast library of million of royalty-free videos, audio tracks.
- Video recording: Easily record screen or a specific region on the screen with the system audio.
- Webcam recording: This is for educators and recording presentations. A small popup is added to the corner of the screen. The video recording limit in free version is 30 minutes.
- Text to speech: It comes with an Azure-powered text-to-speech generator. It can generate voice in more than 70 languages for now.
- Dedicated OneDrive Integration: It lets you quickly import files from your cloud and save videos securely too.
- Video Templates: Different kind of video templates are already on the main UI. You can select any template, then proceed with the video creation accordingly.
- BrandKit: It has a BrandKit feature to keep and manage your brand assets. However, this is not available in the free plan.
- Stock Videos and Images: It has a lot of images and video that you can use for free in your videos for background or for other purposes.
- Stock Audio and SFX: Royalty free audio tracks can also be added in your videos easily. There are some suggested audio tracks offers by default but you can also search for specific ones as well.
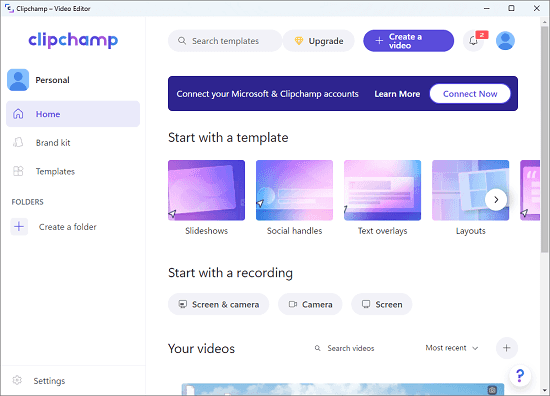
When you upgrade Windows 11 to 22572, you can find it in the Start menu and then launch it from there. The main UI looks like this. Here it gives you quick options to start from a template or you can also start recording from here as well.
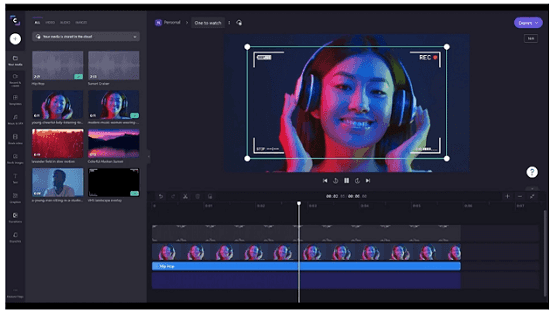
After recording or importing a video for editing, it will take you straight to the editor. The editor offers timeline based editing and all the basic tools in the respective sidebar. You can see the editor of the Clipchamp in the screenshot below.
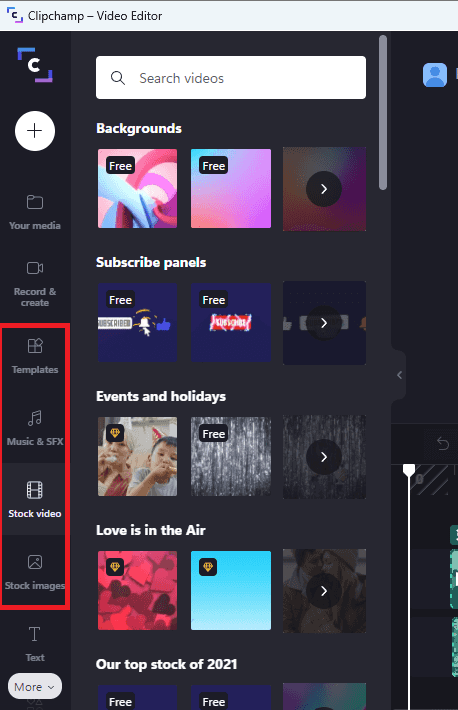
In the sidebar, there are options to access stock images, videos, and audio. You can search for a specific asset here and then simply drag it to the editor. Both free and paid assets available from the sidebar.
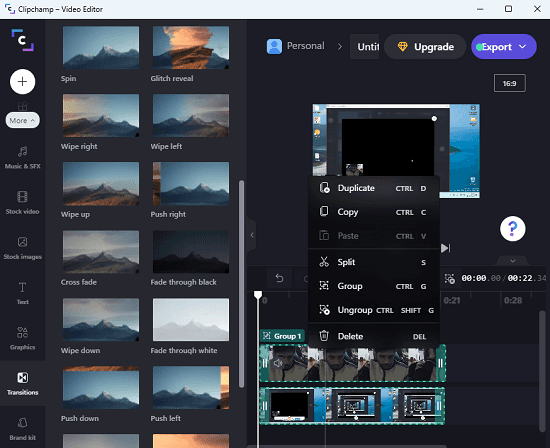
After you are done, you can simply start the export. The free version can only export in 480p quality, but that’s okay for personal use. It can export the videos in WebM and MP4 formats. You can later import that video back for further editing.
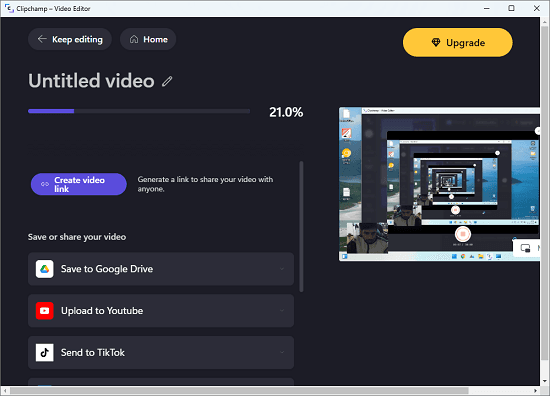
In the same way, you can start the recording. The option is right there on the main dashboard. You can opt to record the screen only as well include the webcam as too. After you are done, you can simply export the video and then do whatever you want. And not only local PC but you can also export videos to the cloud.
Final thoughts:
I am really impressed by the addition of Clipchamp to Windows 11. I liked the features that it has to offer. You can now just edit any video or if you don’t have any then you can just record one. I liked the fact that video creation is very easy and it has only kept important tools in it by keeping creators and general users in mind. So, if you are a casual video editor then you can give it a try and let me know what you think about it.