This is a quick tutorial to explain how to convert PLT, SVG, CAD, PNG, to Gcode to use in CNC machines. To do this, here I will talk about a free and open-source software, ToolsGenGkode that runs on Windows. It takes an image, CAD file or a piece of text to generate the Gcode which can later be feed into CNC machines. It has different profiles built in to generate the final Gcode that you can save or copy to the clipboard.
If you want to generate Gcode from an image then ToolsGenGkode is the software you need. For images, it can take JPG, PNG, and BMP like images. It analyzes an image and then generates an outline by intelligently recognizing the edges. It even generates the preview of the final shape that it extracts from the input image.
Similarly, this software can take vector graphics files as well. For that, you can use a DXF file. And apart from using images, you can use a predefined text as well. The software runs in portable mode and you can even carry it in a pen drive. And even though this software seems kind of old but works perfectly on Windows 10 as well as Windows 11.
How to Convert SVG, CAD, PNG to GCode to Use in CNC Machines?
You can go ahead and download the ZIP file of ToolsGenGkode from its GitHub releases. After that, you just extract the archive and then simply run the executable file. The main interface of the software will now show up which looks like this. The default language is Russian but you can switch to English from the dropdown at the top.
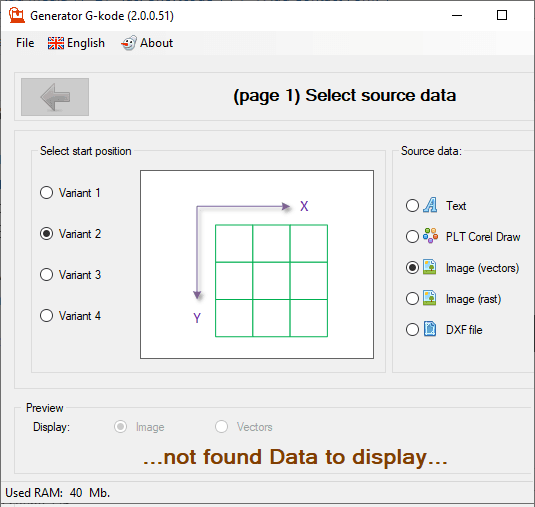
Now, you just select a source to get started. You can start with a piece of text, a vector or raster image or a DXF file. For this post, I will be using a vector image so I will choose a BPM file.
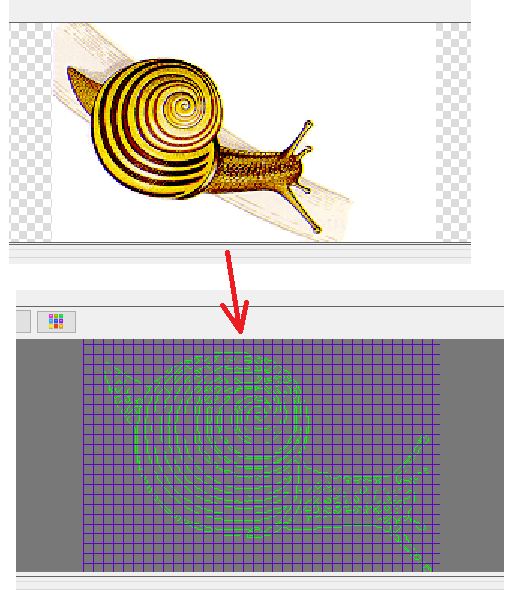
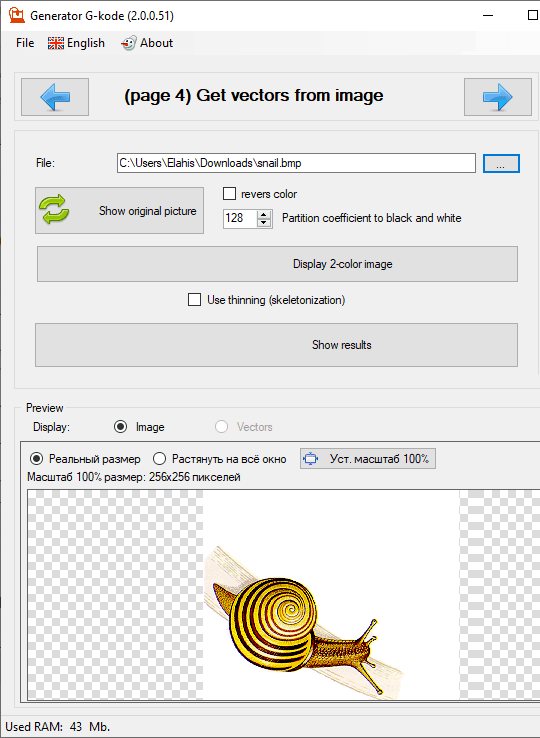
Click on the right arrow to proceed further. Locate the BMP file that you’d like to use. After that, it will load the image in the software. If you want then you can opt to load it in 2 colors only.
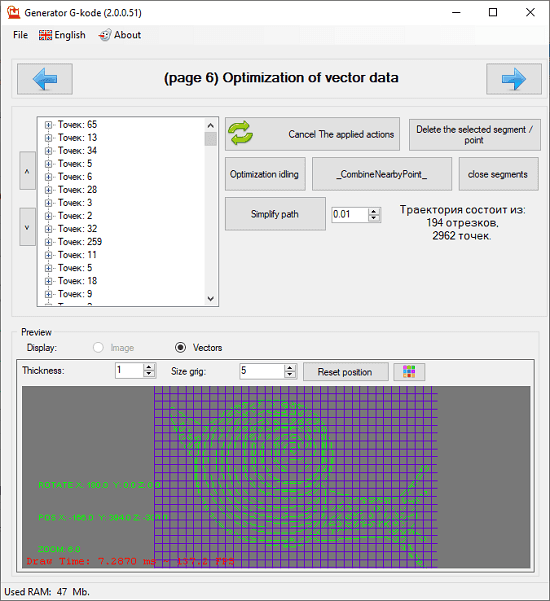
Proceed further and from this screen, you can optimize the vector paths. In the below pane, it will generate the preview of the final machine’s cut. From this window, you can modify some path if you want to.
Click on the right arrow again and from the next screen, you tweak the layout of the drawing. This is the final configuration screen and after this, you will not be able to modify the shape. If you want to resize it or mirror it then do that here. You can mirror the image along X or Y axis.

Now, reach the final screen by clicking on the arrow button one more time. Select a profile from the list and then hit the generate button. It will take a couple of seconds and will show you the generated Gcode. You can copy it anywhere.
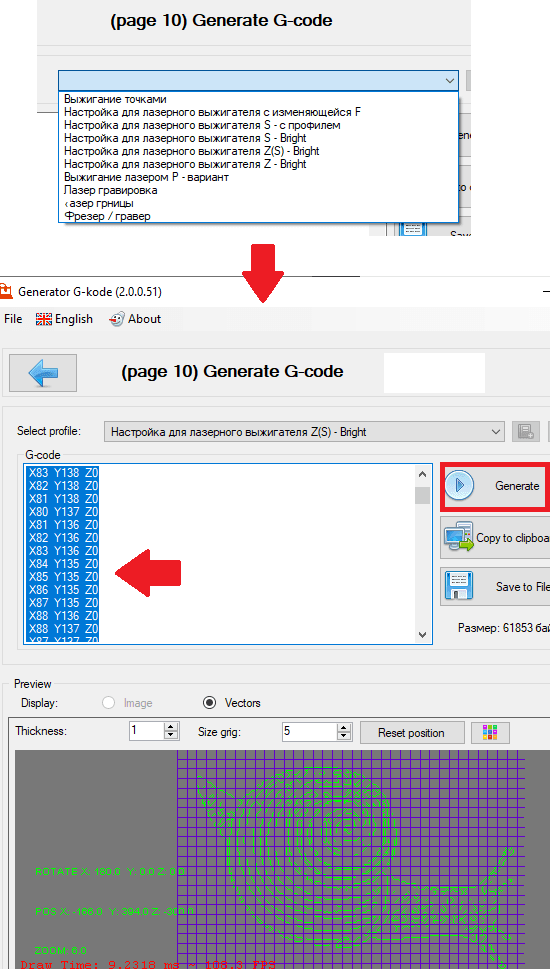
To verify the Gcode, you can open it in any Gcode viewer. It will show you the shape that you processed from the image or text. This is as simple as that.
In this way, you can make use of this simple open-source software to generate Gcode from an image, text or a DXF file. The process is very simple and it only takes a few seconds to generate the final Gcode that is ready to feed into CNC machines.
Final thoughts:
If you are from mechanical engineering like background then I am sure you will find this software, ToolsGenGkode to be very useful. It can be tricky sometimes to generate the Gcode from images. But this software can make that happen in a few seconds. So, give it a try and let me know what you think.