Let’s see how to create interactive timeline with Google Sheets? Start by installing an add-on from Google Sheets called Flippity. Flippity has different templates like Tournament brackets maker, Word search maker, Crosswords, Typing test, etc. Among these templates you will find Timeline maker, to create your own interactive timeline. You can mention year, month, day, headline, description, etc. After that the template can be published to the web.
Using this flippity add-on, you can create a timeline chart for other purposes also. For example, Project planning, education purposes, etc. You can make a timeline to analyze project management. You can easily keep history and update events in a timeline chart. It is an easy way to illustrate previous events.
How to create interactive timeline with Google Sheets?
Step 1: Install Flippity add-on to your Google Sheet. Then, flippity prompts permission to run, you can click on Continue in order to proceed.
Step 2: To access this add-on, click on Add-ons -> Flippity -> Pick A Template.

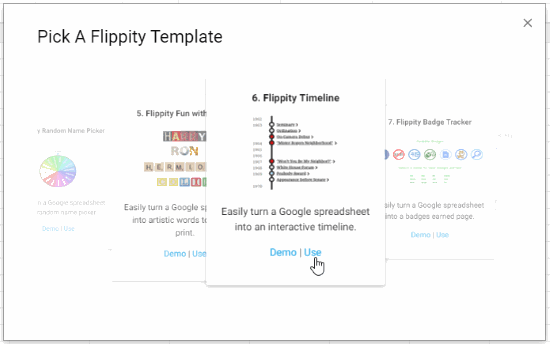
Step 3: It shows you 19 templates in which you can select Flippity Timeline template.
Step 4: Once you select your template, it provides you content which you can edit. You can see that the template has multiple columns named as the year, month, day, headline, description, color, media, color, etc. You can edit the template and mention your history and about all the events that have been happened in your life. In this way, you can create your timeline with Google Sheets.

Step 5: The next step is to publish the template. To do so, click on File -> Publish to the web. Publishing the template means you have published the content only but the URL to view timeline chart is yet to publish.

Step 6: To get the interactive timeline URL, click on Add-ons -> Flippity -> Flippity.net URL. Now you will be provided with a link, which can be used to view the interactive timeline created.

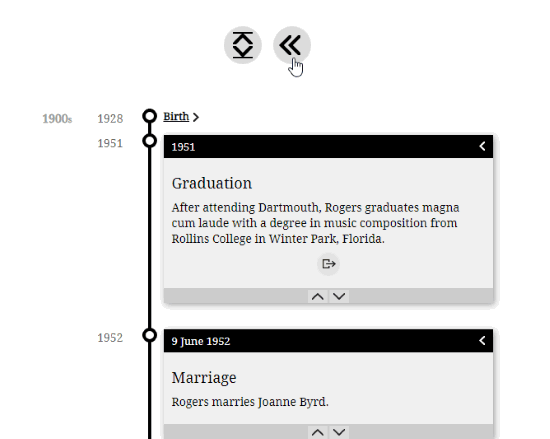
Step 7: Now you can see in the image below, this Interactive timeline has all the content you have mentioned in your Google Sheets. It has all the events from birth to the death including detailed information.
If you want to see the detailed information then you can click on the arrow as shown in the image below. You can show/hide the details by clicking on arrows above the timeline chart.
In brief
Flippity has a wonderful templates for multiple purposes. With timeline maker it becomes very easy to create an interactive timeline chart with the help of flippity add-on. You may give it a try and store the timeline containing all the events that you have encountered in your life.