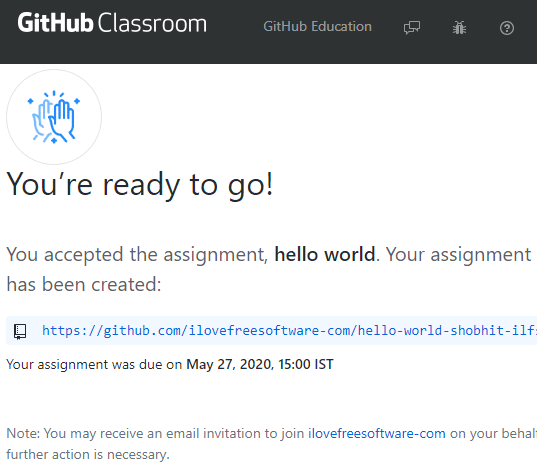
This tutorial explains how to create GitHub Classroom to let students code in the browser. It is a great step by GitHub education for teachers and students to have online coding classes. Your students can work on the individual or group assignments that you give them with an option of auto-grading. In order to create a GitHub Classroom, you only need a GitHub and an organization created in it. Next, you just add your students in the classroom and then just get started. One of the best parts about this is that it comes with support for some of the most popular LMSs out there such as Google Classroom.
If you want to let your students code in the browser then GitHub Classroom is one of the best options. Here it even gives you online IDEs; Repli.it and Microsoft MakeCode which are one of the best ones out there. You can create multiple classrooms and add different assignments to them. Just select a GitHub repository and set initializing commands there but that is optional. Also, your students will have to log in with their GitHub accounts and authorize the IDE they want to use. The process is kinda long but you just keep calm and just create a classroom in the way I have mentioned below.
How to Create GitHub Classroom to Let Students Code in Browser?
Creating and using GitHub Classroom is very simple. You just follow the steps below and then you can simply create a working classroom and add assignments in it based on your choices.
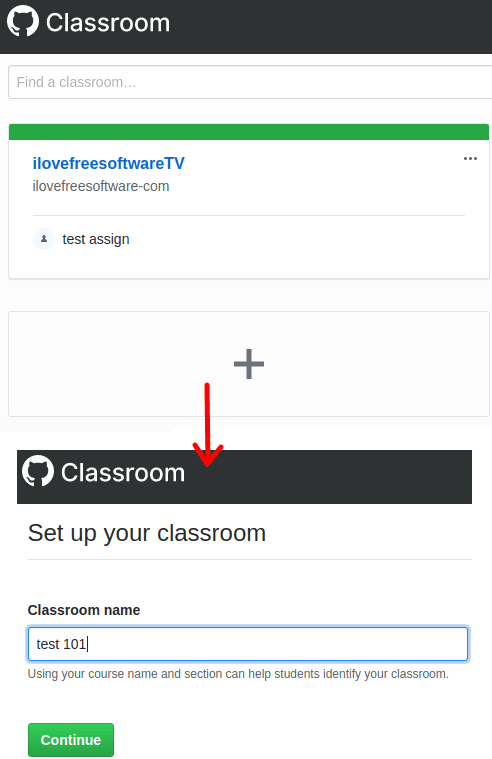
Step 1: To create a new classroom, go to GitHub Classroom homepage, and then create one and give it a name. For the first time, you will have to create an organization though.
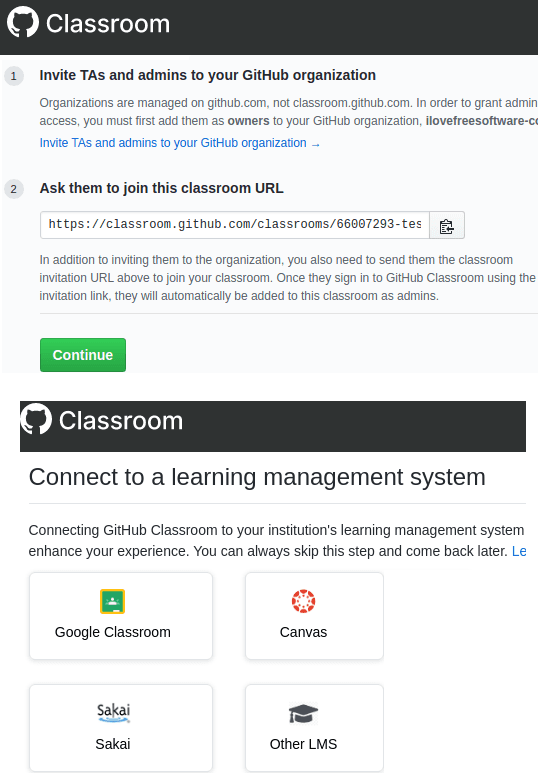
Step 2: The next thing is it will show you the URL of the classroom that you can share and connect a learning management system that you are using. Or, you can add students manually by typing their identifier one per line.
Step 3: Now, it is time to create an assignment and add it to the classroom we just created. Give your assignment a name and specify its type.

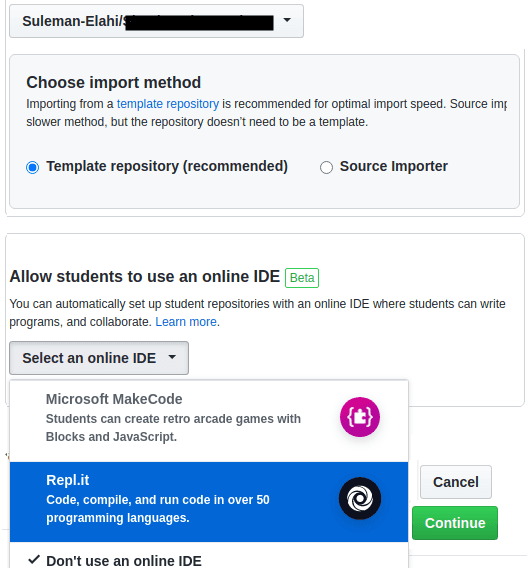
Step 4: Next thing you have to configure IDE and repository. Just select any repo by searching it and select the IDE for students. Next, specify a start command and programming language for the coding assignment from the list.
Step 5: Finally if you want to enable auto-grading then do that. In the end, the classroom is live now and you can just invite anyone via URL and evaluate assignments.
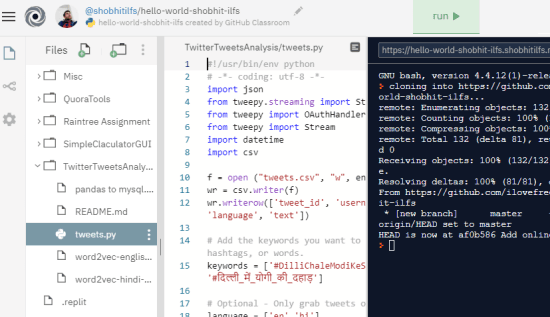
This is it, at this point you have now created a classroom and your students can now join. After this, you can simply let the run and debug the code in IDE and let the submit the assignments. The IDE on the students end looks like as it is shown in the screenshot below.
In this way, you can now create more classrooms. You can integrate the LMS you are using to add students with ease. The LMS integration saves a lot of time that you usually would spend in adding participants manually.
Final words
GitHub Classroom is a nice way to let your students code in the browser. Having access to the same IDE to every student akes it easier for you to check their assignments. Also, it helps in debugging code with ease. So, if you are looking for a way to create an online coding classroom then you can give this try. Personally, the LMS and IDEs support in this wat I liked best in this. Also, maybe in the later updates, there would be more future so just stay tuned.