Here is a short tutorial that explains how to backup and restore Windows 8 Registry in two different ways.
Registry is a database where configuration settings is stored. Using Registry, you can check many configuration settings of your Windows and can enable or disable them as well, like using Registry, you can disable Windows 8 UAC (user account control), disable Windows 8 Charm Hints, etc. quite easily.
Now, if you often tinker with registry, it is a good idea to keep its backup as well, just in case something goes wrong.
We have already covered, how you can backup Registry in Windows 7 and previous versions. This tutorial lets you backup Registry in Windows 8.
Backup and Restore Registry In Windows 8:
To backup and restore Registry in Windows 8 without any third party software, follow the steps mentioned below:
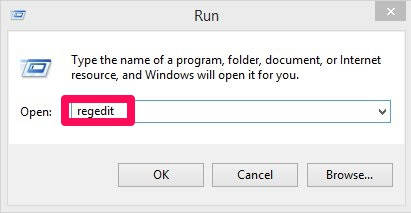
Step 1: The very first thing that you need to do is open “Run”. To open Run, press Windows Key + R from your keyboard. Type regedit in the box.
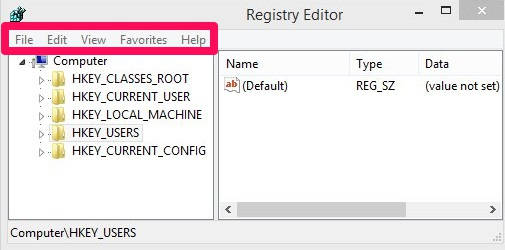
Step 2: It will open Registry Editor in a new window. On the top panel of the Registry Editor, you will find 5 different options: File, Edit, View, Favorites, and Help.
Step 3: Click on “File” option and then click on export. Browse the folder where you want to save the backup of Windows 8 registry.
You can save the backup in four different formats: Registration Files, Registry Hive Files, Text Files, and Win9x/NT4 Registration Files. But remember, you can only import two backup formats: Registration Files and Registry Hive Files. So, I recommend you to save the backups in these two formats only. Choose the folder where you want to save the backup and then select the format in which you want to save it and then click on “Save” option. This will create a backup of registry in Windows 8.
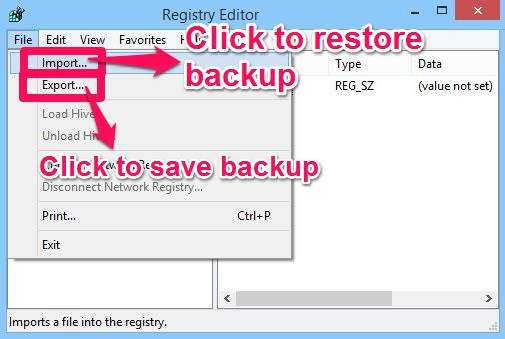
Step 4: Now to restore the Registry backup, go to the Registry Editor (follow Step 1 to open Registry Editor). Click on “File” option and then on “Import”. Browse the file where you have saved the backup. As I said earlier, you can only import two backup formats: Registration Files and Registry Hive Files.
So, you saw how easy it is to restore the registry. But to do this, you of course need to have a latest backup of registry. If you are not in the habit of taking such backups regularly, worry not, I have an automatic solution as well for you. Keep reading.
Freeware To Backup and Restore Registry In Windows 8:
Registry Backup is a freeware which lets you backup and restore Registry in a more simpler way. You can even schedule registry backup as per your preference.
You can get Registry Backup free from the publisher by using the link given at the end of this review.
After launching the freeware, you will find different options on the top panel: Backup registry, Restore Registry, and Settings.
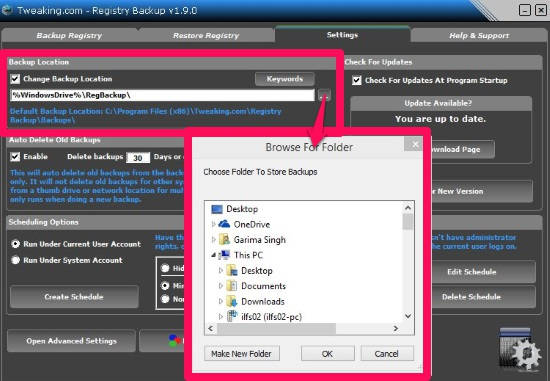
The very first thing that you need to do in this freeware is browse the folder where you want to save the backup. By default, it saves the backup in C:\ProgramFiles(x86)\Tweaking.com\RegistryBackup\Backups
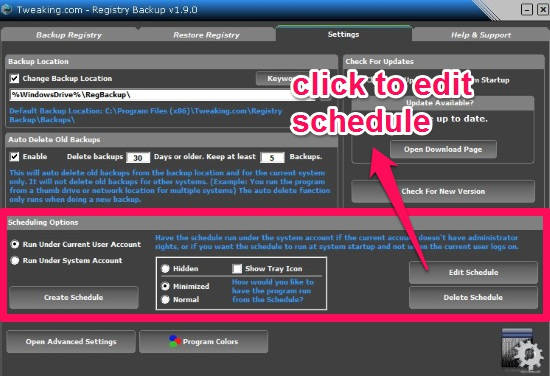
To change the location of saving the backup, go to “Backup Location” in Settings and then click on option icon to change the location. Browse the folder where you want to save the backup.
You can even schedule the registry backup in Windows 8 as per your preference for auto backup. To schedule, navigate to “Schedule Options” in Settings and then click on Edit Schedule. After editing Schedule, click on Create Schedule to activate the auto backup.
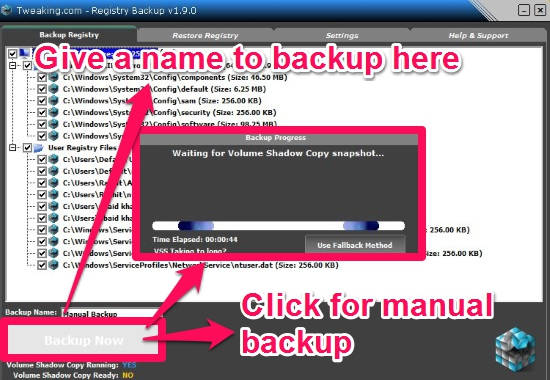
Now after changing the settings as per your choice, click on “Backup registry”, and then click on “Backup Now” button at the bottom of the window to manually backup the registry.
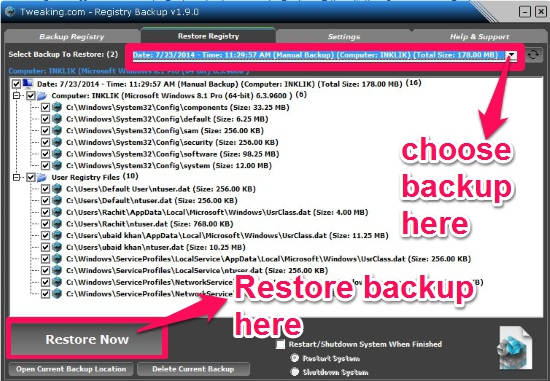
To restore the Registry, click on “Restore Registry” at the top panel. Choose which backup, you want to restore. It saves the backup with date and time so that while restoring you can choose how old backup you want to restore. After choosing backup, click on “Restore Now” button.
Conclusion:
This tutorial lets you backup Registry quite easily. If you don’t want to backup manually, then you can go for the Registry backup freeware, which lets you schedule the backup.