OPoster is a free open source and self hosted social media scheduling tool that you can use. Here it supports multiple social media platforms and you can schedule or instantly post text based as well as image posts. It supports easy installation and you can deploy it on any large or medium VPS by running just a single command.
Here this a unlimited free social media scheduling platform that you can self host. Think of it as a simple and effective alternative to Buffer, Later, and Hootsuite like platforms. Here it even supports calendar view so you can see your monthly posts. Setting up platforms to post on can be exhausting as it used app and token methods but it is just one time effort.
Right now, OPoster supports the following social media platforms. There are many other platforms such as Pinterest, Tumblr, TikTok are planned for the next updates.
- Telegram
- Vkontakte
- Odnoklassniki
So, if you use any of the above social media platforms and wants to schedule posts on that without any limits then you can configure and use OPoster. The rest of the post will cover how to install and use it.
Installing OPoster on a Server or VPS:
To install OPoster, you need a little bit technical knowledge. It is written in Java but you don’t have to set this up using Java. It supports Docker installation, so you need to make sure that you have Docker installed on your server.
For this post, I am using a Docker based droplet hosted on DigitalOcean. You can use the same and then you will need just one command to set things up.
SSH into the droplet and then from the root terminal, you run the following command.
docker run -it -p 8080:8080 orienteer/oposter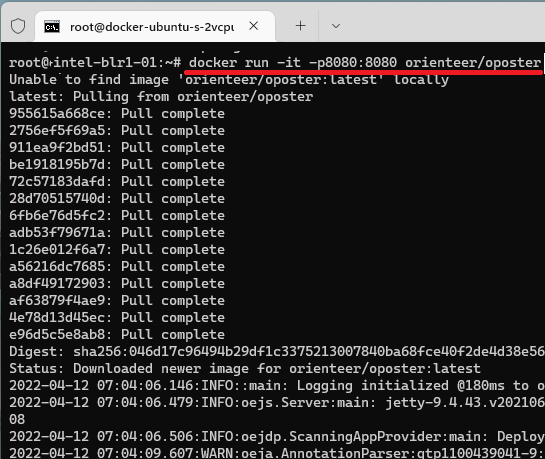
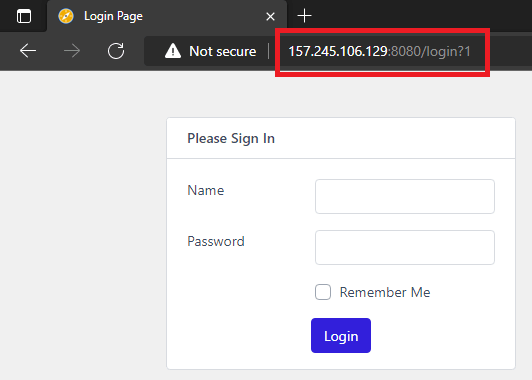
Wait for it to complete the installation and then type IP address of the server or droplet followed by “:8080“. It will bring up the login page and you can use default admin/admin username and password for logging in.
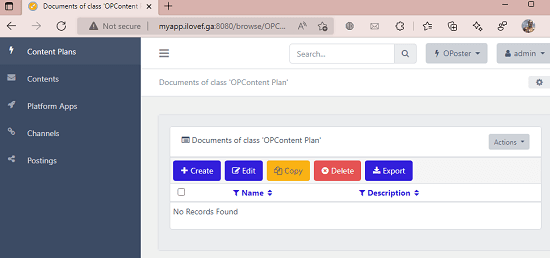
The main UI of OPoster looks like this. Initially everything is blank and it will start to fill as you keep using this. In the next section, you will see how to configure and use it. But before that I will suggest you to assign a domain to the web app.
If you own a domain already then you can just create an “A” record in your registrar and then point that your server or VPS’s IP address. If you have some DevOps knowledge then you can make use of Nginx or Caddy to enable HTTPS.
Using OPoster to Create and Schedule Posts on Different Social Media Platforms:
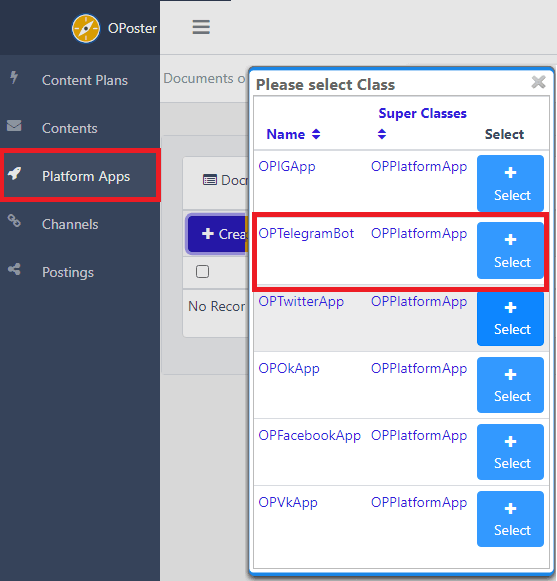
The very first thing you have to in OPoster in order to start scheduling posts, create platform apps. This is basically adding your social media accounts that you want to post to. You can add as many accounts here as you want to. For this post, I will be showing you how to configure it for Telegram. For Twitter and Facebook, you need to have approved apps; so am sticking with the Telegram method.
So, go to Platform Apps section and then select a platform that you want to add.
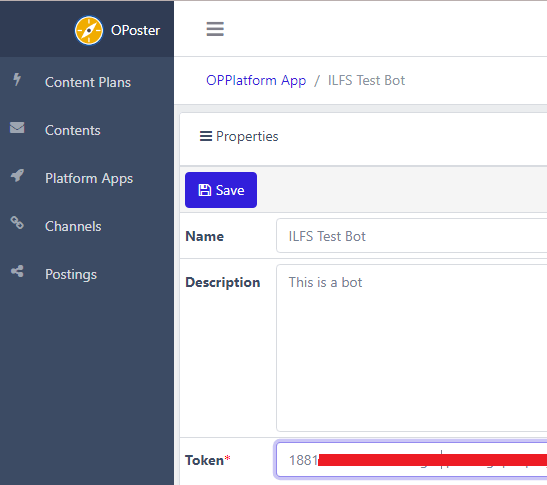
Next, you add information about it such as name, description, and token. For Telegram, you can generate token using BotFather and then simply paste that here.
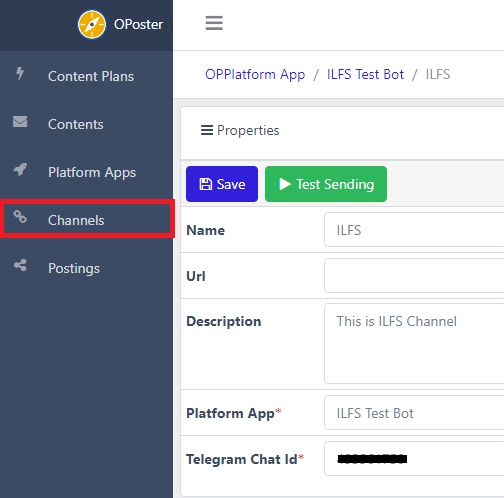
Now, you have to add a channel. This is to basically specifying on which channel of the authorized account you want to post to. For Facebook, it could be pages but for Telegram is chat. So, you have to create a channel and then specify the chat id in case of Telegram.
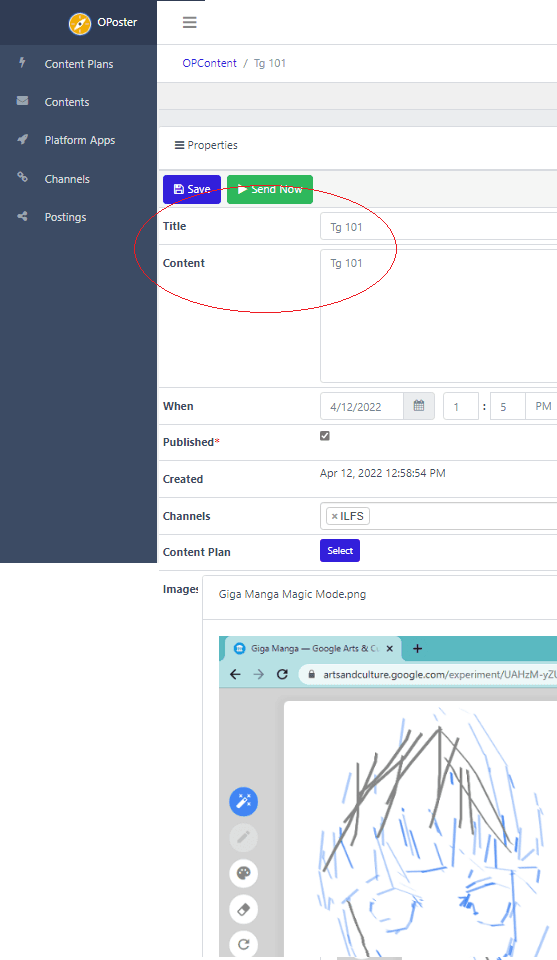
Now, you can start posting stuff to the configured Telegram channel. Come to the Contents section and then create a new post., Enter the name for this post and then specify he content. You can specify the text as well the image. In addition, you need to specify the schedule at which it will be posted.
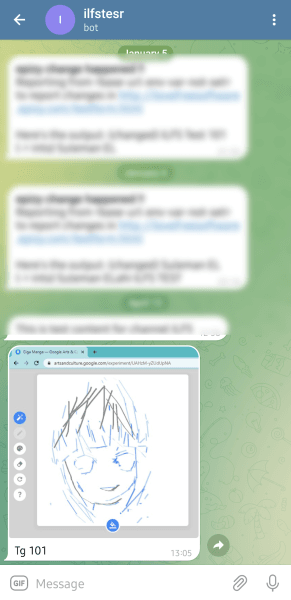
Now, when the time comes, it will send your message or post. You can see the one that I received in my case. This is simple and very easy, If you have multiple Telegram bots then you can configure them all and then schedule content in them.
Similarly, you can configure it for Twitter and Facebook. I tried it for Twitter and it worked like charm. For Facebook, I couldn’t test it as I don’t have any Facebook approved app. But if you have one then you can configure that and then start scheduling posts. It will publish them on the specified date and time for you automatically.
Final thoughts:
If you are looking for a social media scheduling platform that you can self host then you OPoster is one of the best I have ever used. I liked the way it works and leaves the link to the published post. You will always know whether the scheduled submission was successful. And you just have to run it once and then simply forget it. For security. you can change the user and password and even configure HTTPS if you want to.