This tutorial explains how to delay launch of startup programs in Windows 10. Today’s computers are insanely fast and can effortlessly handle a multitude of tasks, all at the same time. The same is true for the Operating Systems powering them as well, with modern day OS’ being more capable and faster than ever. Speaking of modern Operating Systems, the freshly baked Windows 10 instantly comes to mind. Built to maximize productivity, Windows 10 boots up super fast, so that you can straightaway get to doing what you want to do, as soon as possible.
But as fast as it maybe, there might be times when the OS takes a little too much time to spring to action, especially because of a large number of programs that launch at startup. And while you can certainly disable these programs easily, that might not prove to be helpful, as some of these programs need to be started with the OS. Quite a problem, right?
Hardly, as you can easily delay the launching of these startup programs, thanks to a useful application called LaunchLater. Excited already? Jump over to the other side of the break to find out how to delay launch of startup programs in Windows 10.

How To Delay Launch Of Startup Programs In Windows 10?
LaunchLater is a simple and lightweight application that lets you configure the startup programs to be launched with a specific time delay. It automatically detects the current startup applications, which can be then imported and configured individually with the desired delay duration. In addition to that, LaunchLater also lets you manually add new programs to the startup list. You can even tweak the programs to be launched with specific arguments. Here’s a little illustrative walkthrough, explaining how to get started:
Step 1: Download LaunchLater from its CodePlex hosting page and install it. Once installed, run the configuration module of the application (preferably with administrator privileges). Here’s how it looks like:

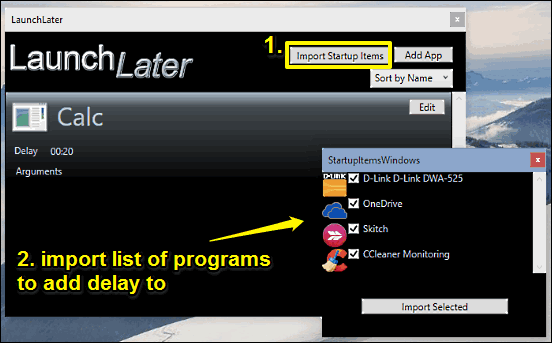
As illustrated above, LaunchLater features a pretty straightforward (albeit a bit unpolished) interface. The buttons at the top right corner can be used to import the current startup programs and adding new ones for adding delays. Apart from that, there’s just the listing of the programs. Like I said, pretty straightforward. To get started, click the Import Startup Items button to load the list of current startup programs. You can either import some selective programs or all of them.
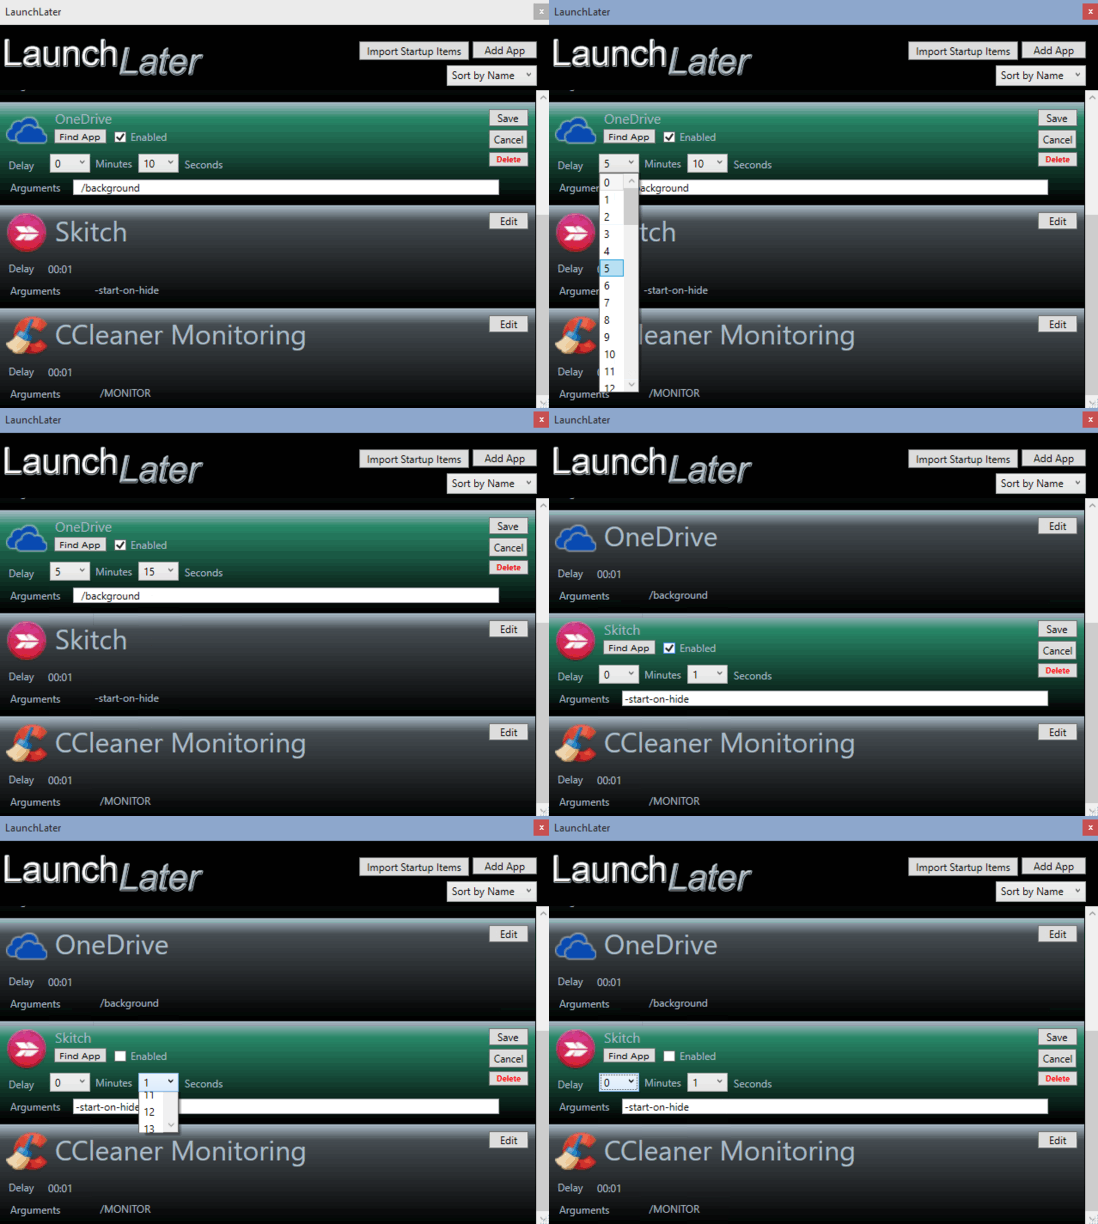
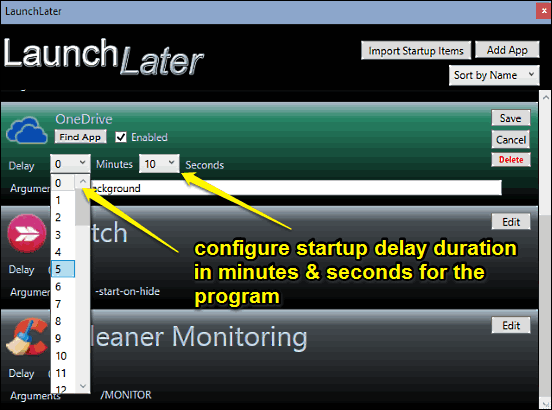
Step 2: Once the program listing is loaded up, click on the Edit button corresponding to a program to specify the delay duration for it in minutes and seconds. You can also add arguments for starting the program in the background, or hiding it automatically after it’s launched. Once done, click Save. Check out the screenshot below:

That’s it. Repeat the above step to add delay duration for all the startup programs in the list. When done, close the application. Can’t get any easier than that.
Also See: How To Clean Registry In Windows 10?
Closing Thoughts
Modern computers are pretty fast, and coupled with ultra advanced operating systems like Windows 10, ensure that you can get working in little to no time, even if you have a bunch of programs set to run at startup. However, if that’s not the case, you can easily use LaunchLater to make things better, as explained above. Try it out, and let me know your thoughts in the comments below.
Get LaunchLater Here.