In this step-by-step guide, you will learn how to disable screenshot autosave in Snipping Tool on Windows 11. In the most recent Windows 11 dev update, the Snipping Tool now automatically saves screenshot. This behavior can be annoying and that is why you can get rid of it. Good thing is that Microsoft has provided an option to do it and here in this post, you will know how to use it.
Sniping tool one of the oldest tools in Windows and a lot of people still used it for screenshots and annotation. But the new update brings a change that will automatically save screenshots by default. But ideally, you would not want this as it can leave so many screenshots in the Pictures folder. Also, it can result in duplication. So, the best option is to disable it. Since it comes enabled by default, here I will show you how you can disable it for good.
How to Disable Screenshot Autosave in Windows 11 Snipping Tool?
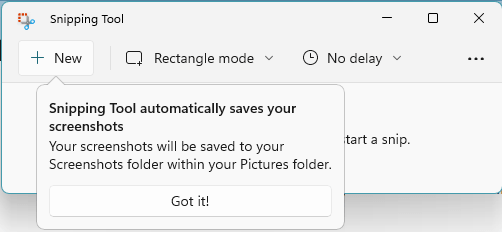
This new behavior of Snipping Tool can be seen in Windows insider dev build 25211. When you launch it for the first time then it will show you a popup indicating that screenshots can be automatically saved. You can see the following screenshot to understand what I am talking about.
Now, there is a very simply way to disable it. Go through these steps:
- Open Snipping Tool.
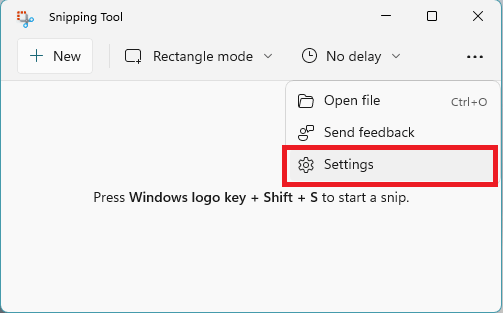
- Go to Settings. Click on the 3 dots at the top right to find it.

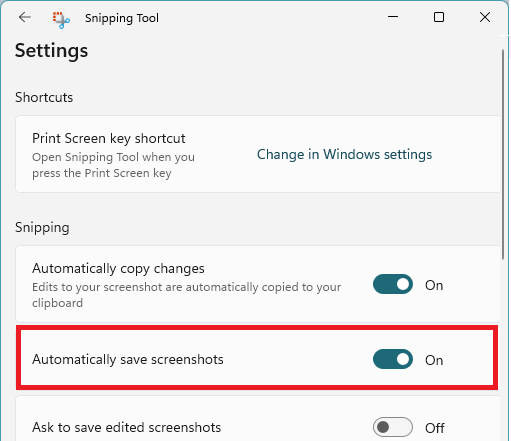
- In the Settings, find “Automatically save the screenshots” option.

- Slide the switch to turn it off.
- Done
From now on whenever you take a screenshot, you will notice that it will not save it automatically. But if later you need this option then you can simply turn it on again. Just follow the same steps mentioned above and instead of disabling, just enable it again.
Final thoughts:
As a Snipping Tool user if you are bothered that it auto saves the screenshots then you need not worry anymore. Now, you know how to turn off this behavior. Just follow the simple steps above to do it in a few seconds. This update to Snipping Tool will be most likely to arrive on Windows 10 as well. So, if you are on Windows 10 PC then you can apply the same steps there.