This tutorial demonstrates how to record video of login screen in Windows 10. By default, you won’t find any option in Windows 10 using which you can record a video of the login screen. However, there is a simple method using which you can now do the same. I will combine two different third-party tools named, “ScreenToGif” and “EOAR” to record login screen as video. With the combination of these two tools, you will be able to enable an option in the Window 10 login screen to record videos.
The “ScreenToGif” tool will allow you to capture the login screen as a GIF, but it also has an option to save the GIF as a video file (AVI file). Whereas, the other tool “EOAR” will help you integrate “ScreenToGif” on the login screen such that you can use it to record videos. In one of the previous articles, we have also explained how to take screenshots of login screen in Windows 10. But, if you want to record a video of the login screen, then the method explained in this tutorial will help you with that.
How to Record Video of Login Screen in Windows 10:
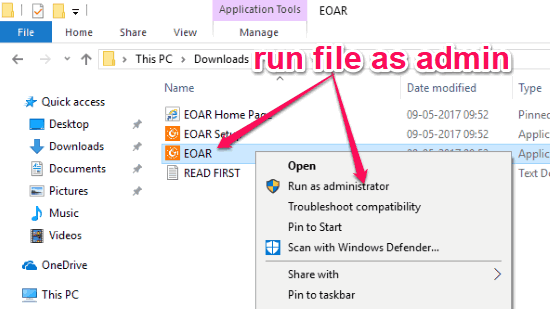
Step 1: To get started, simply download ScreenToGif and EOAR on your Windows 10 PC. After that, extract the ZIP file of EOAR and run the “EOAR.exe” file with admin rights. For this, right-click on the file and then select the “Run as administrator” option.
Step 2: As soon as you do that, a popup window will open up where you would need to click on the “Install” button. After that, EOAR will be installed on your PC and will replace the options of “Ease of Access” menu in Windows 10 login screen with its own options. The menu options which “EOAR” adds are Logon Screen Screenshot, Lock Screen Screenshot, CMD Prompt, Powershell, Registry Editor, Run Dialog, and Task Manager.
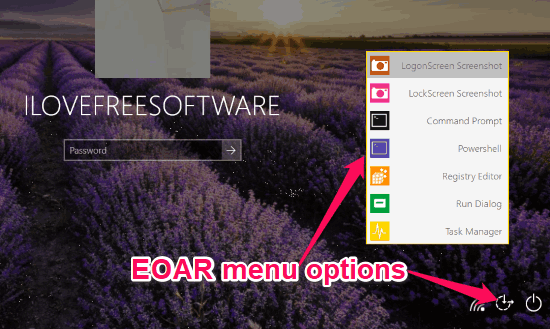
Step 3: You can access the “EOAR” menu option by clicking on the “Ease of Access” icon on the login screen. To proceed for recording a video of the login screen, the first thing you would need to select the “Command Prompt” option from the EOAR menu. Once you do that, the Command Prompt will appear where you would need to enter the file directory of “ScreenToGif”. After that simply hit Enter and then it will open up “ScreenToGif” right on the login screen, as shown below.
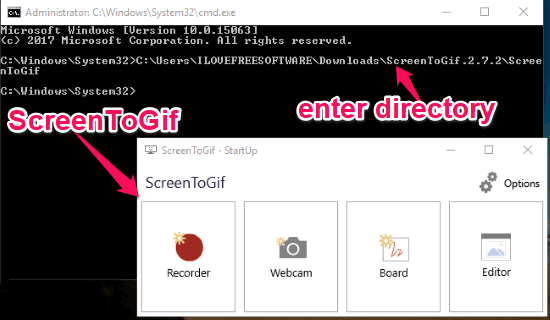
Step 4: Now, click on the “Recorder” button and then it will ask you to set the frame on the area which you want to record. You can either drag the edges of the frame to choose the area or manually enter the pixels. As “ScreenToGif” allows you to record GIF of the screen, so you will also see an option to select FPS (frames per second).
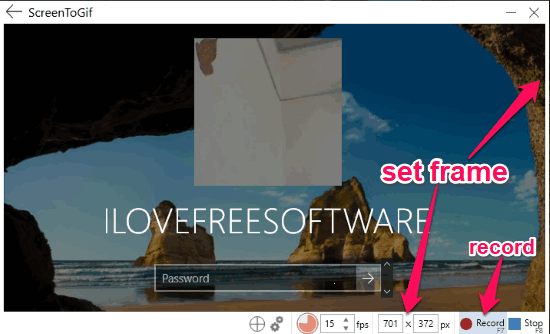
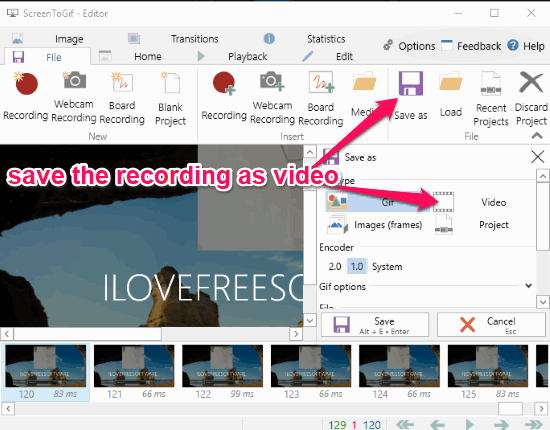
Step 5: When you’re all set with adjusting the frame, simply click on the “Record” button to start recording the login screen. Now, all the activities on the login screen of your Windows 10 PC will be recorded. You can stop the recording by clicking on the “Stop” button at the bottom of the frame window. After the recording is complete, the ScreenToGif editor will open up on the login screen and you can click on the “Save as” option to save the recording as a video.
Closing Words:
These are some of the required steps which you need to follow to record video of login screen in Windows 10. The “ScreenToGif” and “EOAR” tools makes it a cakewalk for you to record login screen as video. After following the simple steps explained in this tutorial, I was able to easily record the activities on the login screen as a video.
So, give these tools a try and let us know whether you were able to record video of login screen.