This short tutorial explains how to enable or disable file and device sharing in Windows 8.
As the name sounds, Sharing feature of Windows lets you share files and devices with interconnected devices, like: Two or more PCs, Laptops, Tablets, etc.
Mostly we use two types of Networks: Private and Public. For Private networks, we can enable the file and device sharing as per our need, but it is always recommended to disable sharing option on Public Networks. By default, this option is enabled in all network types. You can easily enable and disable this feature of Windows. Read on to know how.
Method 1: Enable/Disable File and Device Sharing In Windows 8 Using PC Settings
Step 1: Open Settings Bar, by using Windows Key + I. Then click on the link that says “Change PC settings”. It opens the PC settings.
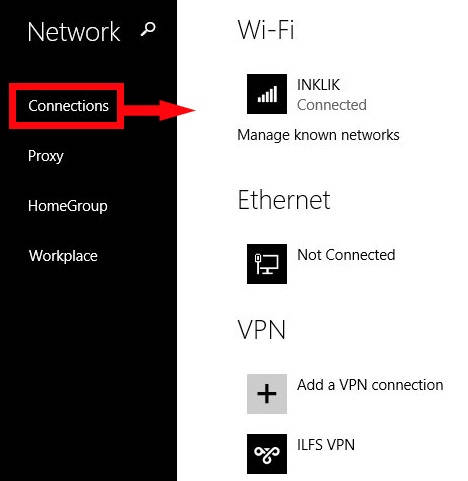
Step 2: In PC settings, click on Network. Then, click on Connections. On the right panel, you will see various types of networks available on your PC. Click on the network, for which you want to make the changes.
Step 3: In the next window, you will see a switch that says “Find devices and content”. Toggle the switch ON to enable this, else to disable toggle the switch OFF. Close the PC settings.
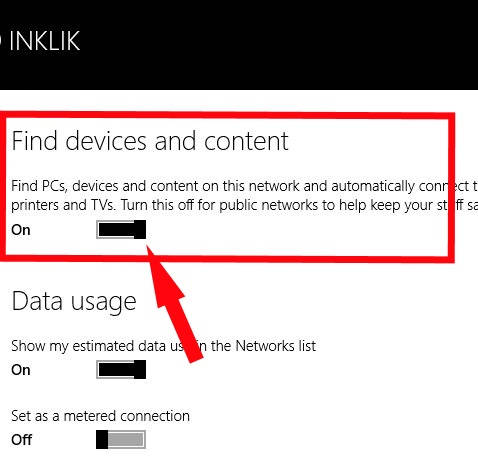
Make sure that you haven’t enabled this option for Public Network, until you need it.
Method 2: Enable/Disable File and Device Sharing In Windows 8 using Control Panel
Step 1: Open Control Panel (icon view). To open, use Windows Key + X to open WinX menu. In WinX menu, click on Control Panel.
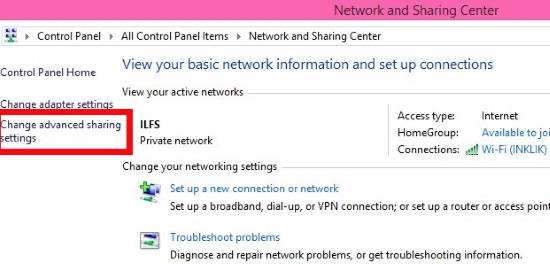
Step 2: In Control Panel, click on “Network and Sharing Center“. You will see a link that says “Change advanced sharing settings”.
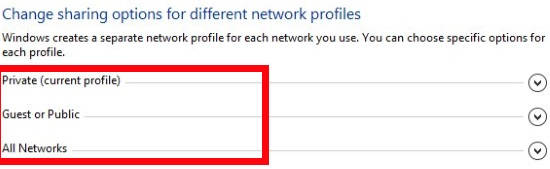
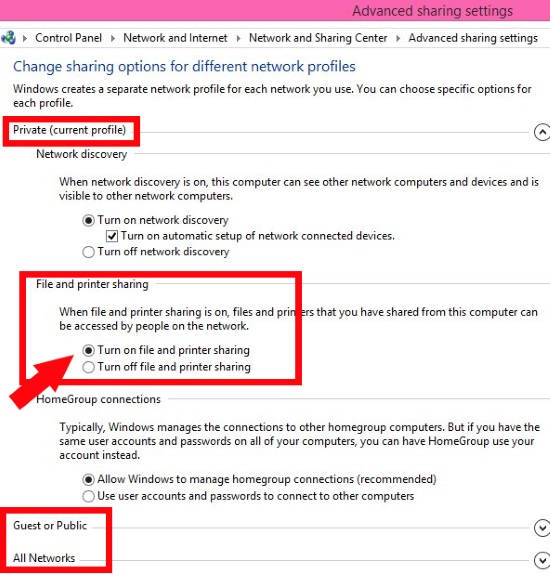
Step 3: It will give you network various profiles: Private, Guest or Public, and All Networks. Click on the profile for which you want to make the changes. For example: Click on Private to change its settings.
Step 4: In the same window, navigate to the File and Printer sharing. It has two radio buttons: Turn on file and printer sharing and Turn off file and printer sharing. Click on the relevant radio button to make the changes.
Save the changes, and close the Editor.
Similarly, you can make changes for the other profiles as well.
How To Turn ON Password Protected Sharing In Windows 8:
If Password Protected Sharing is on, then only people who have user account and password on this computer can access shared files, public folders, and attached printers.
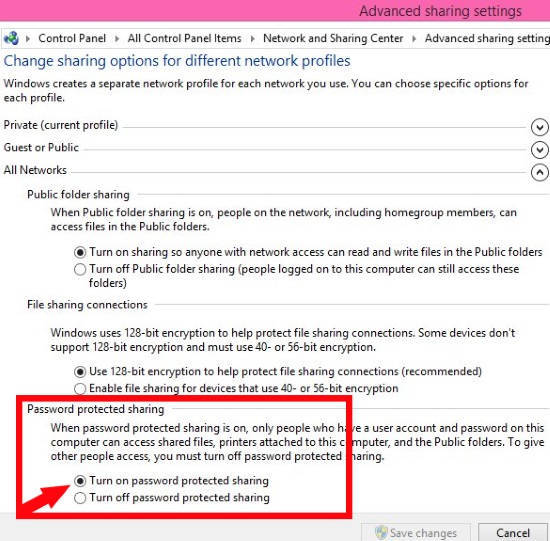
To turn it ON, click on All Networks, and then go to “password protected sharing”. Click on the radio button that says “Turn ON password protected sharing”.
Save the changes.
Also learn, how to Make Windows 8 PC a Wifi Hotspot to Share Internet.