In this tutorial, I will explain how to backup and restore Start Screen Layout in Windows 8. As we know, the Windows 8 Start Screen can be customized as per our preference. It can be customized on the basis of various things, like:
- Grouping of apps: It lets you group various apps that are pinned on the Start Screen. You can give a name to the group and can later rename it as well.
- Turn Live Tiles OFF: It lets you turn OFF live tiles. You can turn then ON whenever you want.
- Disable/Enable arranging of apps: It lets you arrange the tiles’ position as per your choice. You can disable this feature as well.
Similarly, you can do one more thing to customize the Start Screen Layout. You can create a backup of this Start Screen Layout, so that when any error occurs, then you can easily restore the previous version of the Start Screen.
Backup And Restore Start Screen Layout In Windows 8 Using Explorer
The Start Screen is saved in Windows Explorer by default. From there, you can copy the layout, and keep it anywhere you want. For example: you can paste it in Documents folder. Follow below steps to back up Windows 8 Start Screen layout:
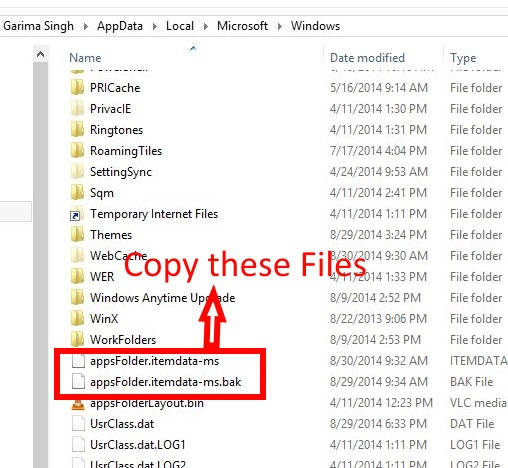
Step 1: The Start Screen Layout is stored in Windows folder. Access particular Windows folder by using “%LocalAppData%\Microsoft\Windows\” (without quotes) in the Run box. Else navigate to Windows folder by using below path:
C:\Users\User_Name\AppData\Local\Microsoft\Windows
Step 2: In Windows folder, you will find two files “appsFolder.itemdata-ms” and “appsFolder.itemdata-ms.bak”. Copy both the files.
Step 3: Now, paste those files in any backup folder, or anywhere on your Windows 8 PC. Or you can upload that file to OneDrive as well.
Now, to restore the Start Screen layout, paste the same file to the Windows folder, replacing the previous files. When you will reboot your PC, it will restore the Start Screen layout as per the file you backed up.
How to Automatically Restore Start Screen Layout When you Start PC:
Sometimes you might have a shared PC (like, in libraries, cybercafe, etc.). In that case, you can easily restore Start Screen layout of Windows 8 whenever the PC is restarted.
For that, take the backup of Start screen, using the method mentioned above, and keep it in some folder. The, we can create a .bat file, which we can add to Startup. This file will take that backup, and will restore Start Screen using that backup.
Follow the steps below to create the .bat file and add to Startup:
Step 1: Open Notepad, and type below mentioned code in the Notepad.
copy /y Folder_Path\appsFolder.itemdata-ms "%LocalAppData%\Microsoft\Windows\appsFolder.itemdata-ms"
Replace Folder_Path , with the path of the folder where you have backed up the Start Screen layout.
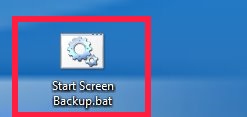
Step 2: Now, save this file in .BAT format, for example: save it as “Start Screen Backup.bat” on the Desktop (or anywhere on your Windows 8 PC).
Now, add this .bat file to the Startup. I have already explained how to Select Programs to Run at Startup in Windows 8. Using the second method of that article, add the created bat file to Startup.
From now onwards, every time your Start your Windows 8 PC, it will replace the previous Start Screen Layout with the backed up one. So, any layout changes done in Start Screen will be restored.
Note: If you have made some changes in the Start Screen Layout, which you don’t want to replace, then again create a backup of the current layout, and edit the path of the Folder, with the path of the newly created backup in the .BAT file as well.