Transfer by Zapier is a new tool to move bulk data on demand between web apps and 3000+ integrations that Zapier supports. For now it supports 18 sources to pull data from such as Twitter, Google Sheets, Excel Online, Eventbrite, Facebook Lead Ads, Airtable, and more. You can pull records from any of the sources all at once and then move them to some other destination.
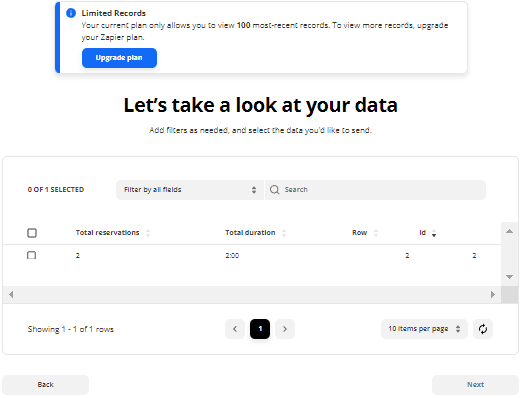
The destination can be any service that Zapier supports. You can create a Zap like workflow and save it. You can run it any number of times, just like your Zaps. However, the free plan for Transfer only lets you pull top 100 records from the supported sources. Just create different Zapier Transfers for multiple service and save them all in your account.
Zapier is a popular automation workflow based service that you can use. The automation workflows are called “Zaps” and they can run automatically when something triggers them. But now Zapier has launched Transfers which is on-demand workflows that you can use to transfer data from one web app to another.
Right now it is in beta and even free Zapier users can try it. However, for now, only 18 web apps are supported to pull data from.
Transfer by Zapier: Bulk Move Data using Zapier
If you already have a Zapier account, then you can get started right away. Just log into your account and then simply go to the “Transfers” section.
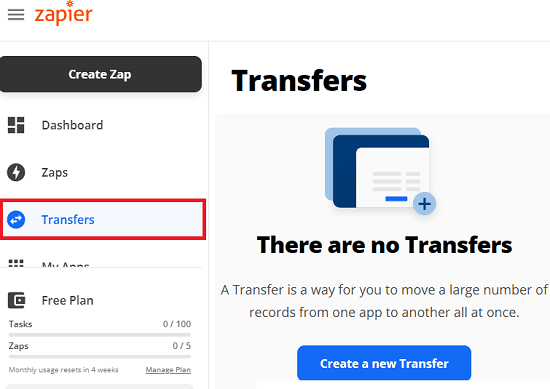
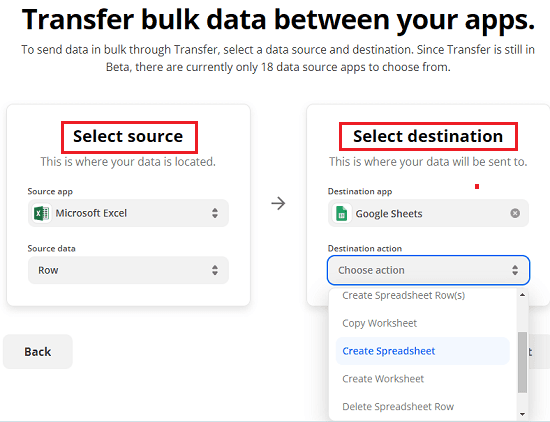
There you can create your first Transfer and then it will take you to the workflow builder. Initially, you have to start by selecting a source. Also, specify a destination along with what you want to do.
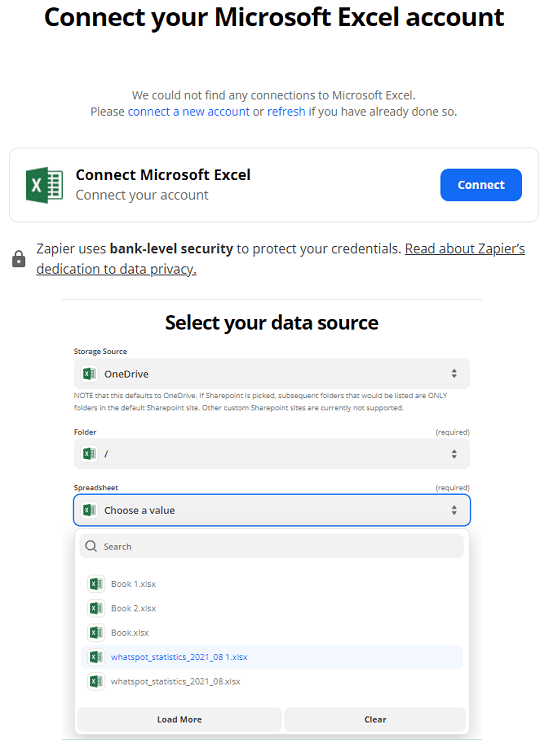
Now, you proceed further to authorize accounts of the source service you chose, as well as the destination. Authorize the source services and then select the source data that you want to move.
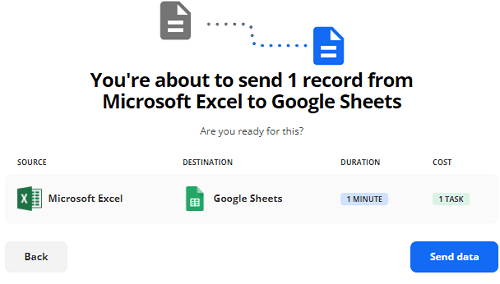
Similarly, you configure the destination. Authorize the data store where you want to move the data. In my case, I am just saving it to Google Sheets, so I just added that and authorized it with my Google account.

Now, you map the data fields from the source in your chosen data store. In my case, it is a Google Sheet, so I had to specify the headers for the data table.
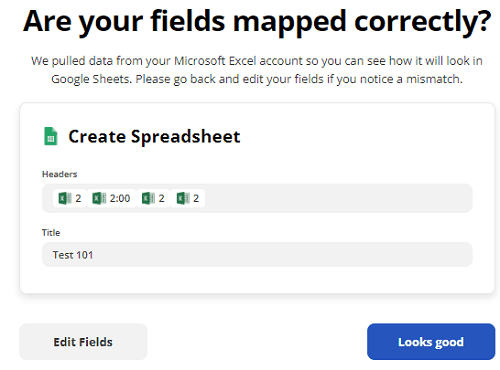
After your data fields are mapped correctly, it will do the demo run. Here, you can ensure that your workflow is actually pulling data from the source and saving it in the destination.
Now, you can just finalize the Transfer and then run it to move the data once and for all. This is as simple as that.
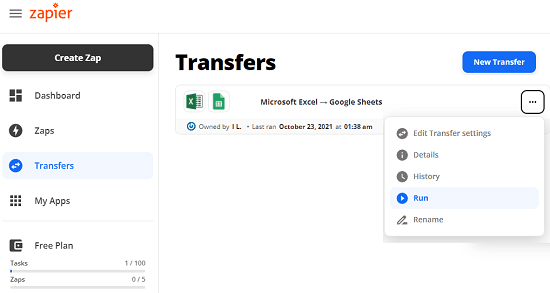
The data transfer workflow you just created will be there in the dashboard. You can run it again in the future anytime you want. The transfers run on demand, so you don’t have to worry about them. But you have the options to delete them after you are done.
Final thoughts:
So, in short, Zapier Transfer is actually a Zapier Zap without triggers and automation. You just run the workflow on demand when you want and have the data migrated from one service to others. It makes the process easy as you will not have to export the data first. It will take care of the hard part and you will have your data in whatever destination you want it to be.