Here is a short and easy to go tutorial that explains how to group apps in Windows 8.1 Start Screen. This tutorial also helps you to remove groups and turn off Live Tiles directly from Windows 8.1 Start Screen quickly and easily.
We have already covered a tutorial that helps you to group apps in Windows 8. In Windows 8.1, you can group your Start Screen apps into different categories more easily and efficiently.
Grouping Apps In Windows 8.1 Start Screen:
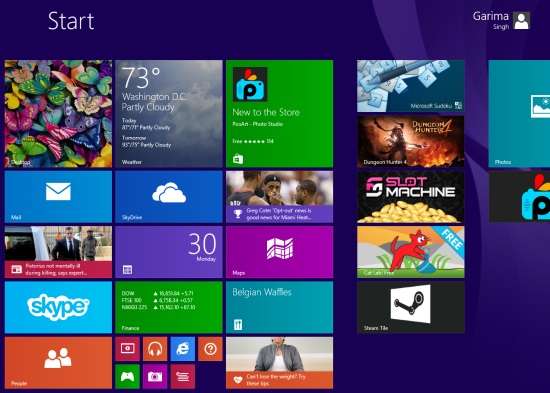
Sometimes we install or Pin lot of applications, websites, folders on the Start Screen which makes the Start Screen unorganized and complicated. But Windows 8.1 easily lets you organize your applications into different categories, so that you can easily navigate to the app your are searching for.
To group apps in Windows 8.1, follow the easy to go steps mentioned below:
Step 1: The very first thing that you should do is arrange the different apps into relevant sequences. For example: To group all your games in a single category, arrange all your games in a single (or more) column.
To arrange, click on the app that you want to reposition and drag it to the new position.
Step 2: Go to the Start Screen of your Windows 8.1. Right click anywhere on the blank space of the screen. You will find a Customize option at the bottom right corner of the screen.
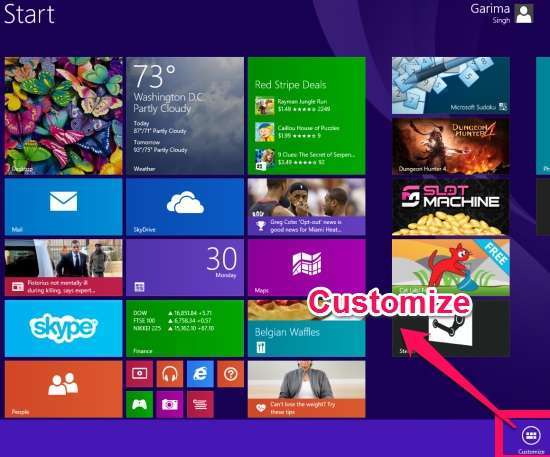
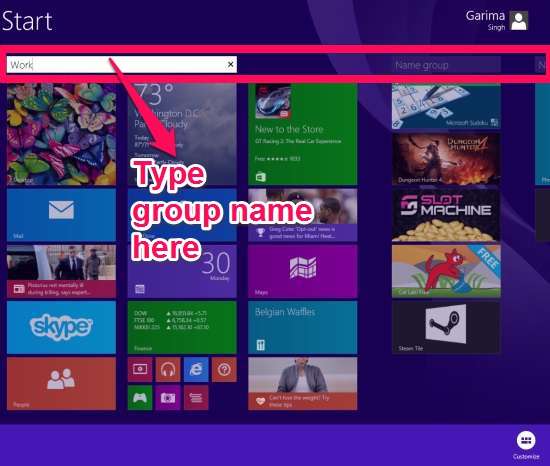
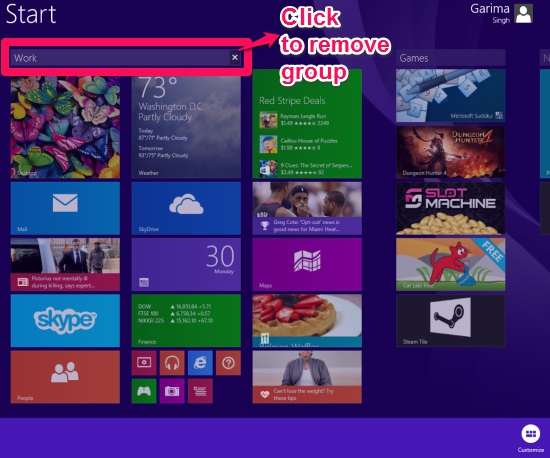
Step 3: Click on the Customize option. You will find Group Name box at the top of every column. Type the name of category as per your preference.
Step4: You can even turn off the Live Tile from this option. To turn off the Live Tile, right click on the app. You can select more than one app, to collectively turn off the Live Tile for those apps. On the bottom, you will get options: Unpin from Start, Uninstall, Resize, and Turn Live Tile Off. Click on any option for the selected apps, as per your preference.
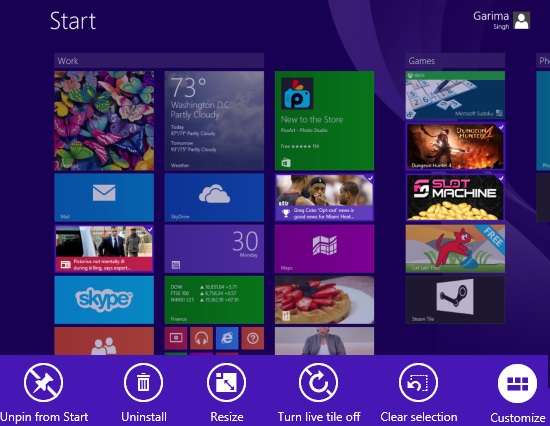
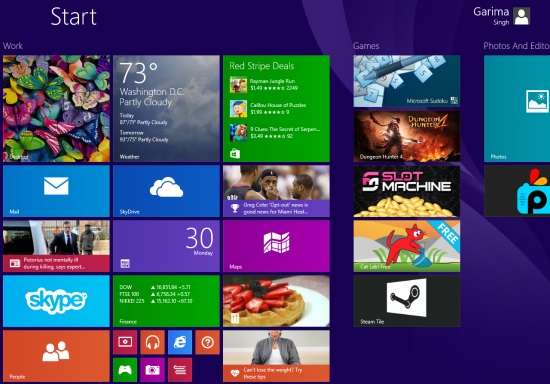
Step5: Click anywhere over the screen, to exit from the customization option. Now you can see your metro apps are organized under different relevant groups.
Removing Groups From Windows 8.1 Start Screen:
If you want to remove the groups, then you can easily remove them using the Customize option. To remove, click on the customize option again. On the group name box, you will find a cross icon at the right corner of the screen. Clicking on it will remove the group of the app.
Conclusion:
Pinning too many applications or folders on the Start Screen makes it look more complicated. So with this tutorial, you can easily group your Start Screen apps in many different categories as per your preference. All the steps involved are easy to go and you will be easily able to group the apps.
Do you have too many apps on Start Screen of Windows 8? How do you manage them? Let me know in comments below.