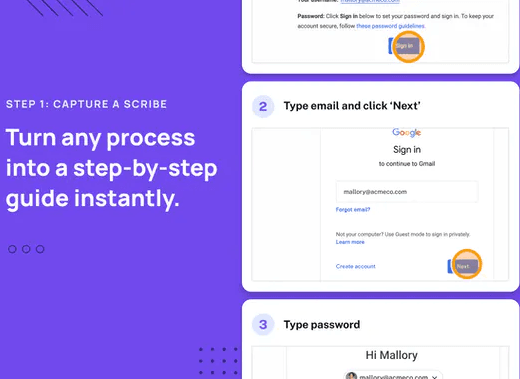
Pages by Scribe is a new free tool that you can use to create beautiful documentations and guides using the Scribes in your account. It now offers you a Notion like editor where you use the different blocks to create your document and then publish it.
The pages that you create here can be shared through a public link. One of the best use case is for onboarding new employees in your company. You can create and publish onboarding guides which will help the newcomers learn the rules and ways of the company.
We covered Scribe quite some time ago and you can go to this link to read all about how to create how to guides automatically with this. And now with the Pages you can combine multiple step-by-step guides to a single document and share it. Not only that, it offers a simple editor where you can insert other blocks such as videos, bullet lists, headings, and much more.
In the new Pages by Scribe, you can embed external media as well. You can embed videos and some other kind of multimedia stuff to create a beautiful shareable documentation.
Pages by Scribe: Visually Create and Publish Step-by-Step Guides
In order to get started with Scribe Pages, you just need to have a free account with it. I am assuming you already have some Scribes only in your account. And if you are using it for the very first time, then you can revisit the article I have linked above.
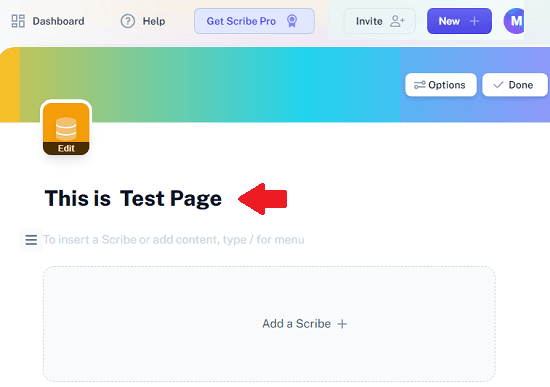
Now, create your first page, and give it a title.
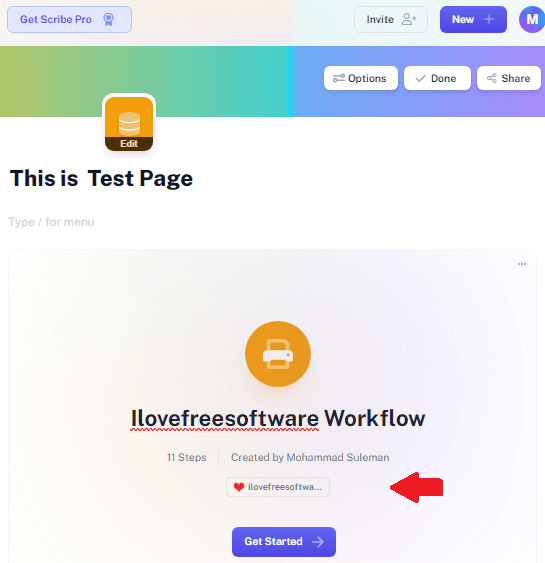
Start creating the documentation content now. Start by adding a Scribe into this document. You can select any Scribe from your account and then insert in the document.
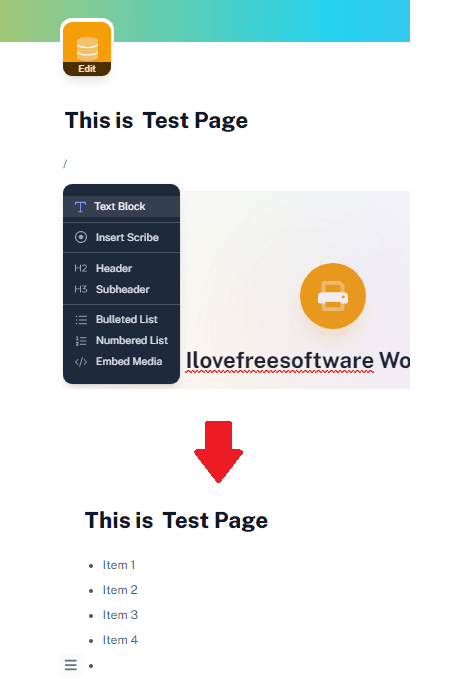
The editor of Scribe Pages supports the slash(/) command. Type the slash character and then it will show you the possible list blocks that you can add in your document. For example, I am using bullet lists in my page. Similarly, you can insert other media in your documentation page. So, do that and when you are done you can simply save the changes.
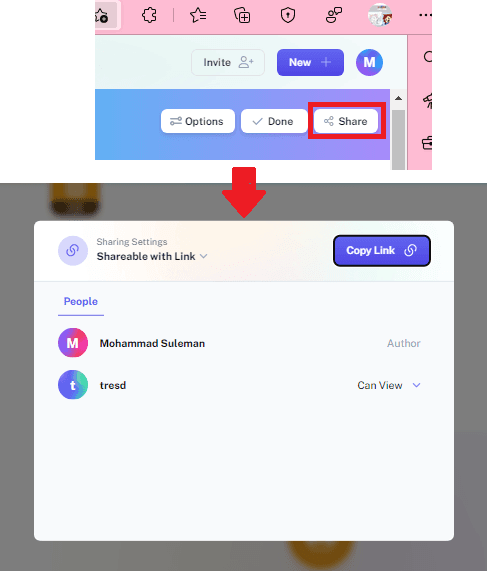
After the documentation is ready, you can share it. Click on the Share button from the top right side and then copy the link that it gives you. You can share this link with anybody and they can go through the documentation that you created.
In this way, you can now create beautiful documentation using Scribe Pages. The process is simple and it just takes a few minutes. However, you have to note one thing here, if the Scribe you have inserted is private then it will not be shown to the public view of the page. So, if you want your page to be visible to everyone, then you have to make sure that the Scribe you have embedded is public as well.
Final thoughts:
If you are already using Scribe, then you will like it’s new feature that lets you consolidate multiple Scribes into a single document which is shareable. You can use it for whatever reason but the most suited use case would be creating detailed guides by adding external content as well. So, give it a try and then let me know what you think about it.