In this article we will be explaining the steps to send emails using Notion. For those who haven’t heard about it, Notion is a free productivity and note-taking application that offers a range of organizational tools including task management, project tracking, to-do lists, calendars, bookmarking and more.
For the purpose of emailing, we will use an online tool called Notionsender. This tool allows you to Save emails to Notion as well as Create Emails from Notion pages and send them to others. Let us see the steps that are involved in both functions.
Working:
Receive Emails in Notion –
1. Click on this link to navigate to Notionsender.
2. Click on the ‘Connect Notion’ button and sign in to your Notion account if you are not already signed in. This will take you to the Connections page of Notionsender.
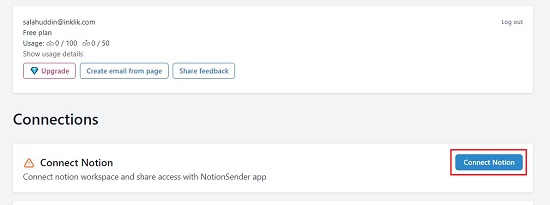
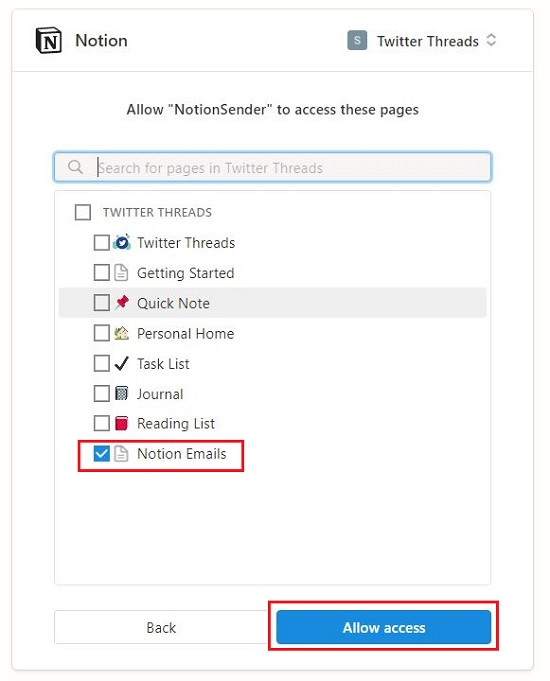
3. Click on ‘Connect Notion’ once again, then click on ‘Select Pages’ and select the Notion Pages for which you want to grant access to Notionsender.
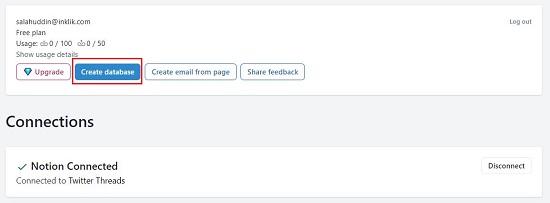
4. To save emails to Notion, you must create a Database in the Notion page that you have selected above. Click on ‘Create Database’, choose the parent page and specify the name of the database.
5. Now, choose the ‘Inbox’ feature and select if you wish to save the Emails as Notion blocks or as Widgets. Notion blocks work best for regular emails while Widgets are well suited for newsletter emails.
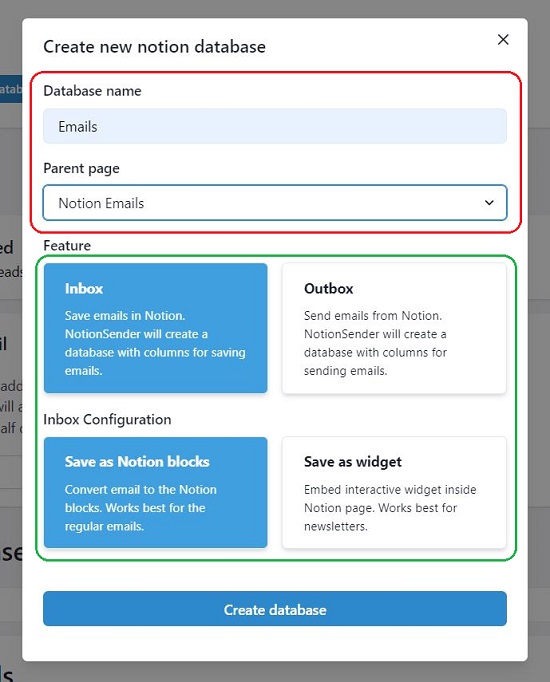
6. Click on ‘Create Database’ at the bottom to finally create the Notion database in the selected page.
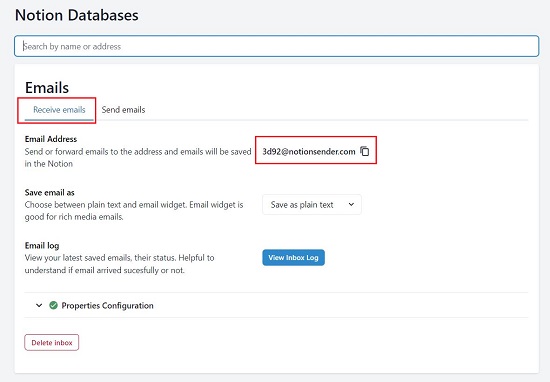
7. The Notion Database that you just created will now be visible on the Notionsender page. Click on the ‘Receive emails’ tab and you will be able to view the email address to which emails have to be sent. Once an email is sent to this address, it will be saved in the Notion database along with useful information like date, attachment files, sender’s email and more.
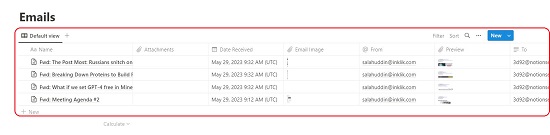
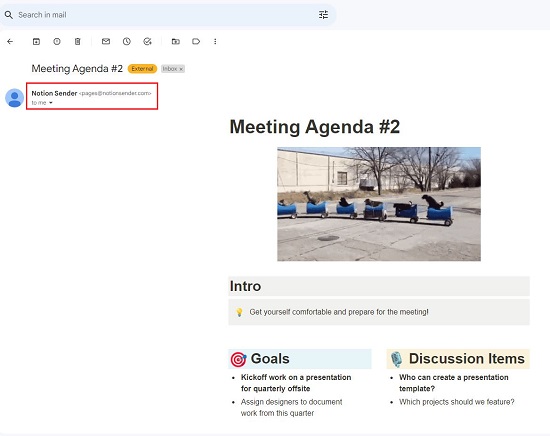
8. To view the received emails, navigate to the specific Notion page and open the Notion Database. Hover your mouse over the Name and click on ‘Open’ to view the email in the Notion side peek. An image of the email will also be available in the ‘Email Image’ column.
Send Notion Pages as email –
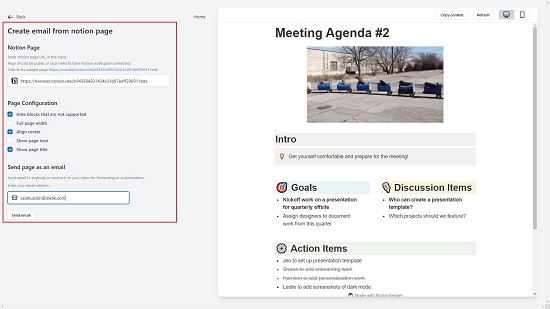
1. To send any Notion Page as an email, click on the button ‘Create email from page’ at the top and paste the URL of the Notion page in the box. Use the Page Configuration section for settings related to page width, display alignment and more.
2. Finally, type / paste the recipients email address and click on ‘Send Email. In a few seconds the selected Notion page will be delivered to the specified email address.
The Premium Feature of Notionsender allows you to enter your own email address so that it will appear as the Sender when you send emails from Notion. Click on the ‘Upgrade’ button at the top to subscribe to this feature. In the Free Version, the Notion Pages are sent on behalf of [email protected]
Closing Comments:
Notionsender is a good tool that you can use to save emails in a Notion Database along with important metadata or to send any Notion Page as an email to a specified email address. You can streamline your workflows and increase your productivity without leaving the confines of Notion. Go ahead and give it a try and write to us about what you feel.