FalsiScan is a free command-line tool to false sign, false scan a PDF document with ease. The entire tool is actually a shell script that relies on ImageMagick then add your signature in the PDF file. There are two simple commands that you have to execute in order to sign a PDF file to make it look like it has been signed by hand. After that, you can simply send that file over email or any means. However, for this tool to work, you need a computer with good hardware configuration as it deals with a lot of image manipulation.
Basically what FalsiScan does is take signature images from you and them place them in the target PDF file at the specified coordinates. And to create signature images, it included a separate utility for that. The entire process of false signing PDF to make it look like it’s been signed by hand comprises of two simple steps. In the first step, we will generate signature images and in the second one, we will simply add them in the target PDF file. Before starting with the process, make sure that ImageMagick is installed and policy settings are set to allow reading and writing of PDF files.
How to False Sign, False Scan a PDF Document?
I am assuming that you have ImageMagick installed and configured. If now then you can download it from here or install it using the package manager. Next, you have to clone this GitLab repository and then extract it somewhere in your PC. In this file, you have to print the “Signature_guide.pdf” file. After that add your hand signatures in the boxes and scan this PDF file and save it as “signatures.pdf” file. We will use this file to extract signatures and save them as images.
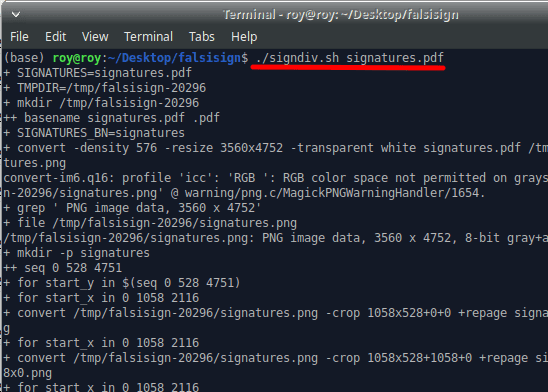
To prepare signatures using the “signtaures.pdf” file, you run the following command. Make sure that you open a terminal in the same folder where you have extracted the contents of FasliScan’s git repository. After running the command, you can simply wait and it will create signature images for you that you can find inside the “signatures” folder that it will create.
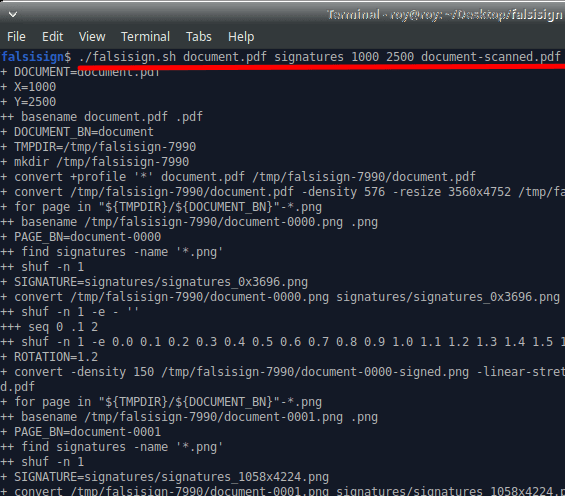
Now when the signatures are created, it is time to add them in the target PDF file. To do that, you run the following command. The first argument is the document you need to sign. Second argument is the folder with your different signatures. Next two arguments are the X-Y coordinates where your signature will be and
the last argument is the output file. You have to make changes in the arguments based on the PDF file you are adding signatures to.

After this command finishes, you can just find the final PDF file and then see the signatures that this tool has added. This way, you can use it to false sign and scan PDF files to make them look like they are hand-signed. And this way, you will be saving more paper and ink in the process.
Closing words
Although the process seems too easy but if you are new to this like me then you will be spending so much time in setting up ImageMagick. It didn’t work for me during first time, so I will urge you to make sure ImageMagik is set t work with PDF files. By default, it is not and you have to enable PDF read and write operations in the policy. Also, you have to change the policy settings for hardware configurations. The better option is to comment put all the memory and disk usage stats. If you don’t do this then it will take too much system resources and your PC may hang frequently.