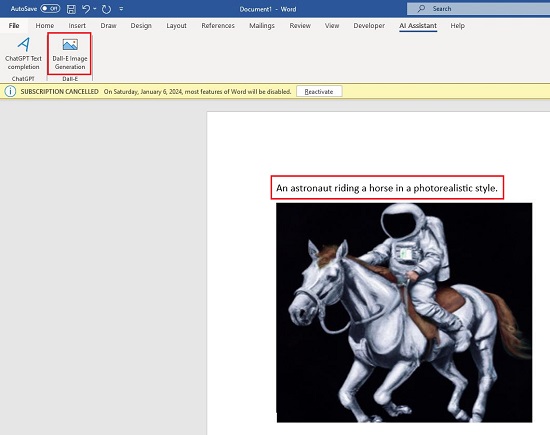
By simply clicking a button in Microsoft Word, you can effortlessly generate unique images using OpenAI’s Image Generation Model, DALL·E. All you need to do is input your text prompt within the Microsoft Word document, and then activate the DALL·E Image Generation feature found in the AI Assistant tab. After a brief moment, DALL·E will produce the image which will be displayed below your original text within Word.
This article will guide you through the process of integrating DALL·E’s Image Generation feature into Microsoft Word. The steps for adding the Image Generation button to Microsoft Word can be divided into four fundamental stages, which we will elaborate on below.
How it Works:
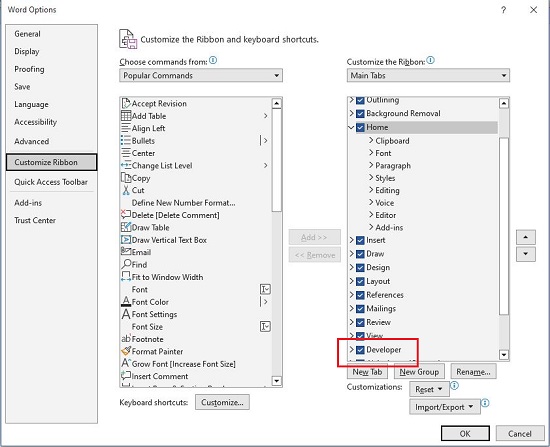
Enable the Developer Tab
Navigate to the ‘File’ tab, click on ‘Options,’ and then choose ‘Customize Ribbon.’ In the ‘Customize the Ribbon’ section, enable the check the box labeled ‘Developer’ under the ‘Main Tabs’ category.
Import the VBA script file
1. Click on this link to download the source code (in zip format) from the GitHub repository. After downloading, extract the contents of the zip file and find the ‘Dalle.bas’ file within the ‘\create-images-with-dall-e-in-microsoft-word-0.1.0\src’ folder. Keep note of this location for future reference.
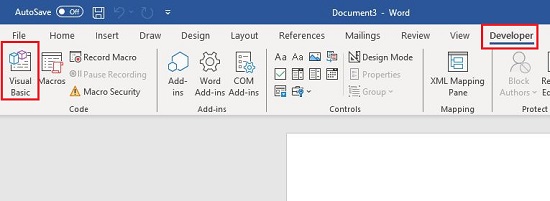
2. Select the ‘Developer’ tab that you activated in the previous step, and subsequently, click on the ‘Visual Basic’ button.
3. Make sure that the ‘Normal’ template is chosen and then click on File | Import file in the left-side panel.
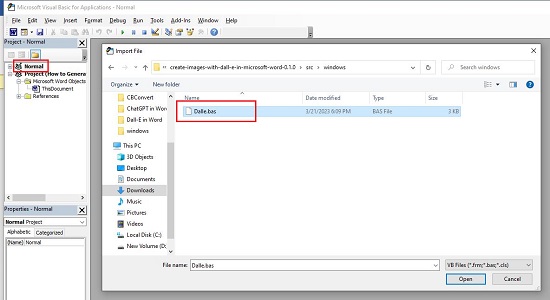
4. Pick the ‘Dalle.bas’ file from the specified location, and then click ‘Open.’
5. Finally, click on File | Save Normal and close the current window.
Create the Dall-E button in the Microsoft Word Ribbon
1. Select the ‘File’ tab and then click on Options > Customize Ribbon.
2. Next, hit the ‘New Tab’ button and proceed to rename the New Tab to ‘AI Assistant’.
3. Notice that a ‘New Group (Custom)’ will be automatically generated beneath the ‘New Tab.’ Rename it to ‘Dall-E.’
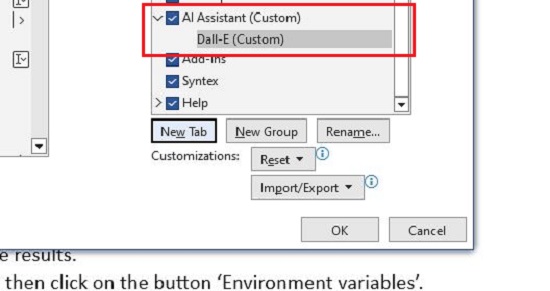
4. Next, make sure that ‘Dall-E (Custom)’ selected, and from the dropdown box at the upper left, select ‘Macros’ in the ‘Choose Commands from’ section.
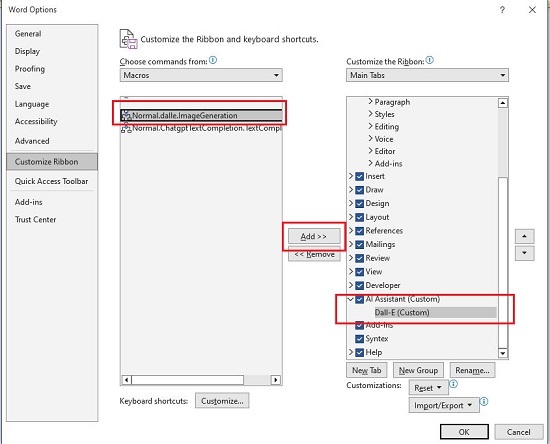
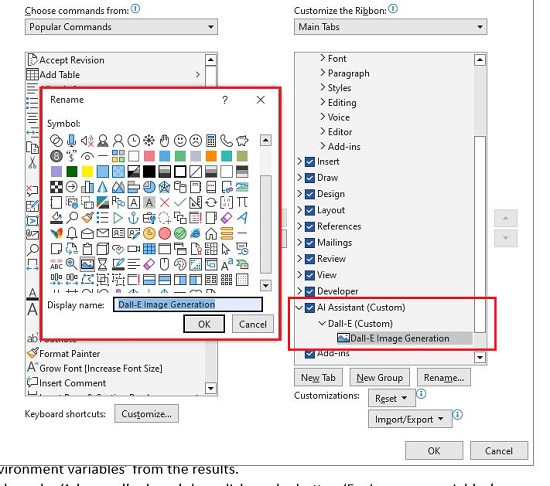
5. Choose the ‘Dalle Macro’ and click on ‘Add.’ Then, proceed to customize the button’s name to ‘Dall-E Image Generation,’ select an appropriate symbol, and click ‘Ok.’
Add your OpenAI APIKey into Windows
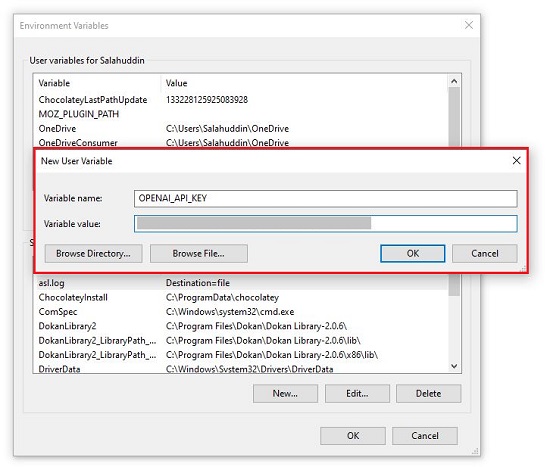
1. Enter ‘environment variables’ into your Start Menu search bar and select ‘Edit the system environment variables’ from the search results.
2. Click on the ‘Advanced’ tab and then hit the button ‘Environment variables’.
3. In the ‘User Variables’ section, click ‘New’ to generate a fresh user variable. Enter OPENAI_API_KEY in the variable name field, paste your Open AI API key into the variable value field, and then click ‘Ok.’
4. Restart your Windows operating system to apply the new environment variable.
Using the ChatGPT text completion functionality
1. Enter your desired text prompt that you want to send to DALL·E within Microsoft Word.
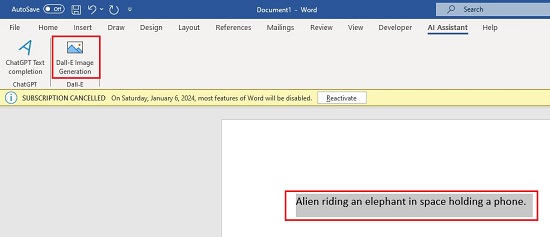
2. Select the ‘AI Assistant’ tab and then click on the ‘Dall-E Image Generation’ button.
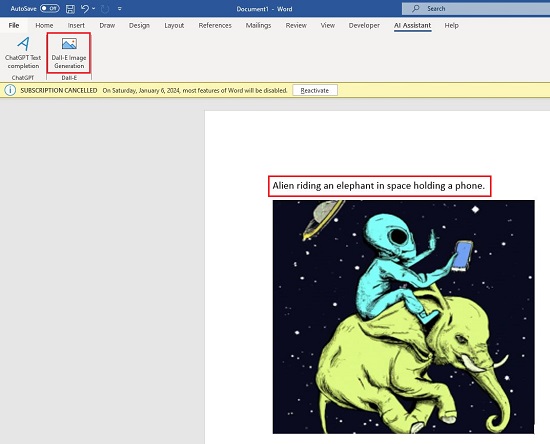
3. Patiently wait for a moment as ChatGPT generates the response beneath the initial text in Microsoft Word.
Closing Comments:
Using the steps that we have described above; you can effortlessly incorporate DALL·E Image Generation capabilities into MS Word by utilizing the VBA script file.