This is a simple tutorial to demonstrate how to take screenshots via Snipping Tool in Windows using shortcuts. Here this tool assigns some fixed shortcuts to various sniping methods found in the Sniping Tool that ships with Windows. Here the tool is called SnipKey and it keeps running in the background to listen for the shortcuts and then launch Snipping Tool in the intended mode so you can take screenshot of the screen with ease. It is a good tool for Windows 10 if you are still using it but it is great for people still using earlier versions of Windows such as Windows 7 and Windows 8.1.
The legendary Snipping Tool no need for any description as all the Windows users know about this. And I am sure that at some point in your life, you must have used it to take screenshots of windows and annotate them. But one annoying thing about Sniping Tool is that you have to manually launch it whenever you want to take some screenshots. Also, before actually taking a screenshot, you have to select a mode first. There are no keyboard shortcuts for this but if you are still using it then SnipKey can help you and you can see the details below.
How to Take Screenshots via Snipping Tool in Windows using Shortcuts?
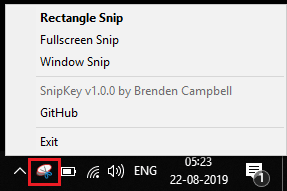
Snip Key is free and open source tool that you can use in Windows to invoke Snipping Tool via keyboard shortcuts. This is basically an AutoHotkey script that you can run easily if you have AutoHotkey setup on your PC. Otherwise, you can download the EXE file of SnipKey and then run it. As you run it, its icon will appear in the system tray as you can see below.
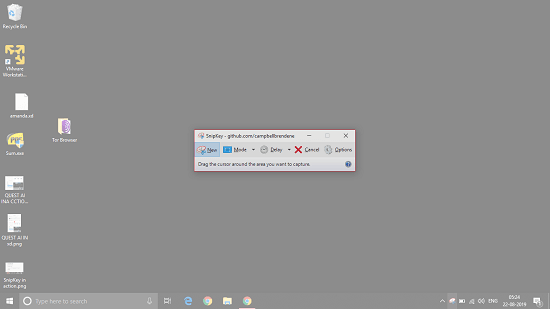
Now, it is time to invoke the tool via keyboard shortcuts. There are 3 predefined keyboard shortcuts that you can use to run this screenshot tool. You can hit the keyboard shortcuts and it Snipping Tool will open up in the corresponding mode. The supported 3 shortcuts are:
Win+\: Rectangular screen area snip

Win+Shift+\: Fullscreen snip

Win+Ctrl+\: Active Window snip
You can hit the keyboard shortcut based on the type of snip you want to capture. Currently, these keyboard shortcuts are fixed. But if you have knowledge of AutoHotkey scripting then you can edit them in the source code of this tool. Also, you can further enhance or contribute to its development on GitHub.
Final thoughts
In near future, this tool will be no longer be required in Windows 10 as Microsoft is going to remove Snipping Tool. But it is a great tool for people still using older version of Windows and Snipping Tool to capture screenshots. And if you are one of those people then you will really like this simple tool to open Snipping Tool in desired mode by just pressing a specific keyboard shortcut.