Here are 5 free image editor with custom brush. Using these free image editors, you can easily create a custom brush using a selection or by drawing. Also, in most of these image editor you can save the newly created custom brush to a file and then use it later. Some of these image editors have native ability to add a custom brush while some of them use an external plugin to do the same.
There are very few image editors which support custom brushes. And I have listed some of them below. Apart from creating a custom brush, these free image editors come with another set of nice features that you will find in them when you use them.
So, let’s start exploring this list of 5 free image editor with custom brush.
5 Free Image Editor with Custom Brush
GIMP
GIMP is a cross platform image editor and the best free alternative to Adobe Photoshop out there. It offers a lot of features that Photoshop offers, and of course you can create your custom brush in it. Apart from that it comes with basic and advanced image fixing tools. In GIMP, you can easily create a custom pattern and save it as GIMP brush file (GBR). The file can be then exported to the brushes directory of the GIMP and the new brush will be listed there in the brushes panel.
Follow these simple steps to create a Custom Brush in GIMP.
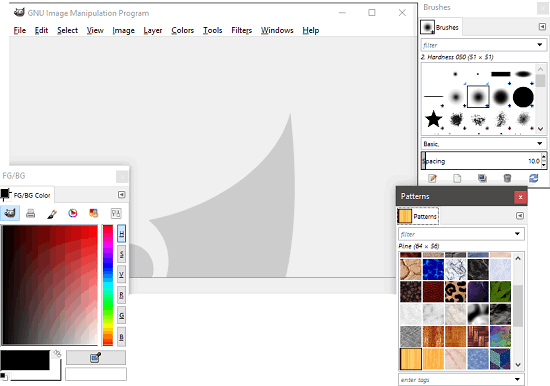
Step 1: Download and install the latest version of GIMP using the above link. After that, open it up and you will see its scattered interface.
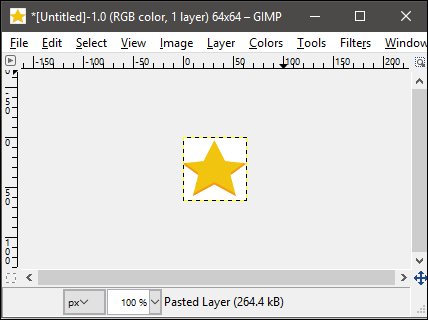
Step 2: In the editor window of GIMP, create or import an image that you want to use as a custom brush. After that resize it the desired brush size. For example, I have imported an image and resized it to 64 x 64 size.
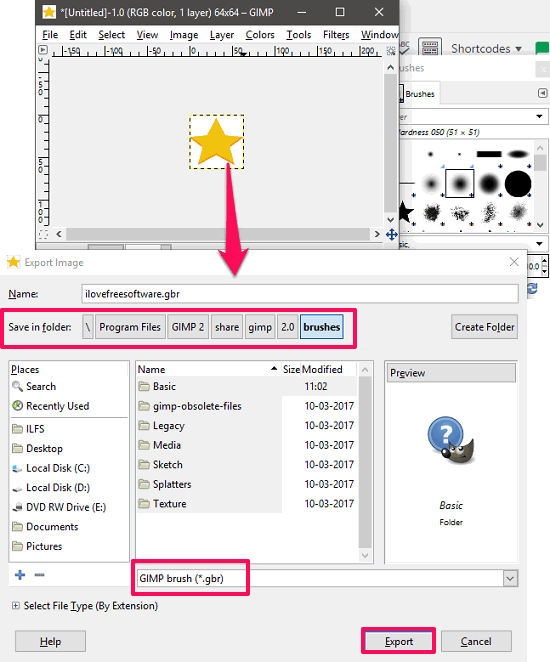
Step 3: Export this image as GIMP brush file to the brushes directory of GIMP. The Brushes folder of GIMP is located at: C:\Program Files\GIMP 2\share\gimp\2.0\brushes. You will find various folders there corresponding to the different brush types. You can save your brush file in a folder.
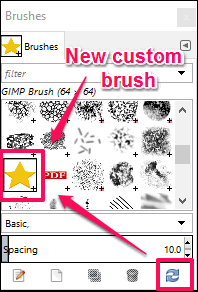
Step 4: Open the brush Panel using the Ctrl+Shift+B keyboard shortcut. After that click on the refresh button and your newly created brush will be displayed there.
So, in this way you can easily create a custom brush using GIMP. And after adding the new custom brush in GIMP, you can always use in on images or on your drawings.
And, I really like the fact about it that you can easily create and export brushes in it and you can use almost any type of drawing to do that.
MS Paint
Very few people know this fact that you can use a custom brush for your drawing in one of the oldest image editor, MS Paint. There is no need to describe anything about it as we all have used this Windows’s native software in our childhood. MS Paint offers many image drawing and manipulating features. And one of those features is using a custom brush.
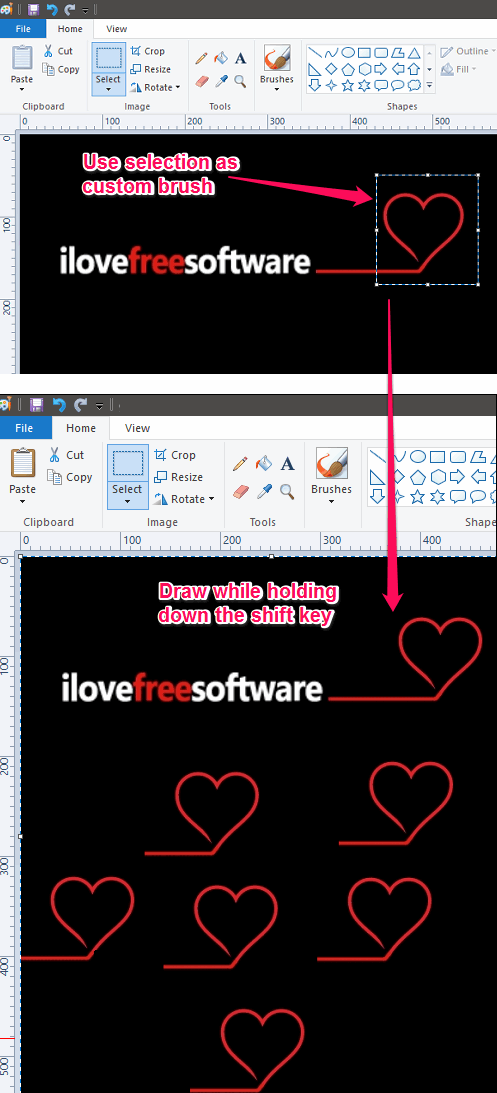
In MS paint, you can use an image or selection as a custom brush. However, there is no option available to save the brush for later use. The custom brush created via MS Paint, can be used in currently open images or image. To use a selection as custom brush, simply select the area of an image that you want to use as a custom brush. After selecting the desired area, simply drag and draw using the current selection while holding down the shift key. If you want to use the current custom brush later, then you can save the current selection as an image and use it later in the same way which I have already explained.
If you still use MS Paint to draw over images or creating a new ones, then you can use the custom brush feature to enhance your drawings.
Paint.net
Paint.net is quite a popular image editor out there which can even edit PSD files. And, it comes with almost all image fixing tools and features. And the best part id that it is an extensible software as it supports a large number of plugins. That’s the feature of Paint.net we will use to create a custom brush. Paint.net doesn’t offer a custom brush feature with native tools, but there is a plugin for it, CustomBrushesMini that lets you create a custom brush from image files. You can even import the GBR file (GIMP brush file) to use as a custom brush.
Follow these simple steps to create custom brush in Paint.net.
Step 1: Download and install Paint.net from the link above. After that, open it up and draw a pattern on it that you want to use as a custom brush. You can also use an existing image to create a brush. After creating the brush pattern, resize it to the desired size and save it to any location.

Step 2: Download CustomBrushesMini plugin from this link. After that extract the contents of the zip file and paste them to the Paint.net’s installation folder. Paint.net’s installation folder is usually available at C:\Program Files\paint.net.
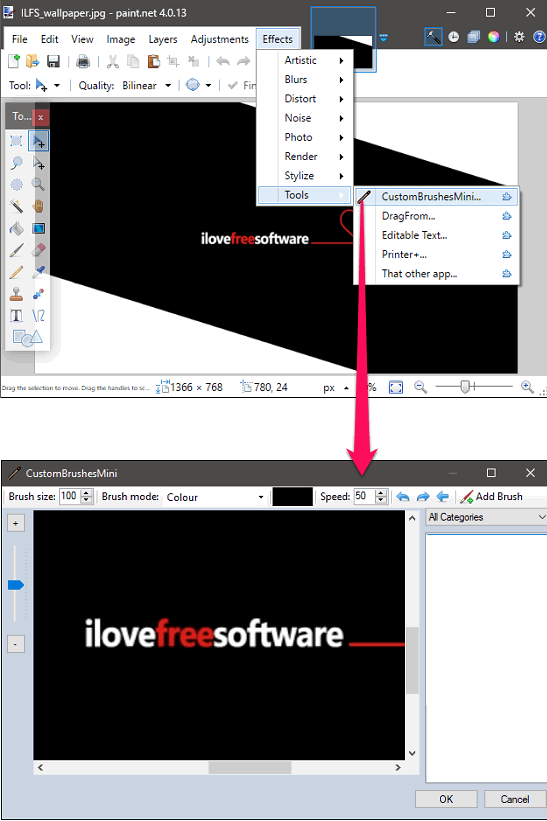
Step 3: If Paint.net was open during the installation of the plugin, then restart it. After restarting the Paint.net, invoke the plugin from the Effetcs > Tools > CustomBrushesMini menu. You will see a new window will pop up which is the interface of CustomBrushesMini plugin.
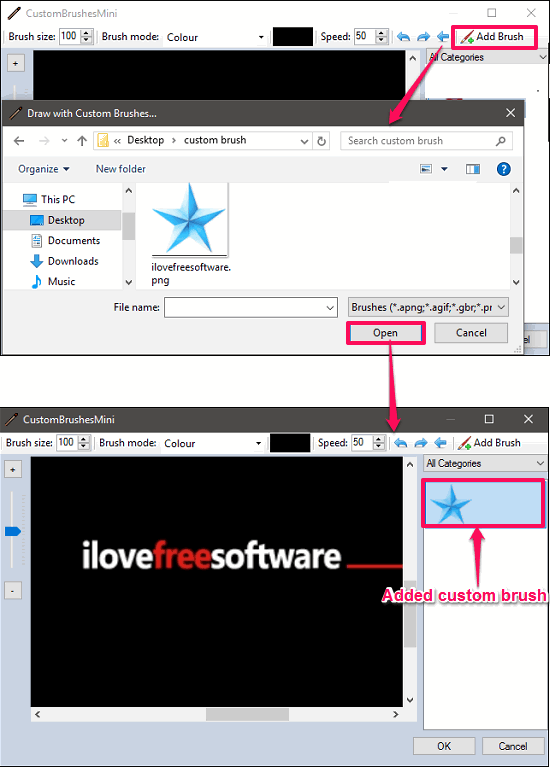
Step 4: Use the Add Brush button to add the custom brush from an image file. You can import the same image file that you have already exported in Step 1. After doing this, the custom brush will be listed in the right pane. You can see the below screenshot.
So, it was the case with Paint.net to create and use custom brushes. If you already have Paint.net installed on your PC, then you can start using custom brushes in it using the CustomBrushesMini plugin.
LazPaint
LazPaint is cross platform and free image editor with custom brush. It also comes as a portable software, so you can use it without actually installing it. For using a custom brush, there is an option available to use an external image as a brush. And the brush that you import from the file, you can use various parameters such as opacity, width, and size.
Follow these simple steps to use a custom brush in LazPaint.
Step 1: Download the portable version of LazPaint from the above link. After that, launch it.
Step 2: Open nay image in it and then select the Brush tool. After that, at the top of the interface of LazPaint, you will see various customization options.
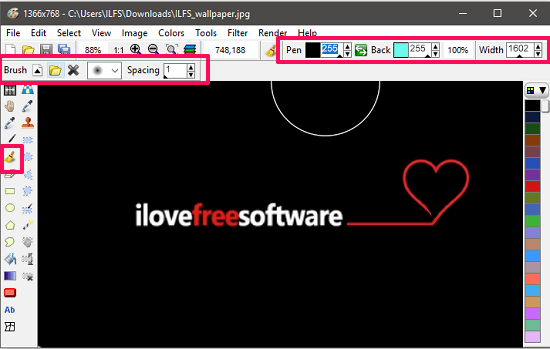
Step 3: Use the folder icon button to import an image to use as a custom brush. You can then draw on an image using the imported custom brush or do whatever you want.

So, in this way you can easily create and use custom brush in LazPaint. It is a quite a different software which is written in Lazarus and works pretty well when it comes to edit images using it.
Chasys Draw IES
Chasys Draw IES is another free software with custom brushes. This image editor is quite unique among all the image editors that I have listed in the above article. It comes with a lot of image fixing tools and functions and some of them are quite unique, such as generating a QR code. Apart from that, you can also create and define your own custom brushes in it. Also, you can export the custom brush as CD5 file and use it later.
The process of creating a custom brush in Chasys Draw IES is very much similar to what I have explained for image editors. Just follow these simple steps to do that.
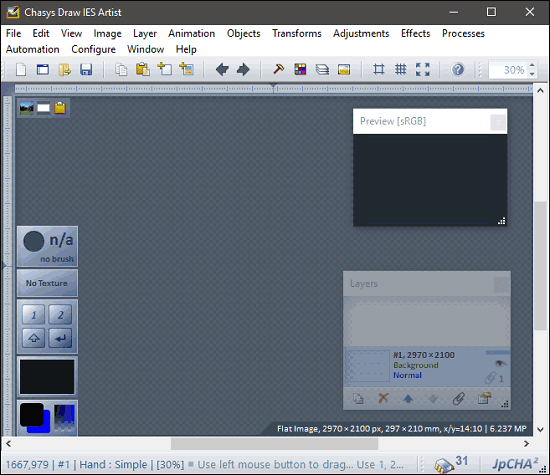
Step 1: Grab the setup file of Chasys Draw IES from the link. After that, install it on your PC and launch it. You will find its interface similar to the following screenshot.
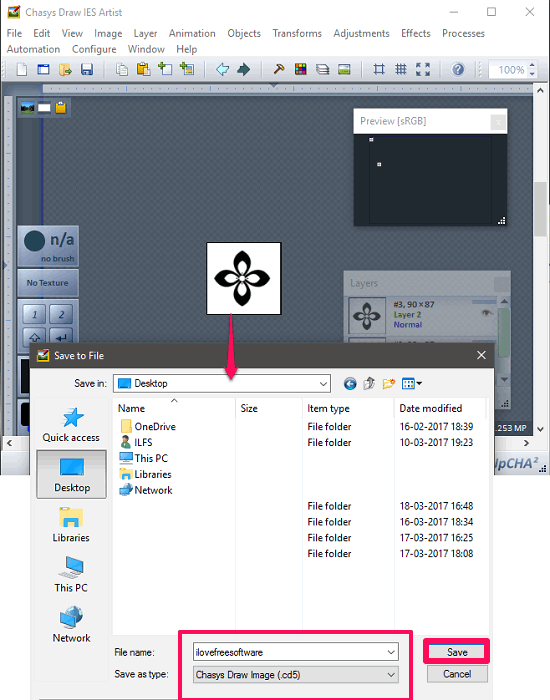
Step 2: Draw the brush pattern in it using the editor window or use an existing image to use as a brush. After resizing and finalizing the brush save the image as Chasys Draw Image (CD5). Now, at his point you have created a custom brush in Chasys Draw IES.
Step 3: Now, you can open any image in Chasys Draw IES and use the custom brush by importing it from the same location where you saved it. Use the Objects > Brushes > Load from File menu. Then do whatever you want.

Chasys Draw IES is another free image editor with custom brush. The software works pretty fast the custom brush works as it supposed to do.
Final Words
These were some pretty cool image editors with custom brush. All of the above software do what they promise and depending on your need, you can try any one of them. Some of these software come as a portable software or with some advanced editing options. If you are a customization enthusiast, then I am sure that you will like these free image editors with custom brush.