This article covers an easy method to schedule your Google Account for Auto Delete when not used. In this digital world, a large number of users are connected with Google service and using different Google products like Email, Photos, search queries, Map and others. Using these products, the company collects lots of information about you to make their service more relevant for you. However, an age comes when at a certain time you will pass away, but your account stays in the server and remains active even after you.
In order to clear the data from the server, there is a useful feature that lets you schedule your Google Account to delete automatically. All you need to have is to follow a few easy steps which are explained in the below section. So, let’s know the way to perform it.
How to Schedule Your Google Account for Auto Delete When Not Used?
Nowadays, most of the people are well familiar with the Google services and use them as well. These services collect heaps of different types of information that you would not want to make public even after the end of your life. If you want to remove your personal information from your Google Account, you need to follow the given steps:

Step 1: First, you need to open your default browser and Sign in with your Google Account. On the Google Account page, select Data & personalization from the left pane. Scroll the mouse wheel until you reach “Download, delete, or make a plan for your data” section.
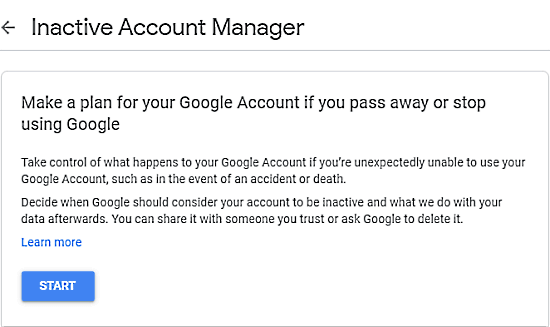
Step 2: On the corresponding section, select Make a plan for your account and you visit on the Inactive Account Manager page. Here, you can see a small summary of the feature. Click on the Start button to continue the process.
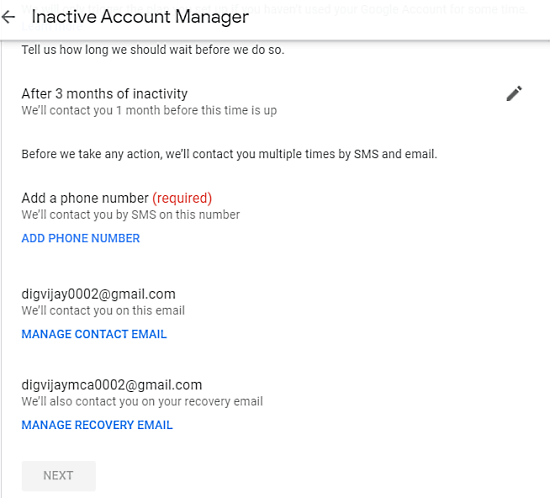
Step 3: As a next step, you need to Set waiting period, so that you could re-activate your account within the given time period if you change your mindset. The waiting period is 3 months, 6 months, 12 months, and 18 months. Once it completes the selected duration, your account will be permanently inactive.
Step 4: Also, verify your contact details like active phone number and valid email id. Before deactivating your account, Google might contact you multiple times regarding your confirmation through SMS and the given email ID.
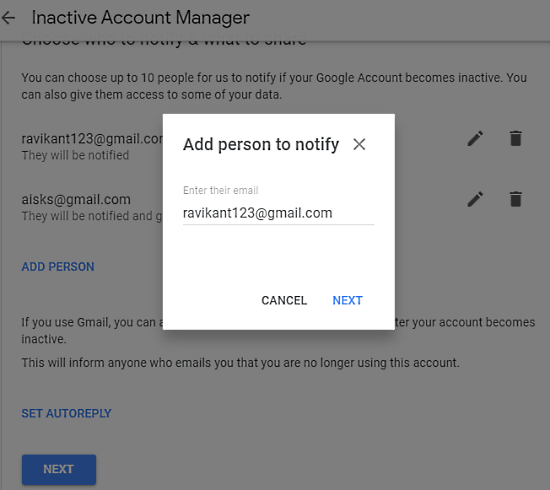
Step 5: Click on the Next button and it opens a new page that asks you to add up to 10 people. These people will get notified when your account will be deactivated. In order to proceed, click on the Add Person, enter the email address, and then hit the Next button.
Step 6: As an alternative way, you can also use the Set Autoreply function. It sends the message automatically to your loved ones when the account gets inactive. In order to use this feature, click on the Set Autoreply link.
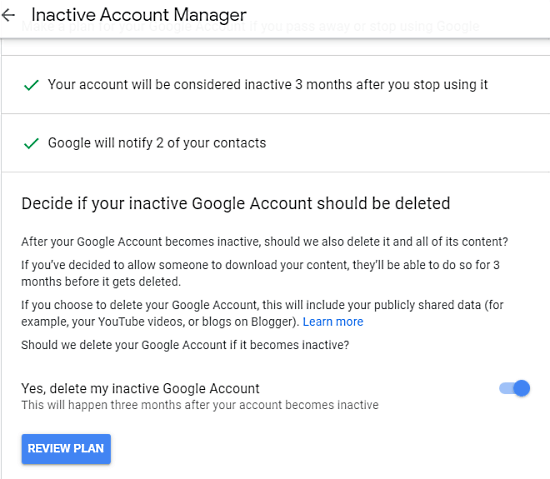
Step 7: In the next step, turn on the toggle switch, adjacent to “Yes, delete my inactive Google Account”. Now, your account will be deactivated if you don’t use the account for three months since today.
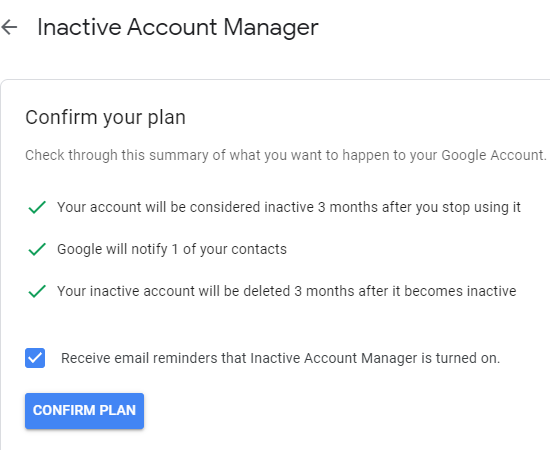
Step 9: Clicking on the Review Plan button, a new page appears regarding your account removal and preferences. Make sure the checkbox is marked before “Receive email reminders that Inactive Account Manager is turned on”. Finally, click on the Confirm Plan to save the changes.
Closing word:
This is a simple and straightforward approach to schedule your Google Account for auto delete when not used. In the process, Google wants you to set the waiting period, enter a working mobile number and a valid email id. Through SMS or email address, the company will contact you before 1 month of the configured time for your confirmation. And finally, your account will be considered inactive after the expired time.