This tutorial explains how to change the default font in Windows 10. It can be done easily with a simple tweak in Windows 10 Registry. You need to create and install a font file in Windows 10 Registry. Once the new font file is installed, you will notice the changes all over your Windows 10 PC.
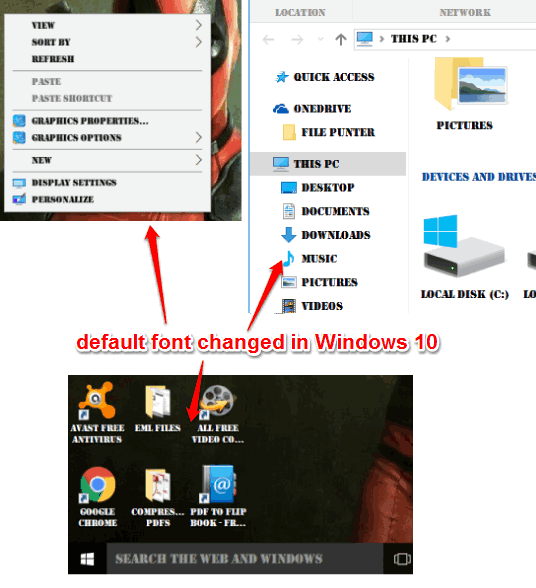
The default Windows 10 font is replaced with the new font and changes can be seen easily in the text of desktop icons, Control Panel, system tray clock, the title bar of applications, File Explorer, right-click context menus, and more.
In the screenshot below, you can see the new font on different areas on my Windows 10 PC.

Also check:
- How to Hide Email Address on Lock Screen in Windows 10.
- How To Add One More Column To Windows 10 Start Menu.
- How To Change The Mac Address In Windows 10.
How To Change The Default Font In Windows 10?
Step 1: Before you add changes, it is a good idea to backup the whole registry or create system restore point. To export the registry, you need to open Registry Editor → File → Export.

Step 2: Copy the following code and paste it in Notepad.
Windows Registry Editor Version 5.00
[HKEY_LOCAL_MACHINE\SOFTWARE\Microsoft\Windows NT\CurrentVersion\Fonts]
"Segoe UI (TrueType)"=""
"Segoe UI (TrueType)"=""
"Segoe UI Black (TrueType)"=""
"Segoe UI Black Italic (TrueType)"=""
"Segoe UI Bold (TrueType)"=""
"Segoe UI Bold Italic (TrueType)"=""
"Segoe UI Historic (TrueType)"=""
"Segoe UI Italic (TrueType)"=""
"Segoe UI Light (TrueType)"=""
"Segoe UI Light Italic (TrueType)"=""
"Segoe UI Semibold (TrueType)"=""
"Segoe UI Semibold Italic (TrueType)"=""
"Segoe UI Semilight (TrueType)"=""
"Segoe UI Semilight Italic (TrueType)"=""
[HKEY_LOCAL_MACHINE\SOFTWARE\Microsoft\Windows NT\CurrentVersion\FontSubstitutes]

"Segoe UI"="Arial"
Step 3: Change the font name visible in the last line of code with any other font of your choice. It can be Tahoma, Verdana, or any other font.
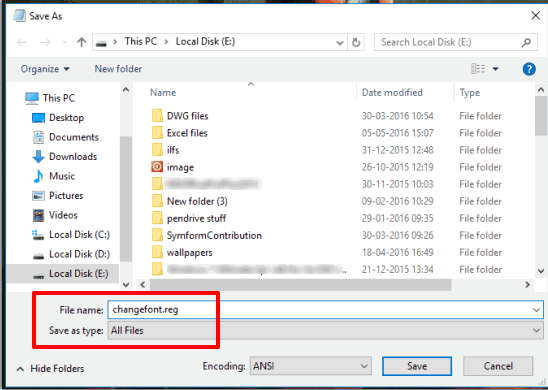
Step 4: Now save the code as REG file. You need to select ‘All Files‘ in Save as type option and add “.reg” extension after the file name. See the screenshot below.

Step 5: Execute the registry file you have just created. Before applying the changes, it will prompt you to confirm the action. Press ‘Yes‘ button.

Step 6: Restart the PC and then you will see the changes.
The Verdict:
If you are bored with the default font used in Windows 10, then this tutorial is surely helpful for you to try and/or permanently use the new font of your choice. All you need to do is create a REG file, add the font name of your choice, and install that file.