ON1 Effects 10 is a free photo editor that comes with hundreds of beautiful effects and many useful tools. You can add two effects together and their combined effect can be applied to the input image. This is something really interesting as well as unique. Apart from applying two different effects (known as Presets), you can also apply a filter to your photo. Filters section include many pre-defined effects, but only one effect can be used at a time.
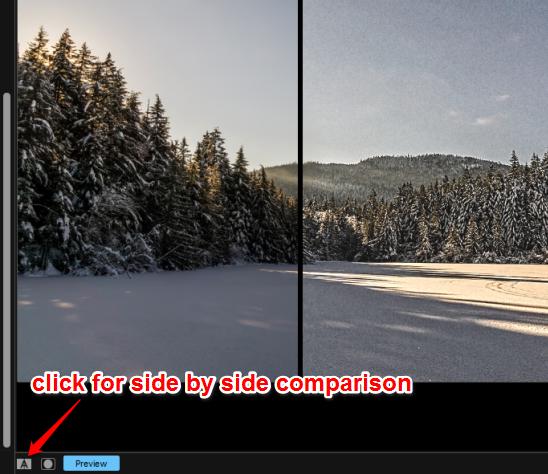
This software also comes with some good tools like Masking Brush, Quick Mask, etc. You can use these tools or masks with filters and effects. By default, a filter or effect is applied to the whole image. However, you can use Mask tool to apply filter/effect to a specific part of the image. This will help you enhance a photo like a pro. And if all this is not enough for you, then you can also change tone (brightness, shadows, contrast, etc.) and set the intensity level of applied effect. Overall, the output will look really good. Also, you can preview changes side by side and also compare original and output image.
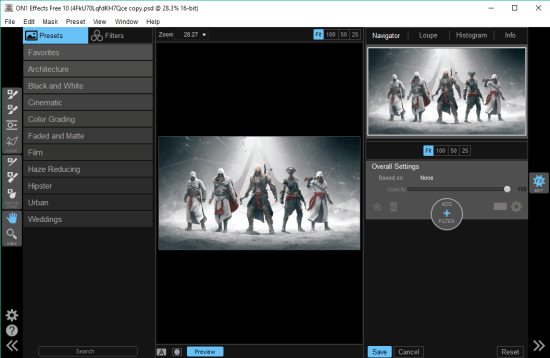
Above you can see the interface of this free photo editor which contains mainly three sections. This software has paid version also, but this free version is enough to turn your dull and simple photos into beautiful photos.
Using This Free Photo Editor:
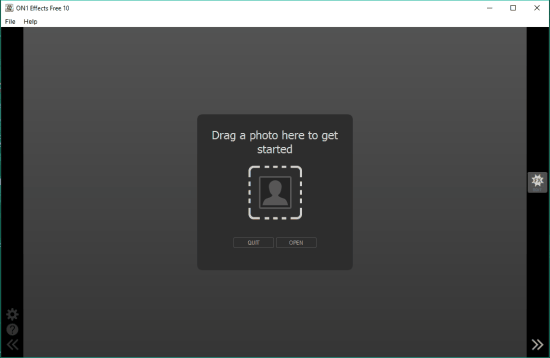
Download the setup (283 MB) using this link and install it. This software is heavy on system resources, so a good configured PC is required to work with this software smoothly. Launch its interface and it will prompt you to insert an image that you want to enhance. This free photo editor supports many popular formats like JPG, TIFF, PSD, and RAW formats images.
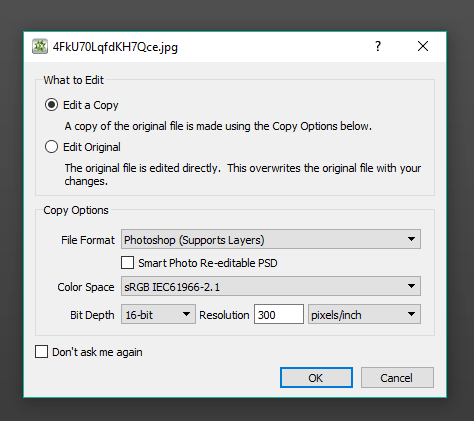
After inserting the image, it also lets you select the output format, resolution and whether you want to make changes to the original image or you need to generate a copy. Select option as per your need and then its main interface will be in front of you.
At first look, its interface might look complicated to you. However, you can take the help of Welcome window (access it using Help menu) that contains video tutorials to use this software.
Let’s make this software easy to understand for you by covering the important sections:
Apply Presets To Photo:
The left section contains a Presets tab. Clicking on it will explore many beautiful effects available in different categories. Available categories are: Architecture, Cinematic, Black and White, Urban, Hipster, Weddings, Haze Reducing, Film, etc. Select a category and effects available under that category will visible to you. You can also mark an effect Favorite and it will store in Favorites category.
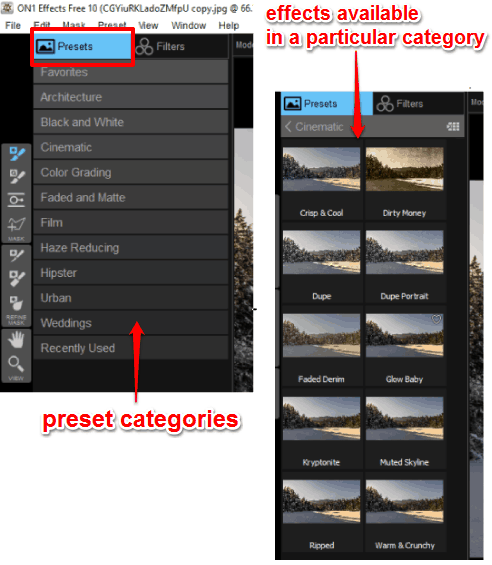
Select an effect and it will be applied to input image immediately. You can see the preview in the middle section on its interface. To apply the combination of two effects, you need to first select an effect and then right-click on the another effect. It will provide Insert Preset option. Select that option and then those two presets will be combined and applied to the image.
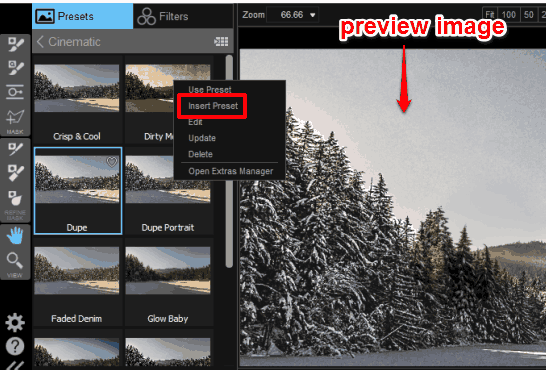
To further enhance the applied effect, you need to access bottom right section of its interface. There you will be able to adjust the opacity or intensity of effect and tone (brightness, contrast, etc.).
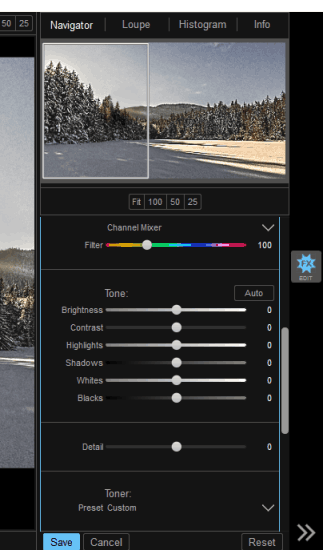
Apply A Filter To Photo:
This is also a very important option available just next to Presets tab. The Filters tab also provides different effects. The only difference is that you can’t use two effects together. Only one effect can be applied at a time. Lighten, Contrast, Glow, HDR, Reveal Shadows, Toothbrush, Magic Eye Fixer, Vibrance, Detail, and other effects are available to choose from.
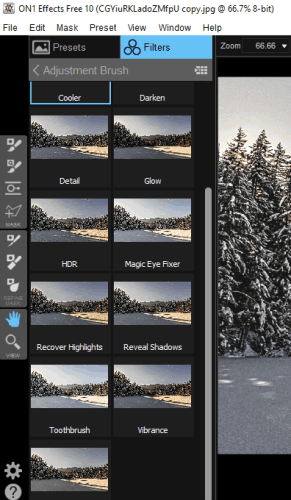
After applying the effect, you can make some more changes to the applied effect using the same bottom right section.
Add A Mask To Applied Filter or Effect:
If you don’t want to apply filter or effect to the entire photo, you can use Mask feature. The left sidebar provides different mask tools that you can use. After this, you need to use the selected mask tool to a particular part in the photo.
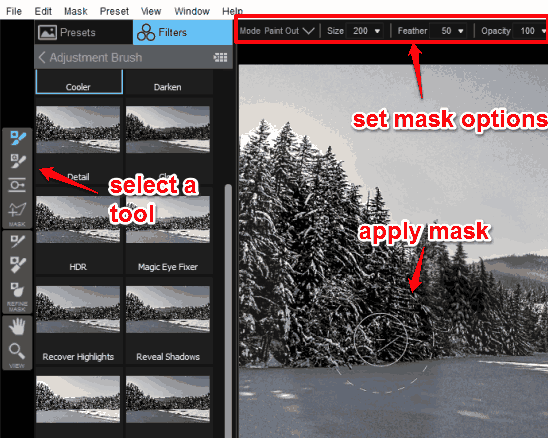
You can also set mask size and opacity using the options visible at the top part on the interface.
When you are finished editing the photo, you can compare original and output photo and then save it.
Conclusion:
This is an advanced photo editor and competes really good with other photo editors. You need to spend a good time to get familiar with this photo editor and then you can use it without trouble. It is surely one of the best software to generate professional looking photos.