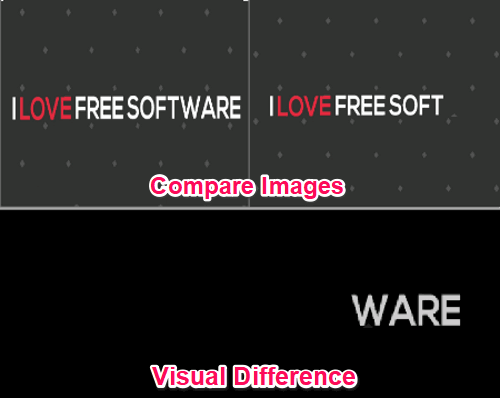
Here are 5 free visual image comparison software for Windows. Using these software, you will be able to easily compare two images and figure out visual differences between them. You can simply add two images to these software and then they will automatically process both the images to find differences like edits, insertion, etc. You can compare the differences visually, as they either show the differences in a new slide or generate a new image with the comparison result. If you want to spot anything that doesn’t match between two images, then using any of these software is probably the best option for you.
One of the best features of all these visual image comparison software is that they can also detect image noise as a visual difference. That means before you use any of the image noise reduction software to remove noise from images, you can use these software first to compare images for noise.
Now, let us get started with these visual image comparison software and see how to use them for comparing images.
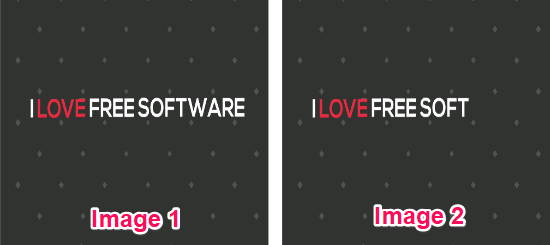
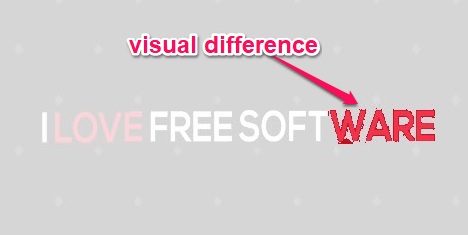
To test these software, I will use the following images in this post. Both the images are same but in Image 2, I have removed some text from the right to check the visual difference.
DiffImg:
DiffImg is probably one of the best visual image comparison software for Windows. It lets you easily compare two images and see the visual differences between them. To precisely identify the difference, it also allows you to apply Gain and Offset to the result.
How to do Visual Image Comparison using DiffImg:
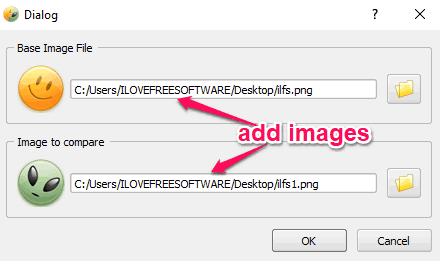
Step 1: After installing and opening this software, a pop-up window will appear on which you would need to add the images which you want to compare. Make sure the type and size of the images are same or else you might get an error.
Step 2: When you’re done adding images, simply click “OK” and then this software will automatically process both the images to find the visual differences. If the images have any difference (visually), then it will show that difference on a separate slide named, “Difference”. You can access that slide from the left panel.
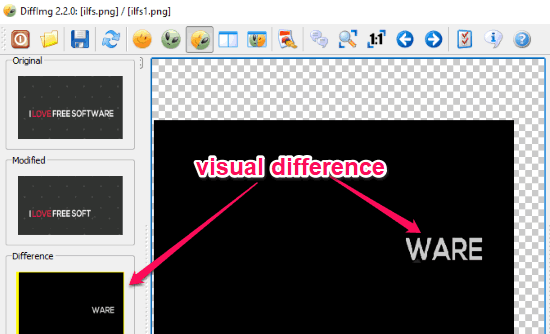
To find the differences more precisely, you can also apply Gain and Offset from the bottom of the left panel to the resulting slide.
Image Comparer:
Image Comparer is another free visual image comparison software which can be used to compare images for visual differences. It lets you simply add two images and then see the differences between the images visually.
How to Compare Images Visually with Image Comparer:
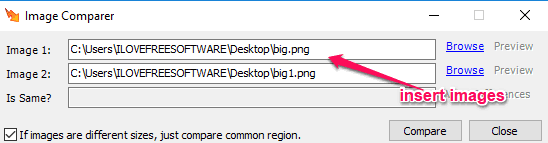
Step 1: To get started, download the portable version of Image Comparer and open it up. After that, it will ask you to add two different images which you want to compare. When you’re done adding both the images, simply click on the “Compare” button.
Step 2: As soon as you do that, it will process both the images and tell you whether both the images are same or different in the “Is Same” field. If it says “False” that means the images are not same and have visual differences.
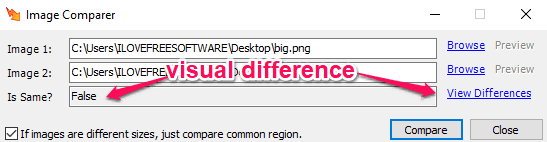
Step 3: Now, to see the visual differences, simply click on the “View Differences” option on the right of the window. Once you do that, a new window will appear where it will highlight the visual difference und the “Differences” tab, as shown below.
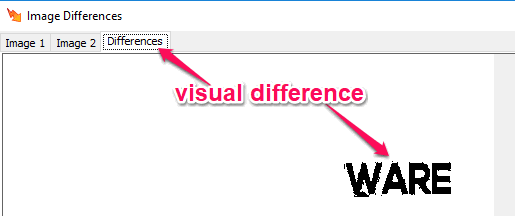
Image Compare:
Image Compare is also a useful software which you can use to compare images visually for free. This software is very simple to use, as all you gotta do is select two images and then it will instantly display the visual differences between them.
How to do Visual Image Comparison using Image Compare:
Step 1: Simply, install and open up “Image Compare” on your PC. After that, click on the “File” menu at the top and select “Open 1” to add the first image. Then select “Open 2” to add the second image for comparison.
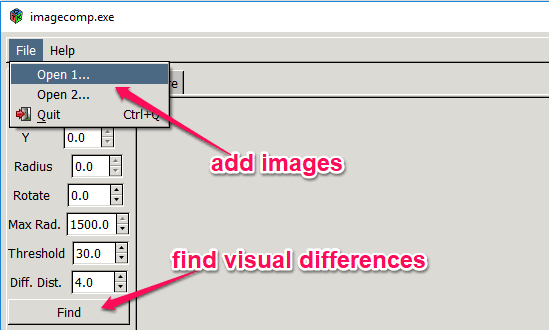
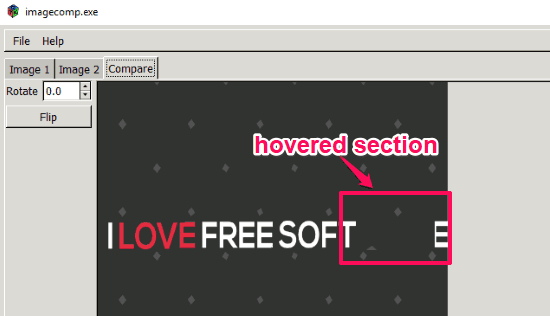
Step 2: Once you have added the images, simply click on the “Find” button visible on the left panel. As soon as you do that, it will generate the comparison result under the “Compare” tab. Unlike “DiffImg” and “Image Comparer”, it will not show a separate slide with differences. Instead, it will overlay the second image over the first image such that when you hover your mouse cursor over the image, you will be able to see the visual difference on the hovered section.
ImageMagick:
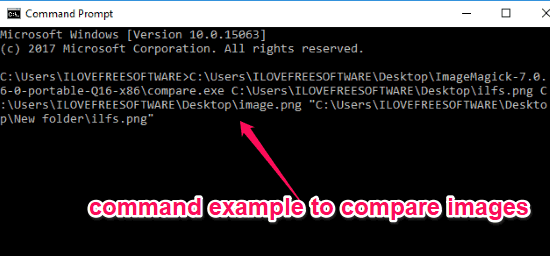
ImageMagick is actually a command line tool which can also be used to compare images visually. There is a simple command “compare.exe [first image path][second image path][output filename & directory]” which you can run using this tool and then it will show you the differences between two images.
How to Compare Images Visually with ImageMagick:
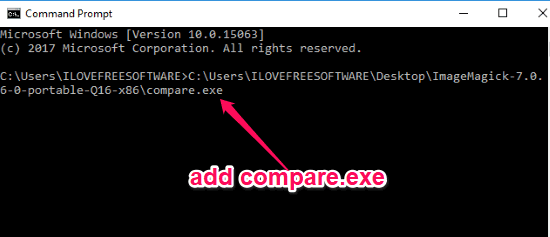
Step 1: First, simply download the portable ZIP file of “ImageMagick” using the above link. After that, extract the ZIP file and then you will see a “compare.exe” file inside the folder. Now, what you would need to do is open Command Prompt and drag and drop the “compare.exe” file in the command line.
Step 2: After that, you have to complete the command by entering “[first image path][second image path][output filename & directory]” at the end of the command line. As an example, you can see how the command will look like in the below image.
Step 3: As soon as you do that, simply hit Enter and then it will create a new image highlighting the visual difference between the first and second image.
imageDiff:
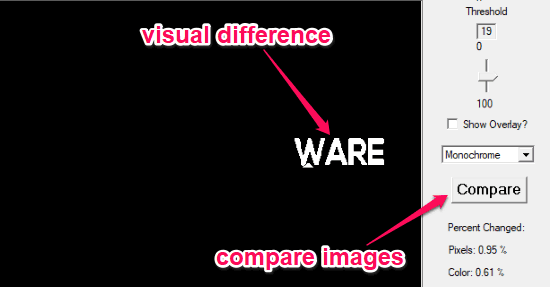
imageDiff is another simple visual image comparison software to compare images for visual differences. Similar to all the other software in this post, you can add two images for comparison and see differences between them. One of the unique features of this software is that it also shows the percentage of pixels and color differences. Not only that, it even lets you change comparison intensity by adjusting the threshold.
How to Use imageDiff to Compare Images Visually:
Step 1: To start, simply open imageDiff and click on the “Left” and “Right” button to import the images for comparison. Clicking each of these buttons will let you add one image.

Step 2: When you’re done adding images, simply click on the “Compare” button visible on the right panel. As soon as you do that, it will automatically process the images and display the visual differences on a large canvas, as shown below.
Closing Words:
These are some of the best visual image comparison software for Windows which you can use to compare images for free. Personally, I was impressed by all these software, as they seamlessly did what they are supposed to do. That means I was able to easily find visual differences between images using these software.
Try them out and do let me know whether you were able to compare images visually.