Peppermint is a free self-hosted alternative to Freshdesk to support ticketing. You can host it on a server and use it to provide premium support to your customers. For now, it is in early development, but the main functionality is in working state. Here you can create, manage tickets and clients along woth some additional features. Each user is given is a separate notes section and a task manager. So, all the support team using Peppermint can prioritize their tasks and keep notes to save any essential information for future references.
It uses Markdown for messages, and the tickets that you create can have a priority label added to them based on the severity. The tickets have an intuitive editor where you can format that text in any way you want. In addition, there is webhook support that you can enable. All the ticketing events can be tracked as it will send a signal to the configured webhook whenever a ticket actions happens.
With all that being said, Peppermint for now comes with some caveats as well. For example, for now it doesn’t have any email integration support. So, all the tickets that you create here will be managed manually. And not only the client issues but you can even use for recording and solving internal problems. This ticketing system has option to create tickets for internal use and you can assign the tickets that you create to anybody in your team.
Peppermint Feature Highlights:
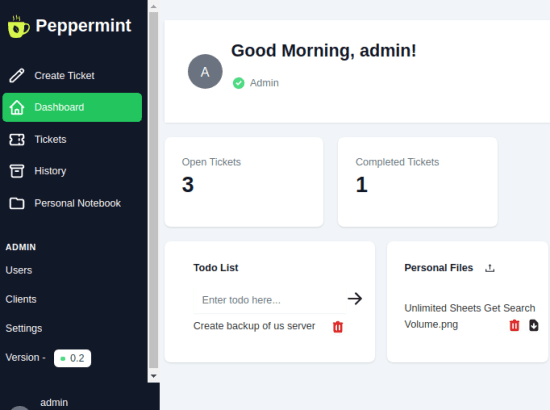
- Simple Dashboard: When you log in to the system, it will take you to the dashboard. On the dashboard, you can see the overview of the tickets. It shows you the number of opened and closed tickets there with options to create to-do list and have personal files.
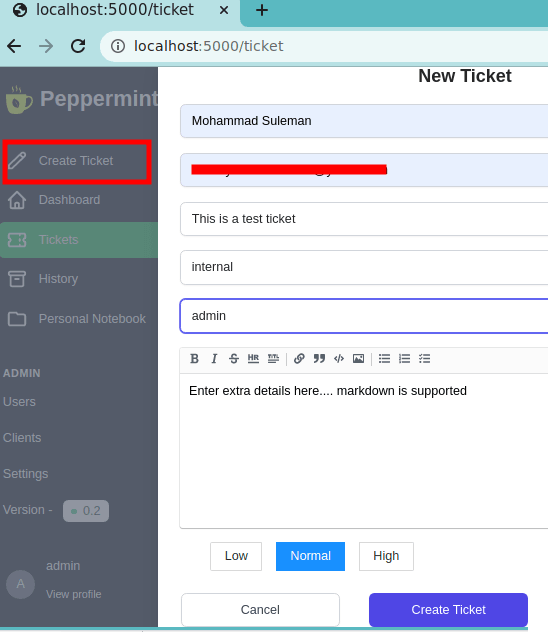
- Ticket Creation: It has a bog-standard ticket creation with a powerful markdown writer that supports images and files. While creating a ticket, you can assign a priority to it as low, medium, and high.
- A log of client history: It keeps the log of clients that you create in it. All the previous tickets can be seen and reopened if they need to. There is a dedicated History section for it.
- Markdown based Notebook with to-do lists: Each Peppermint user get a to-do list creator so they can prioritize their work of the day. Also, it will help them manage their tasks across the Peppermint ticketing system.
- Responsive Design: This entire ticketing system is made for different screen sizes, ranging from mobile to 4k quality.
- Multi-deployment: Quickly deploy using Docker & pm2. And in the later updates, there might be a 1 click installation button or Heroku as well.
- Simple to Use: Peppermint follows a simple and logical workflow. The UI is clean as well and you just log in, create & manage tickets with to-dos, and log out.
Installing Peppermint on a Linux Server:
As mentioned already, there are 2 options to install Peppermint; via Docker and via PM2. But in this post, I will be showing you the Docker method to install Peppermint for production as well development. There is a 3rd option as well, but that is useful if you are a Linode user. Peppermint is available in Linode marketplace and you can install it from there on your Linode servers in a click.
Perquisites:
Before proceeding to the installation, make sure the following are installed on your server.
- Git
- Docker
- Docker-Compose
Now, you simply start by cloning the GitHub repository of Peppermint and change directory. For that, simply run the command below.
git clone https://github.com/Peppermint-Lab/peppermint

cd peppermint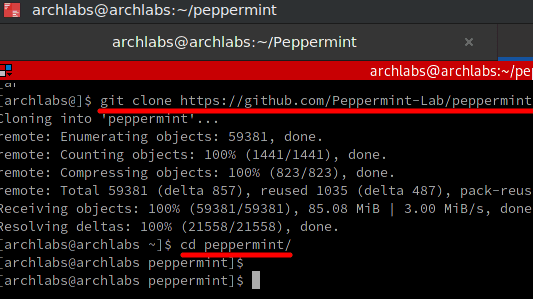
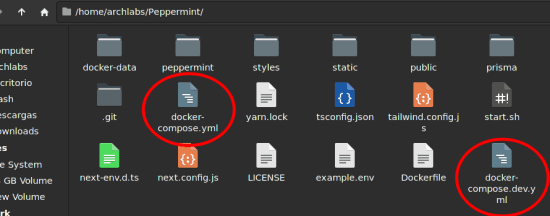
Now, in the Peppermint directory, you have a “docker-compose.yml” file. If you want to install it for production, then you can just go along. Or, if you want to run it locally then you must rename this file to something else such as “OGdocker-compose.yml”. After that, you rename “docker-compose.dev.yml” file to “docker-compose.yml”.
Run the command below to start the server. Do note that this command will take some time. So be patient while it is downloading and configuring the modules.
sudo docker-compose up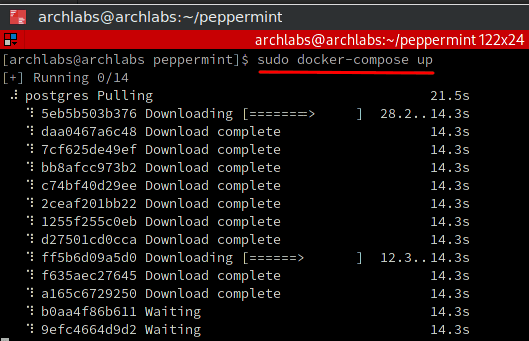
When you see “ready – started server on 0.0.0.0:5000” in the terminal, just open it. In the address bar of the browser, type localhost:5000 and you will land on the login screen. The login page looks like as shown below.
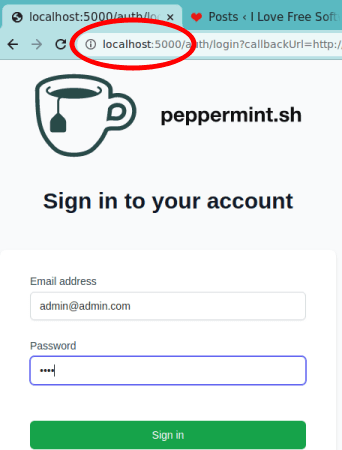
The default user email and password is “[email protected]” and “1234“. Enter this to log into the system and start managing tickets as explained in the next section.
Using Peppermint Support Ticketing System:
On the main UI, the first thing you see is the dashboard. From here, you can get an overview of the tickets in the system. You can see the total number of opened and closed tickets. In addition, you get a to-do list option, which you can use to manage your day’s tasks. There is a personal files section that you can use to keep most frequently used sheets, images, etc.
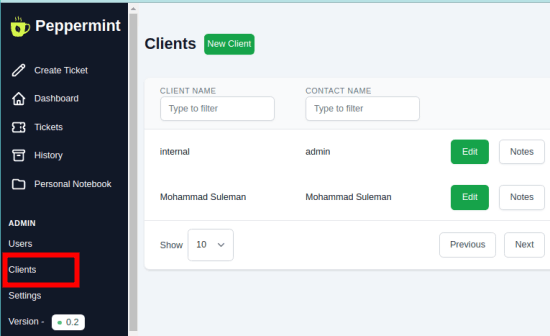
Moving on from the dashboard, you go to the clients section. Here you can add all the clients that you handle. Create a list of clients here by addign their names and email addresses. This list will be helpful when you will later create tickets.
Next, you can just start creating the tickets. Use the “Create Ticket” option from the main UI and then simply enter the details. Here you are given a markdown editor which you can use for describing the problem. To format the text, it gives you tools in the toolbar to help you in case you don’t know the Markdown syntax for simple thing such as hyperlinks, title, lists, images, etc. And while creating a ticket, you can even assign a priority to it as well.
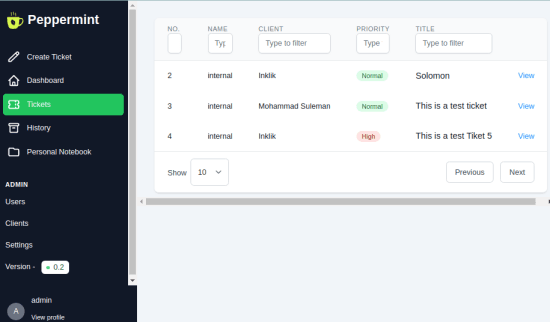
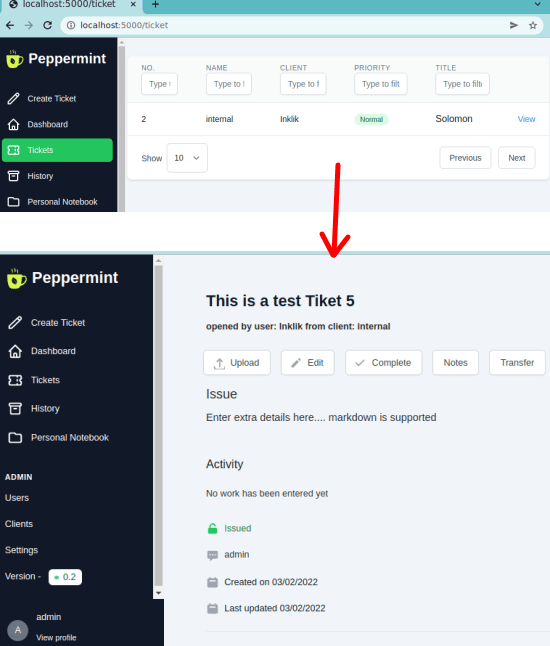
In this way, you can create as many tickets you want. And from Tickets section, you can see the list of all the tickets that you have created so far. You can see their status as well as client it belongs to. When you open a ticket, then it shows you options to close it, as well as some more details about it.
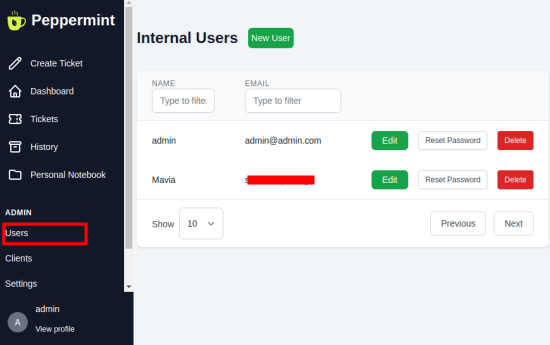
In the Users section, you can create a Peppermint user who will have accesses to the ticketing system. You just have to enter their email and password and a new user will be created. You can create as many users you want. And also, you can remove users later in a click as well.
There is a simple Settings section as well where you can see an option to add a webhook. When you create a webhook, then you can receive pings for Ticket related events. If you want, then here you can add multiple wehooks. If you don’t know what a webhook is, then see a list of free webhook creator websites here to learn more about them.

In this way, you can use this powerful yet simple support ticketing system. The UI is simple and for now it has only the features that I have mentioned so far. If you have a small company or team, then you can use it with them. Add all your clients and when you receive a complaint or support request then you can manage that in an organized way using Peppermint.
Final thoughts:
If you are looking for a self-hosted support ticketing system, then Peppermint is a good option. But for now, I will say give it a few days for it to have more stability. Right now some features have glitches which I hope will be resolved in the coming updates. Since it is open source so you can take a look at its source code and even contribute to it if you are from programming background.