iTunes Library Manager is a free tool for Windows to relocate iTunes library and export iTunes playlists.
Using this tool, you’ll be able to easily move iTunes library location from one source folder to another in order to sync new files to your iTunes library. In addition to that, you can also export all your iTunes playlists as .M3U files such that you can use them with other applications that support .M3U files. One of the best features of this tool is that it lets you find and delete dead tracks (that cannot be found in the library source folder) from iTunes library.
So, it is a one stop solution for relocating and exporting your iTunes playlists. However, if your want more like backup, restore, and transfer iTunes playlists, then you can check out our post on TuneSwift.
Note: In order to install iTunes Library Manager on your PC, you would need to install Microsoft .NET Framework 1.1 first. You can get it from here.
How to Export iTunes Playlists using iTunes Library Manager:
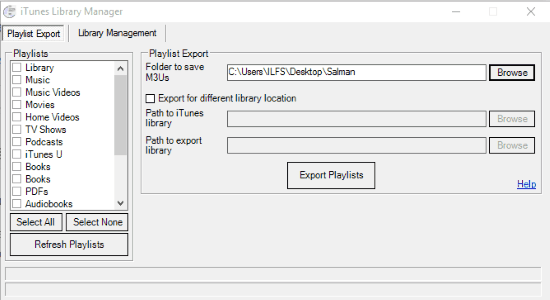
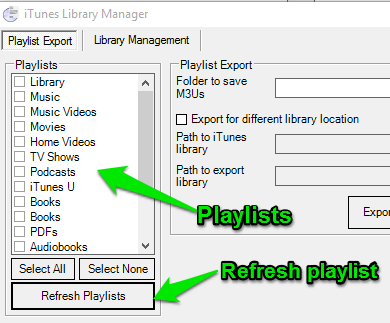
Step 1: After installing and launching this tool, you will see two different tabs at the top named, Playlist Export and Library management. Simply go to the “Playlist Export” tab and click on the “Refresh Playlists” button at the bottom-left corner. As soon as you do that, all the playlists from your iTunes library will be fetched by this tool, as shown below.
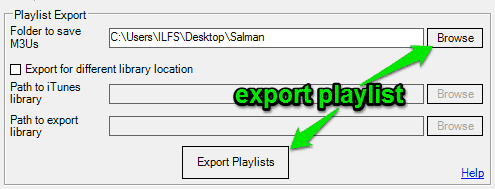
Step 2: Now, select whatever playlists you want to export and click on the “Browse” button associated with the “Playlist Export” field. After that, choose any of the folders on your PC where you want to export the selected playlists as .M3U files. When you’re done selecting an export location, simply hit the button “Export Playlists” and the playlists will be saved as .M3U files.
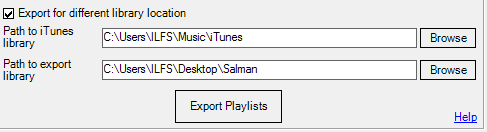
Step 3: It also comes with an additional option using which you can export the playlists for different library location. To do this, you need to first check the small box where it says “Export for different library location” and then choose “Path to iTunes library” and “Path to export library”. After that, click the “Export Playlists” button to start exporting the selected playlists.
How to Relocate iTunes Library using iTunes Library Manager:
Step 1: To relocate iTunes library, click on the “Library Management” tab and then section named “Move iTunes Library”. In this section, you have to define the “Path to previous location” and “Path to new location”. After selecting both the source and destination folders, click on the “Update Library” button.
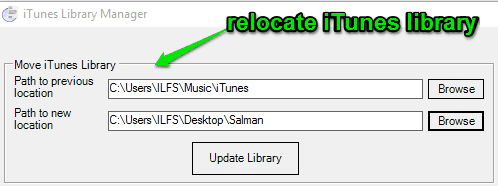
Step 2: As soon as you do that, the iTunes library location will change and the files on the new source folder will be synced with your iTunes library.
How to Delete Files from iTunes Library that Cannot be Found in the Source Folder:
Another useful feature of this tool is that it lets you find and delete dead tracks which are no longer available on the playlist source folder. For this, go to the “Library Management” tab and there you’ll see a button “Remove Dead Tracks” below the “Move iTunes Library” section.
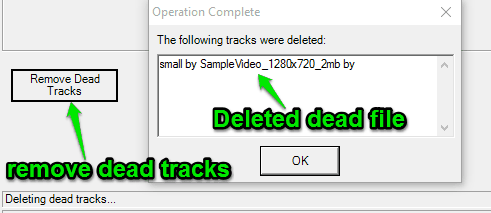
Simply click on the “Remove Dead Tracks” button and this tool will automatically scan your entire iTunes library to find tracks that cannot be found in the playlist source folder anymore. After finding the dead tracks, it will automatically remove them and display the output in a popup dialog, as shown in the above image.
My Final Verdict:
If you’re looking for a simple tool to relocate your iTunes library and export all your iTunes playlists as .M3U files, then using iTunes Library Manager is probably the best option for you. Personally, I like tool as it also comes with the feature to delete dead files from iTunes library with just a click.