Here is a tutorial in which I will explain how to backup your Facebook status updates. I have included 2 methods in this post which you can use to backup your Facebook status updates and other data in only a few clicks.
These methods are from official Facebook backup (archive) service and third party SocialSafe freeware. These two methods provide different features and comes with their own limitations. You can choose any of them depending on your preference.

Let’s get started with the tutorial.
1. How to Backup Your Facebook Status Updates using Facebook Archive:
The first method that I will explain is from Facebook and also the most reliable one. However, this method doesn’t provide you with the backup of data instantly. Its a request based method in which you request Facebook to archive your data and provide you with the download option. On making the request, you get the download URL on your registered email address.
To use this method, log in to your Facebook account and go to Settings option.

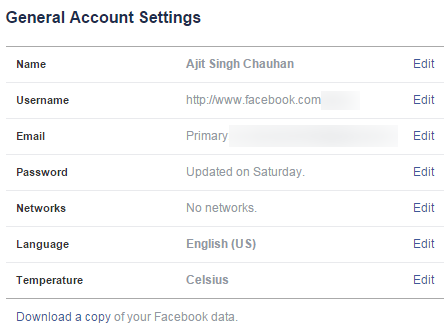
It will open the General Accounts Settings options for you. Among these options, you will find the option Download a Copy of your Facebook Data at the bottom left.

Click on it to get the interface as shown below. Now, you have to click on Start My Archive button. Just below the button, you can also check what data will be archived by Facebook.

On the next interface, you will see a confirmation box. Click on Start My Archive to confirm. You will receive an email from Facebook confirming the request made by you. Now, wait for the time being until you receive the email containing the download URL for downloading the data.

2. SocialSafe:
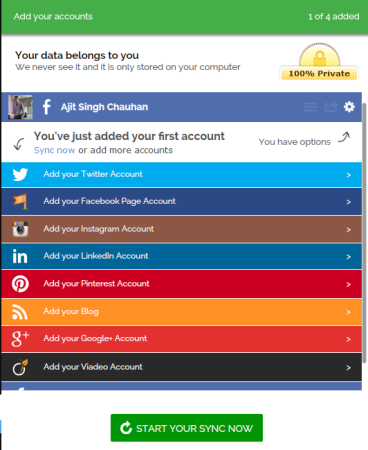
The second method in this tutorial to backup your Facebook statuses and other data is via a third party freeware SocialSafe. You can download the free version from SocialSafe website and install it. Upon successful installation, you will get the below shown interface.

You can see that it lets you backup a lot of social service accounts but as this article is about Facebook, so I will stick to that only. Click on the Facebook bar and authorize your account to link with the freeware. For the confirmation, it will show you the profile name and profile photo.
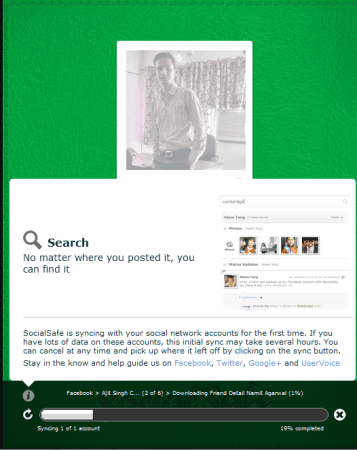
Now, you need to click on the Start Your Sync Now option for starting the backup process. It will show you the progress bar showing the backup in process. The progress bar displays the percentage of data backed up, current data which is in progress, and your profile photo. The time taken to backup the complete data will depend upon the size of data which has to be backed up. It can even stretch to hours so be patient.

When your data is backed up, you will see the confirmation message and you can click on your profile to see the amount of data backed up successfully.

These were the methods using which you can backup your Facebook Statuses and other data. Do try them and if you face any problem, you can reach me via comments section below.