Scanner is a Fast and Easy Document Scanning App available in the Microsoft Store that can scan pages, rotate, and crop the images and save them in popular file formats such as JPG, PNG, TIF, PDF and more. Scanner is compatible with almost all the scanners that are being used today.
The App supports preview of your scan before you truly scan the page and save it on your disk. You can also select an area to be scanned using the preview, rather than scanning the entire page.
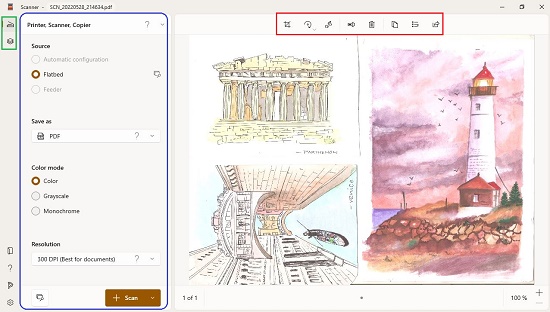
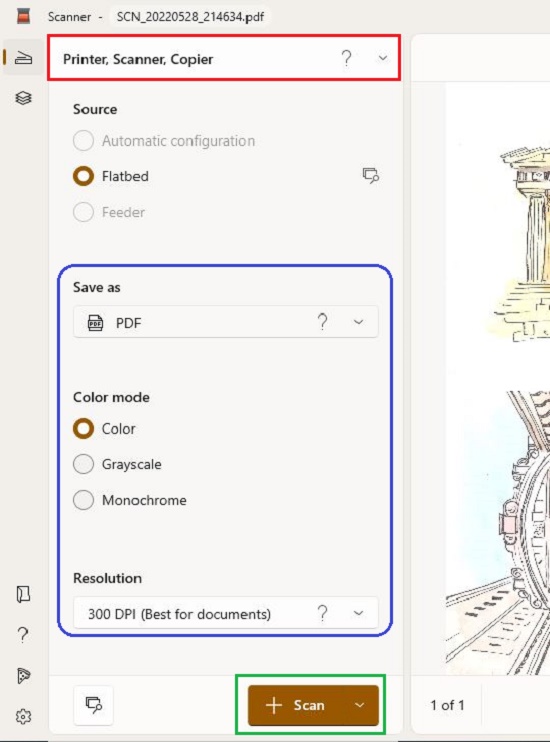
The Scanner App interface is identical to most of the other scanning applications that are available. The vertical panel at the left allows you to choose the Scanner hardware, File saving format, Color Mode and Resolution. The horizontal tool bar at the top can be used to Crop / Rotate the image, Share, Rename the file and more.
The following are the key Features of Scanner:
- Scan: Scan single pages and save them in separate image files or scan multiple pages and save them in a single PDF.
- Color Mode: Choose the Color, Grayscale or Monochrome option to scan pages.
- Resolution: Choose the resolution of the scan. A wide range is available for selection from 75 DPI to 2400 DPI. Higher resolutions will take a longer time to scan.
- Highlighter and Marker: Draw and highlight the image using Windows Ink. This ensures that you need not use any image editors for basic marking or highlighting work.
- Share: Email the image, send it to Microsoft One Note directly from the App or send the image to any nearby devices if the ‘Nearby Sharing’ feature has been enabled in your operating system.
How it Works:
1. Download the Scanner App from Microsoft Store. The link has been provided at the end of this article.
2. Place the document or photo in the scanner.
3. Select the Scanner hardware from the top of the panel. Choose the File format, Color mode, Resolution and click on the Scan button at the bottom.
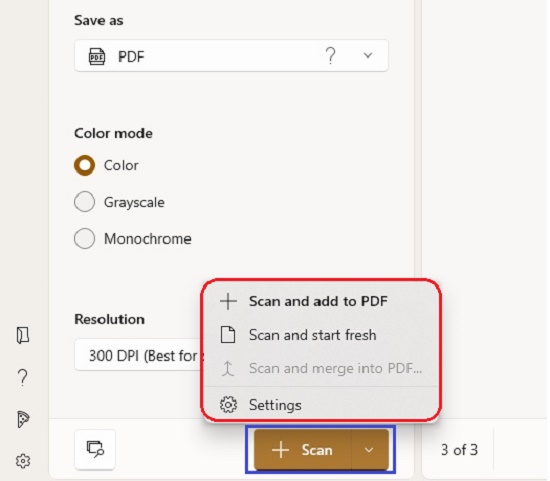
4. In case you wish to scan multiple pages one after the other and save all of them in a single PDF, click the arrow on the Scan button and choose ‘Scan and Add to PDF’ for every document or photo that you intend to scan.
5. The scanning should take a while depending on the size of the document, color mode and resolution that you have specified. Use the tool bar at the top Crop / Rotate the image, Copy the image to Clipboard, Rename the file, Share the scan and more.
6. You can click on the ‘Page List’ icon at the top left of the window (beside the panel) to view the image thumbnails, preview the scans and reorder their sequence (drag and drop) in case you have chosen to save multiple pages in a single PDF.

7. If you wish to scan and save a specific area of the document, click on the ‘Preview’ icon at the bottom left of the window. This will quickly scan the document and offer you a preview. Use the selection tool, mark the region in the preview that you wish to save and then click on ‘Apply Selection’. This ensures that only the selected area from the document is saved.

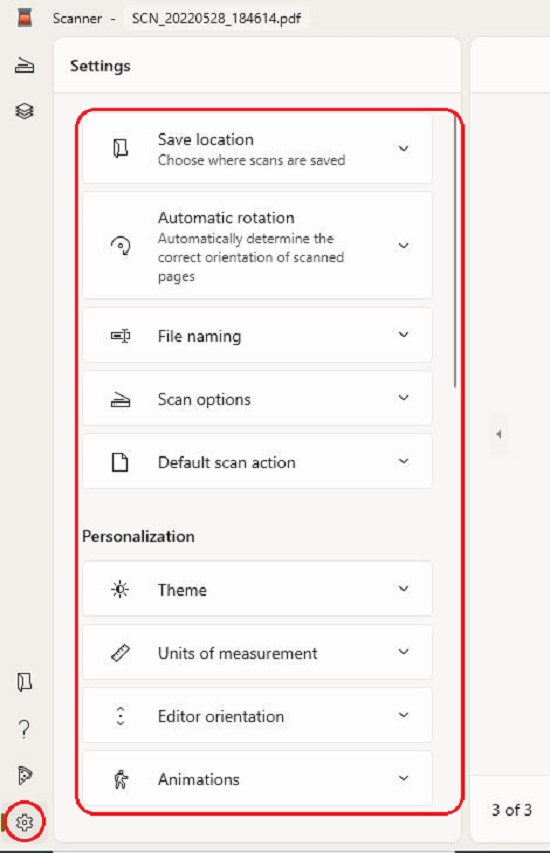
8. You can click on the Settings icon at the bottom left to customize any settings like File location, Automatic rotation, File naming etc. Use the scroll button of your mouse in the preview area to browse through the multiple pages that have been scanned.
Verdict:
Overall, Scanner App is a very good application for fast and easy Scan of Photos and Documents. The option to scan and save multiple pages in a specific PDF file is very handy and saves lot of time and effort in such cases. The selection of the region to be scanned is also very helpful and avoids the usage of image editors after the scanning process.
Click here to download and install the Scanner App from the Microsoft Store.