SlickGPT is a free and light-weight web client for the Open AI API that offers seamless GPT-4 integration. It has been written in Svelte and you can bring your own Open AI API key to use SlickGPT.
SlickGPT offers an impressive interface with a neat feature set such as a userless ‘Share’ function for sharing chats, local chat history management, calculation of token cost and more. You can choose to run SlickGPT locally, use their public instance or host it yourself depending on your requirements. Let us briefly go through the features that SlickGPT has to offer.
Features:
Elegant User Interface: SlickGPT offers a neat and clean UI that makes chatting fun for users and renders it very easy to use.
No requirement of Registration or Login: SlickGPT doesn’t require you to register or login to any account. This makes it very simple, fast, and highly efficient.
Use own API key: You must use your own Open AI API key for SlickGPT. This helps in keeping your API calls entirely private and secure.
Local History: Your chat history is saved in your local storage and never leaves your computer till you decide to share your chats.
Share Chats: SlickGPT allows you to create shareable links for your chats if required without any authentication. This helps your team members and colleagues to easily collaborate and brainstorm on many ideas.
Set context: You can provide your own context to guide the native AI model during response generation so that the outcomes are focused and relevant for you. A context significantly changes the way an AI chatbot behaves during the conversation.
Cost Calculation: SlickGPT allows you to perform cost calculation of your API token so that you can always track and control your API usage.
Open Source: Since SlickGPT has been offered as an open-source product, you can customize its settings and tailor the experience as per your desires.
Host yourself and Run everywhere: You have the option of running the SlickGPT instance locally on your machine or using its freely available public instance. Alternatively, you can also host it on your own cloud service provider.
How it Works:
1. Click on the link that we have provided at the end of this article to navigate to SlickGPT.
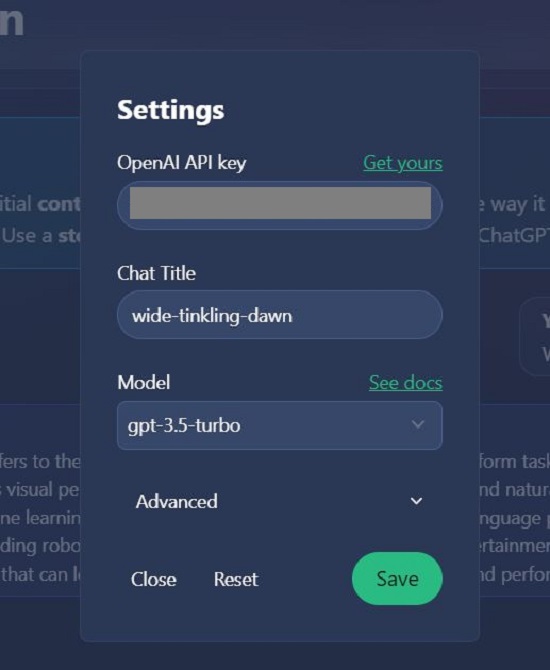
2. Click on ‘New Chat’ and observe that a random name will be automatically assigned to the chat instance. Click on the ‘Settings’ icon ahead of the instance name, paste your personal Open AI API Key and click on ‘Save. You are now ready to use the SlickGPT web client. Click here to get your own API key free of cost.
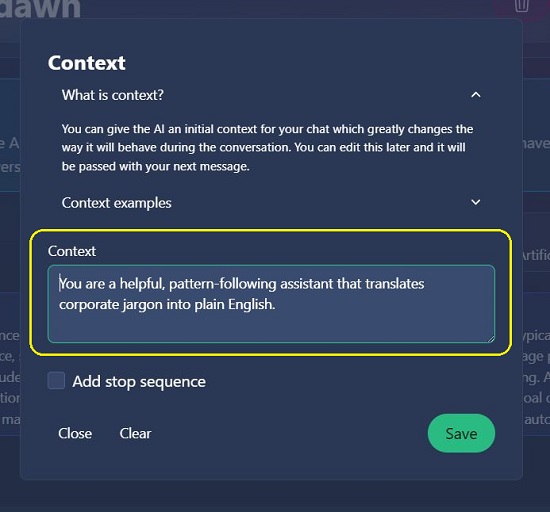
3. If you desire to set a context for SlickGPT, click on the corresponding icon towards the right of the Context box as indicated in the screenshot below, type / paste the context and click on ‘Save’. For example, you can set the context as ‘You are a helpful, pattern-following assistant that translates corporate jargon into plain English’. You can choose to leave the context blank and edit it later in which case it will be used for the next response.
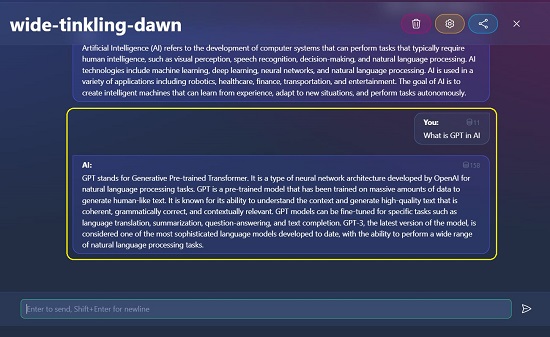
4. Type the text prompt in the box at the bottom of the screen and press Enter. Wait for some time while SlickGPT processes the input and provides the response on the screen depending on the input text and the context (if it has been set)
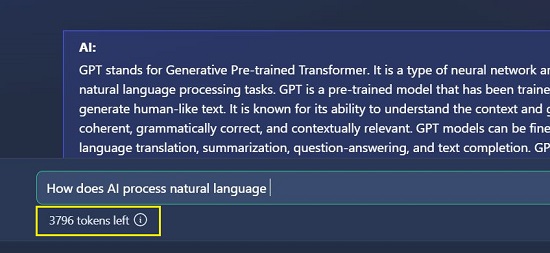
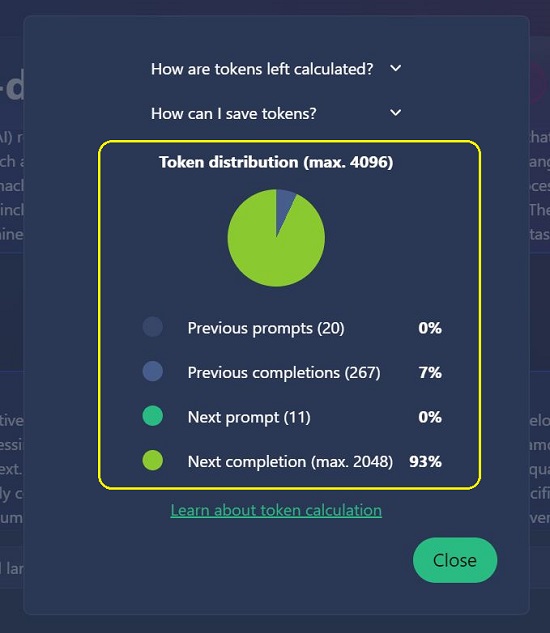
5. When you begin typing the text prompt, you will be notified of the number of Tokens left in your API key. You can click on the small icon beside it for details about the token distribution and more information about the token calculation.
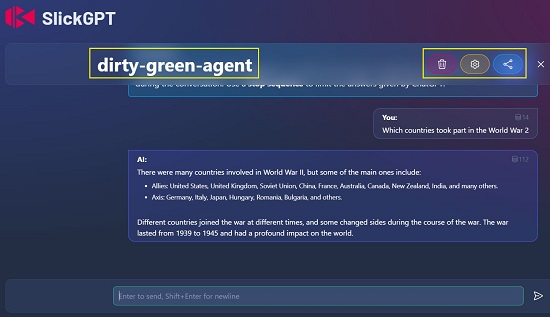
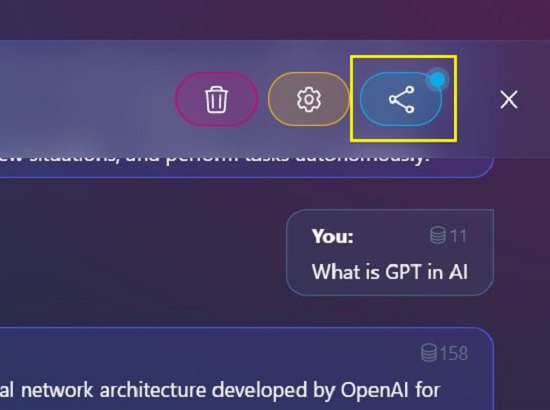
6. Once SlickGPT generates the response, you can click on the ‘Share’ icon at the top right, enable the checkbox that confirms that the chat does not contain any personal content and then click on ‘Share’ to get the shareable web link. You can now collaborate with your team members by sharing this web link with them.

7. A flashing, colored circle over the Share icon at the top right keeps reminding you that the current chat has probably been shared with others. Additionally, you can also choose to ‘Unshare’ the chat at a later stage when required.
8. The approximate token cost of each response will be displayed towards its top right so that you can keep track of your token usage.

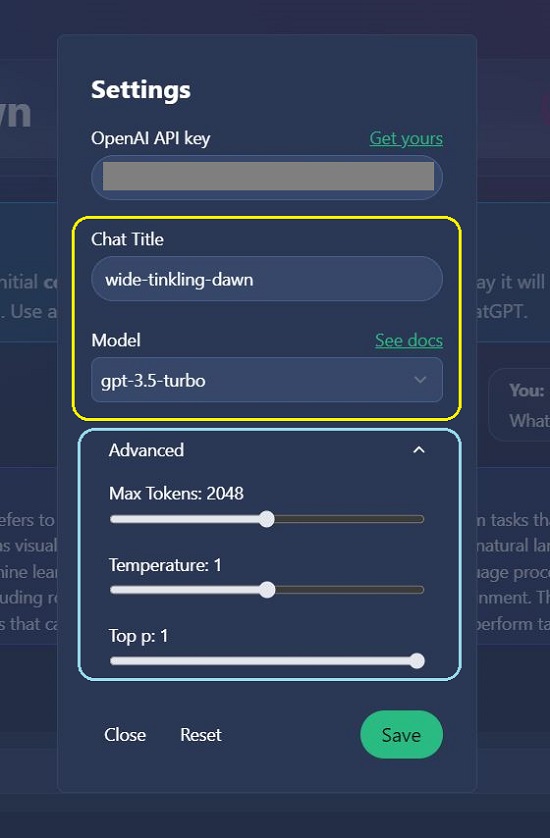
9. You can change the Title of the instance and the GPT model (GPT 3.5, GPT 4 etc) through the SlickGPT Settings box. Additionally, you can also click on ‘Advanced’ to configure the Max. tokens, Temperature and more.
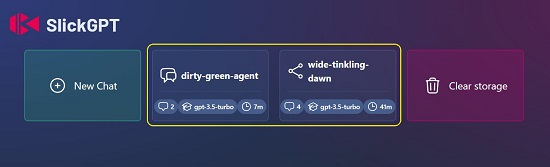
10. To close the current chat, click on the ‘Close’ icon at the top right. This will take you to the SlickGPT dashboard where you can view all the chats that are currently in use, number of responses generated, time spent in each chat and more. To start a new chat, click on the ‘New Chat’ button and to clear all your chats, click on ‘Clear Storage’. Your chat history is stored locally in your browser and never leaves your system.
11. SlickGPT provides a light and dark theme. Use the toggle at the top right to switch between the two modes.
Closing Comments:
Overall, SlickGPT is a great chatbot that includes several additional features as compared to ChatGPT such as self-hosting the service, sharing of chats, customizing the context, local chat history and more. Also, it does not require any registration or login thereby allowing quicker and easier access. You must give this chatbot a try due to its convenience, versatility, and improved functionalities. Let us know of your experience.
Click here to navigate to SlickGPT.