Data Blaze is a free online spreadsheet solution so that you can make your data available wherever you require. Data Blaze supports rich data types, dynamic views, forms and is a great tool to manage your data with collaboration features, integrations and more.
If you are a person who spends a lot of time daily, writing emails, responding on chat or social media platforms, drafting summaries of meetings, taking important notes etc. and you find that a lot of time and effort is being expended for this work while accessing the data, then Data Blaze is an ideal solution for you to shortcut your work.
Data Blaze allows you to easily access any type of data, record contact details, share summaries of tasks and assignments etc. and thus makes your life stress-free and comfortable.
How it Works:
1. Navigate to Data Blaze using the link that we have provided at the end of this article and sign in using your Google account credentials.
2. Click on ‘Create new space’ to create a new workspace, assign a name to it and then click on ‘Create’.

3. Your workspace will now be created with a sample table under the same name. To create a new Table, click on ‘Add a table’ assign a name to the table and click on the button ‘Add Table’. Any table that you have added to your workspace can be easily accessed using the tabs at the top of the page.

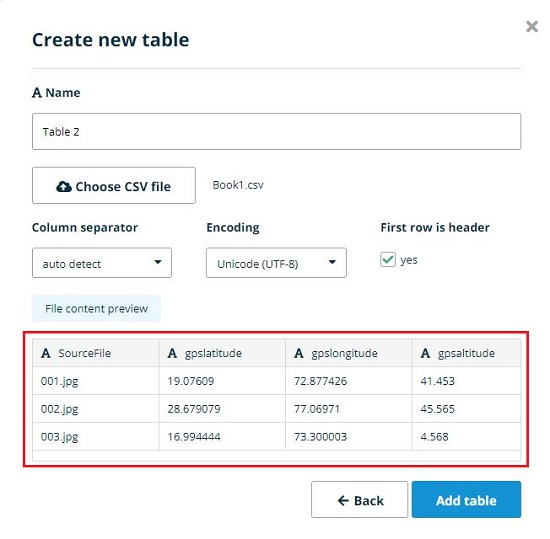
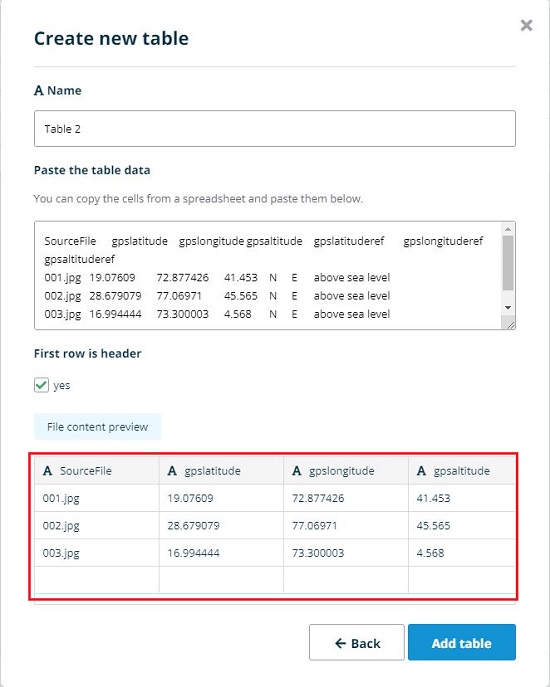
4. You can Import a CSV, XML or JSON file from your computer to create a new table. Alternatively, you can copy the cells from an existing spreadsheet and paste the table data to create a new table from it.
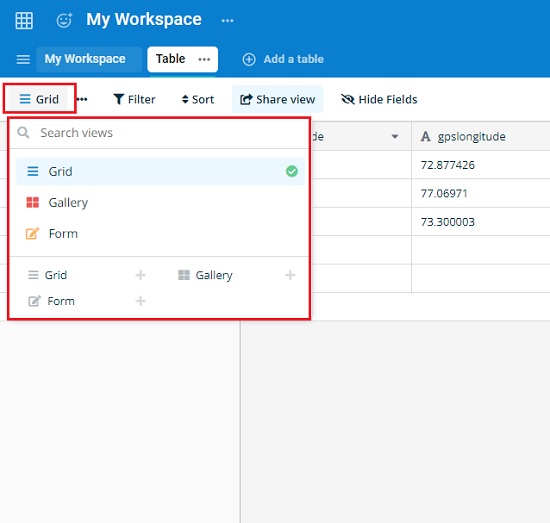
5. Data Blaze provides 3 views for each Table. When you create a table as explained in the above steps, the default view is the ‘Grid’ view. You can click on the 3-lines icon beside the Grid option in the toolbar and then click on ‘Gallery’ or ‘Form’ to create the respective views.
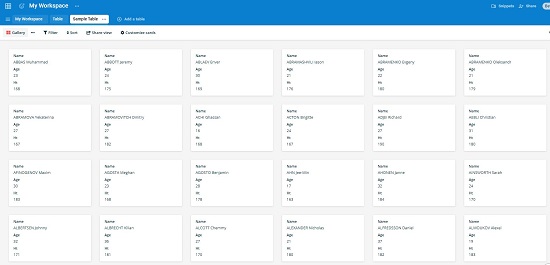
6. In Gallery view, your data in the table will be presented in the form of Cards. You can click on ‘Customize cards’ in the toolbar to choose which fields to display and which of them to hide in the Cards.
7. If you click on ‘Form’ in Step 6 above, you will be allowed to name the Form and then navigated to the Form editor page. From here you can add a Cover image, Logo, Title, Description etc. to the form and insert the selected fields that you want to be filled through the Form. You can also add a message to be displayed or redirect to a specified URL when the form is submitted.

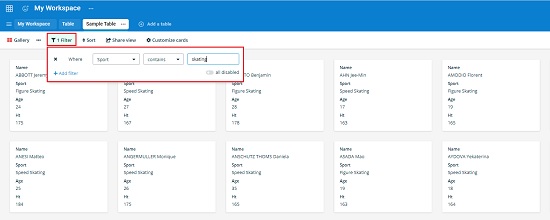
8. To Filter the data in the Grid or Gallery any view, click on the ‘Filter’ button in the toolbar at the top, then click on ‘Add filter’ and fill in the details regarding where you wish to find the data and the search criteria.
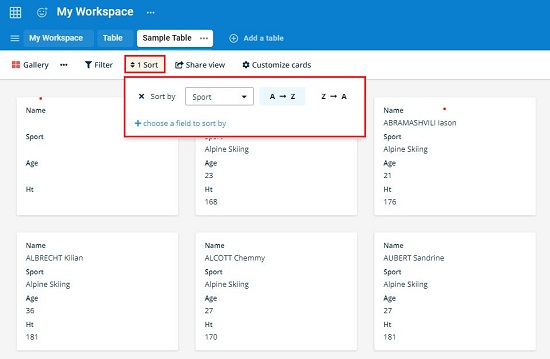
9. To Sort the data, click on the ‘Sort’ button, then click on ‘Choose a field to sort by’, select the field and choose the sorting order such as ascending or descending.
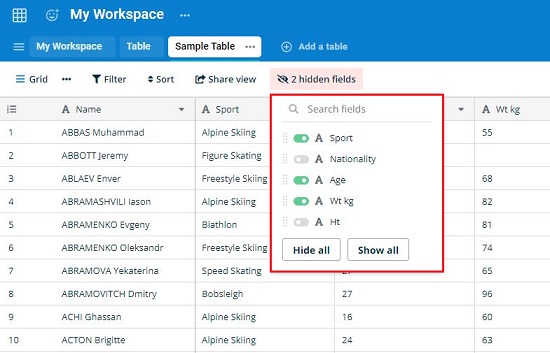
10. To hide any field from the view, click on ‘Hide Fields’ in the toolbar and use the toggle buttons to hide or unhide any fields that you like.
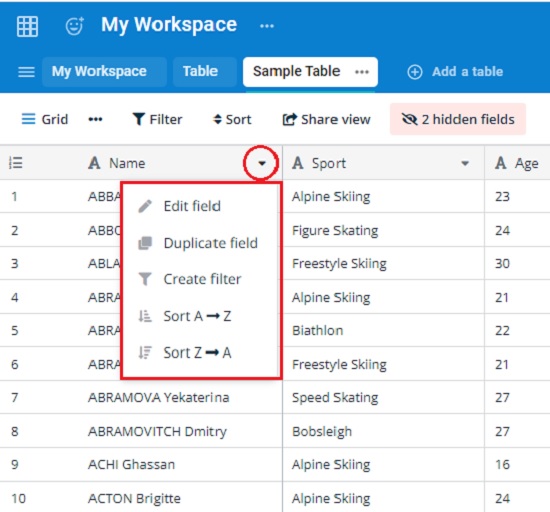
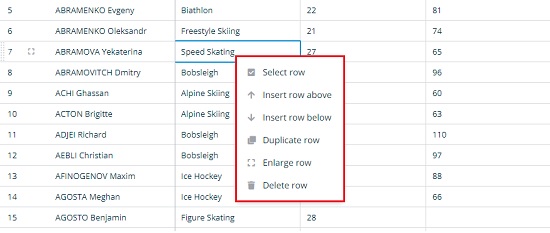
11. In the Grid view, click on the arrow beside the topmost cell (column name) to insert a column to the left / right, Edit or Duplicate the field etc. Similarly, to insert a row above or below an existing row, duplicate a row, and more, right click on any cell in the row and use the options in the popup menu.
12. To enlarge any row so that all the data can be easily viewed or filled, right click on any cell in the row and choose ‘Enlarge row’.
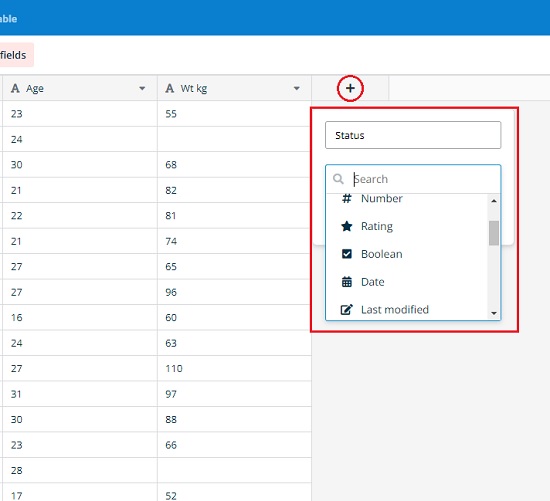
13. To add a new column |(field) to the table, click on the ‘+’ sign beside the right-most column, give a name to the field, and select the type of data that you wish to store in the field such as Single-line text, Long text, Number, Boolean, Date, Formula, Multiple select options and many more. Click on the ‘Create’ button to add the field to the table. Once a field has been added, you can edit the Name and Data type as described in the Step 11 above.
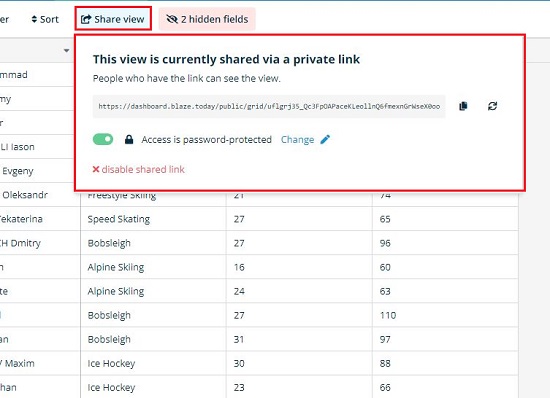
14. If you wish to share any view of your data, click on ‘Share View’ in the toolbar, then click on ‘Create a private shareable link to the view’, copy the URL that is generated and share it with whomever you like. You can also restrict access to the web link using a password.
15. If you wish to invite others to collaborate on the work that you are doing, click on the ‘Share’ link at the top right of the page, type the email address of the person, choose if you want to make the person a viewer, editor or owner and then click on ‘Share’. Unlike the previous option of ‘Share View’ this option will share the entire workspace and assign specific rights to the users that you have specified.

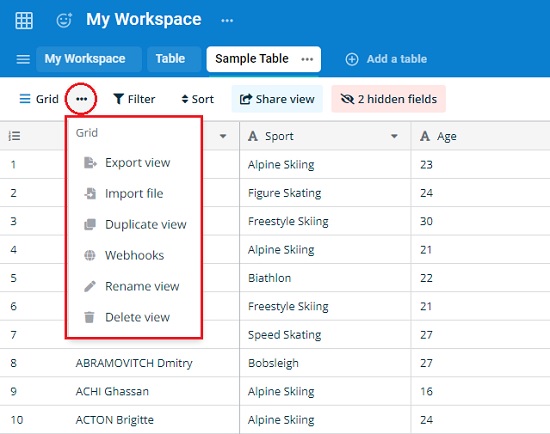
16. To export any view to CSV format, import existing data into your table from a CSV, XML, JSON file, create Webhooks and more, click on the 3-dots icon towards the left of the toolbar and use the options in the pop-up menu.
Closing Comments:
Data Blaze is a good and free spreadsheet solution that makes it easy for you to access your data from anywhere. It supports rich data types with forms, collaboration and integration features that makes it well-suited for handling and managing data easily and efficiently.
Click here to navigate to Data Blaze and register for a free account. For more instructions on how to use Data Blaze, click here