There are dozens of image editing tools that we routinely use such as cropping, resizing, removal of redeye, applying filters and many more. Changing the Perspective of an Image is not a very common tool that is used although it is very crucial in the field of photography.
Perspective of a photo describes the angle at which it was taken. This can significantly affect how things appear in the photo. Take a careful look at the image below. The shape of the Television looks like a trapezoid when viewed from the side (left). By adjusting the Perspective, it can be easily transformed into a full and flat rectangle (right).

Apart from changing the angle from which the object appears to be viewed, you can also correct distortions or make the object merge smoothly with a new background, by intelligent application of Perspective changes to an image.
In this article we will be listing and discussing about 5 Free Websites that you can use to change the Perspective of an image online.
1. Lunapic
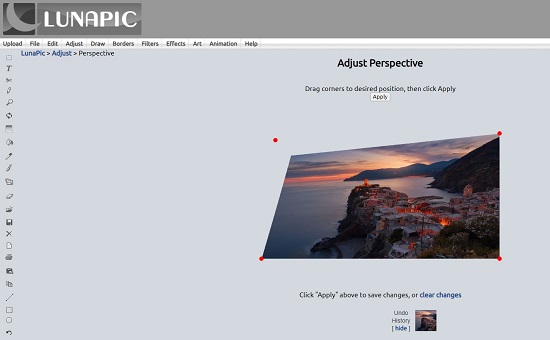
This is a Free and popular online image editor that allows users to upload images, edit them using a variety of powerful tools and share them with others.
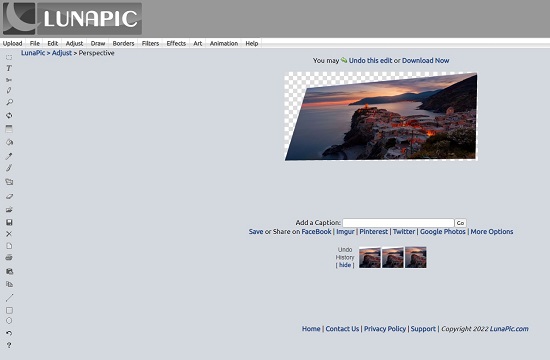
Simply click on ‘Choose File’ and upload the image from your local disk. You can then drag the corners (red dots) to the desired positions and click ‘Apply. Once you are happy with the change in the Perspective, you can click on ‘Save’ to download the image in PNG format or share it directly on Social Media channels like Twitter, Facebook, Pinterest or even upload it to Google Photos.
Lunapic is one of the best tools that you can use for editing any images / photos including altering the Perspective.
Click here to navigate to the Lunapic Perspective tool.
2. Photopea
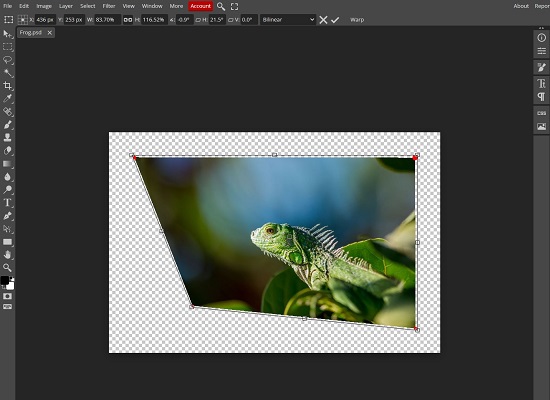
This is yet another fine tool that you can deploy, to change the Perspective of an image. Just drag and drop the image file from your local system or click on ‘Open from Computer’ and upload the image. Next click on Edit | Free Transform (Alt + Ctrl + T). Now, hold down the Ctrl key and drag any of the corners / edges of the image to adjust its Perspective as per your requirement. Once you are satisfied with the effect, click on the ‘tick mark’ sign at the top to save the changes.
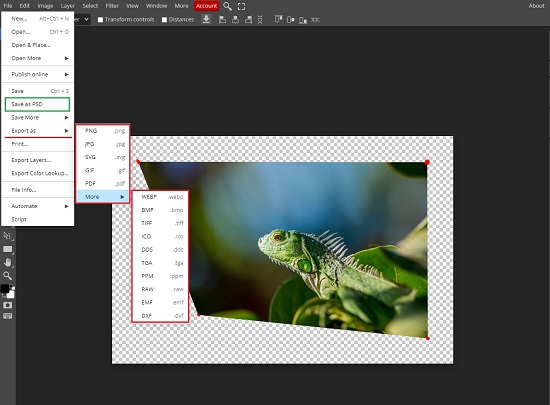
To download the image, click on File | Export as, choose the file format and download it to your local disk. Additionally, you can even click on ‘Save as PSD’ to save the file in your computer in the native file format of Photoshop.
All in all, this too is a very good tool to change the Perspective of an image easily and quickly. Click here to navigate to Photopea.
\
3. Pixlr
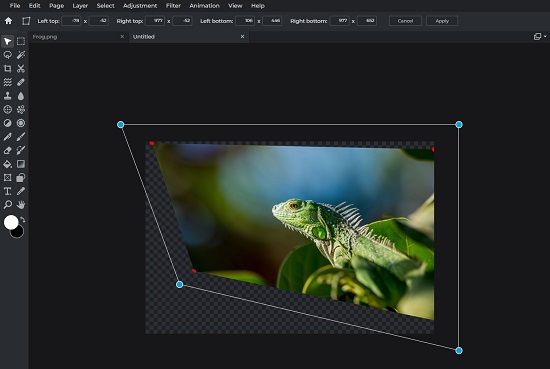
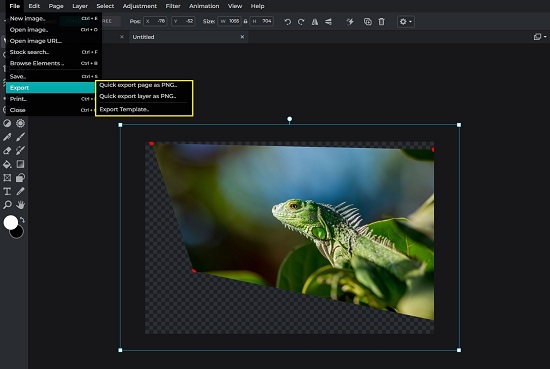
This is the third in the line of free tools for changing the Perspective of an image. Click on ‘Open Image’ and upload the file from your local computer or drag and drop the image onto the workspace. Click on Edit | Free Distort ((Ctrl + K) and drag any of the corners (blue dots) to change the Perspective accordingly. Once you have verified the changes, click on ‘Apply’ at the top to save them. To download the file, click on File | Export and choose if you wish to save the layer or the entire page in the PNG format.
Pixlr too is a very good and handy tool to easily modify the Perspective of an image. To navigate to this tool, click here.
4. Picture to People
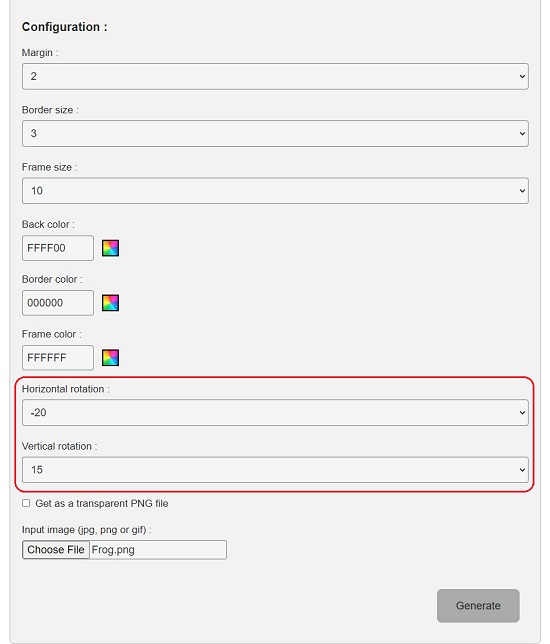
This is yet another online image editor that you can utilize to apply perspective effects to your photos but works differently as compared to the other tools listed above. You must specify the Margin, Border size, Frame size and the Background / Border colors of the image before uploading it. Most importantly, this tool alters the Perspective of the image, by specifying the Horizontal and Vertical rotation angles.
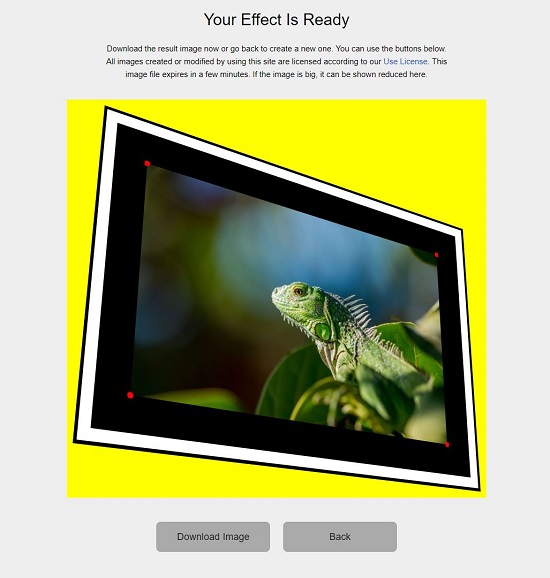
After you configure all the above, click on ‘Choose file’, upload the image from your local computer and then click on ‘Generate’. The image will be uploaded with the Perspective settings that you have configured above in addition to the settings related to Border, Frame and the Colors. Click on ‘Download Image’ to save it to your local drive as a PNG file.
Overall this is a fine tool and generates an image with the Perspective that you specify in the form of angles as well as a handy border and frame if required. The only disadvantage is that you cannot change the image Perspective by dragging the corners as the case with earlier tools, hence real time changes are not possible.
Click here to navigate to ‘Picture to People’
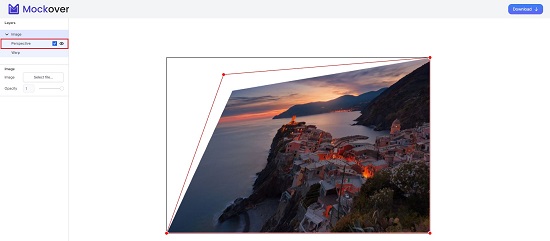
5. Mockover
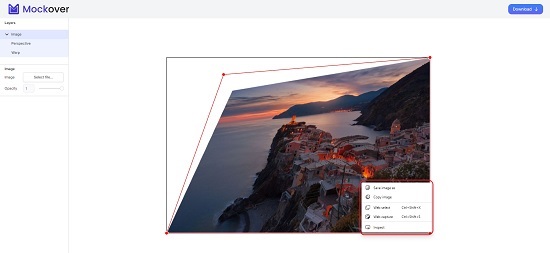
This will be the last tool in this topic that we are discussing. Simply drag and drop your image file onto the editor, click on the arrow next to ‘Image’ and then click on the ‘Eye’ icon beside ‘Perspective’ as well as enable the ‘Checkbox’. You can now change the Perspective of the image by dragging the corners (red dots) as required. Once the necessary effect is achieved, you can right click on the image and click on ‘Save image as’ to download the file to your local computer in the PNG format. Additionally, you can also use ‘Web capture’ or ‘Web select’ to capture the entire image or a selected portion to the clipboard.
Overall, Mockover is also a neat and handy tool to alter the Perspective of an image. Click here to visit Mockover.
All the above listed tools are equally good for changing the Perspective of an image. You can test each of them with some sample images and decide which one of them suits you the best.