Peek is a free and simple screen recording application that enables you to capture your screen in JPG format or record it MP4 or GIF format and annotate your recordings with text, drawing, arrows and more. The application is cross platform and open source and can be very handy for creating tutorials by developers, educators, students etc, displaying your gameplays or simply to save anything that you desire in just a few clicks.
Let’s quickly go through the important features of Peek:
- Capture a screenshot in JPG or PNG file format.
- Record your screen in MP4 or GIF format.
- Record the whole screen or a selected area of the screen.
- Annotate all your recordings with text elements, drawings, arrow marks, highlights and more.
- Use a countdown timer to delay your recording to a specified time.
- Limit your recordings to a fixed time.
How it Works:
1. Click on this link to download Peek from the Microsoft Store.
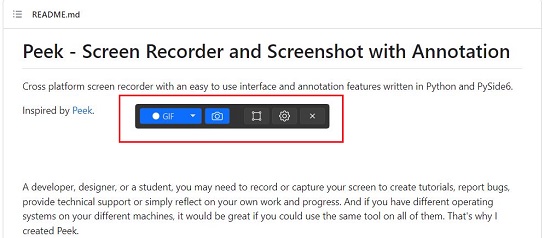
2. Launch the application and you will see a small toolbar appear on the screen from where you can control all the activities.
3. To take a screenshot of the entire screen, simply click the blue camera icon.
4. To capture a selected area, click on the ‘Record Window’ icon as indicated in the screenshot below. Move the window to the desired position on the screen and resize it by hovering your mouse over the bottom right corner of the window and dragging the corner to cover the required area. Finally click on the blue camera icon to capture the specified area.

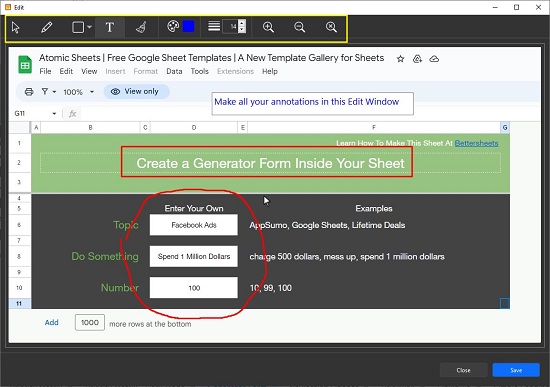
5. As soon as a screenshot is captured, the Edit window will be displayed on the screen that you can use to Annotate your screenshot.
6. Select the tool to annotate the recording such as Freehand marker, Text or Arrows from the toolbar at the top of the window. Next, choose the color and thickness of the stroke and make the annotations. To clear all the annotations, click on the ‘Brush’ icon.
7. When you are satisfied with the appearance of the screenshot, click on ‘Save’ and save the screenshot in a specified folder.
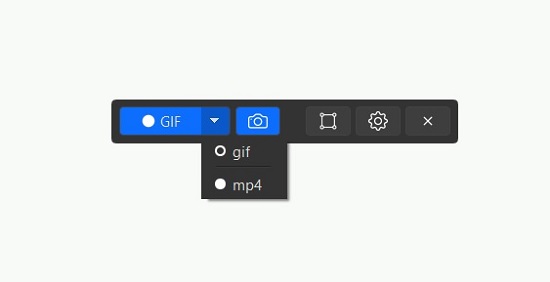
8. To record your screen, click on the down arrow at the top left of the window and select the file format such as MP4 or GIF. Now click on the blue recording button to start recording and perform all the required sequences and actions on the screen as desired. To stop recording, click on the red colored ‘Stop’ button at the top left.
9. This will again bring up the Edit window that you can use to perform any annotations as discussed above. Finally save your recording in your local system.
10. Click on the ‘Settings’ icon at the top right of the window to configure the options related to Delay start, Recording limit, Video quality, Image format (PNG or JPG), Frame Rate, Capture cursor etc.
Closing Comments:
Lots of people like developers, educators, students, researchers and more regularly need to record or capture their screen to report bugs, create tutorials, offer technical support, or just reflect on the progress of their work. Peek is a simple, yet great tool for this purpose. The built-in annotation feature is very handy when you want to draw attention to a specific area of your recording. With Peek, you can create an entire recording or screenshot with replete with annotations without ever leaving the app.
Go ahead and try it out and let us know what you feel. Click here to download Peek for Windows. To get Peek for Mac, click here. To go through the source code of Peek from Github, click on this link.