This tutorial explains how to create tours in Google Earth web version. Google Earth desktop client has the tour feature for two years or so. This feature allows you to create a tour that runs in a presentation mode on Google Earth. You can add your own sequence of multimedia, tracks, and placemarks to the tour. The tour presentation takes you one place to another by rotating the Earth along with 3D zoom in and zoom out animations.
Finally, this feature is added to the web version of Google Earth. This means you can not only create tours but also share with others and they can watch with 3D animation on Google Earth within their web browser. So, let’s check out how you can make your own tour with Google Earth web version and share it with others.
Also read: Watch How Earth Has Changed In Last 35 Years using Google Earth Engine
How to Create Tours in Google Earth Web Version?
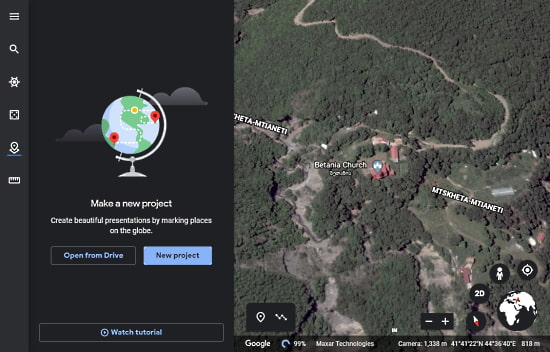
To create a tour, go to Google Earth (Web Version) and log in with your Google account. After that, you have to create a project to take a tour. You can create a new project from the Project section. Alternatively, you can search for a place that gives you an option to add that to the project. You can also create a project from there and the project will have that place listed.
When you create a project, you get the screen shown in the screenshot below. Here, you can fill the project details such as project name, description, and place to the project. You can also add a placemark and draw line or shape to highlight a path or location.
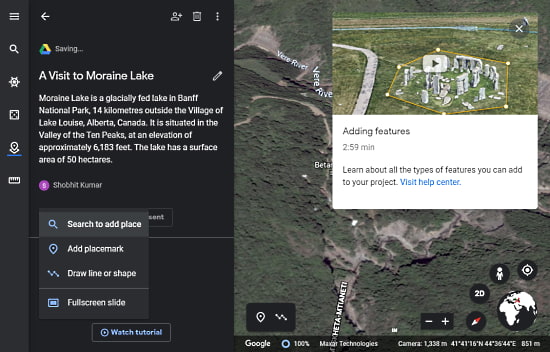
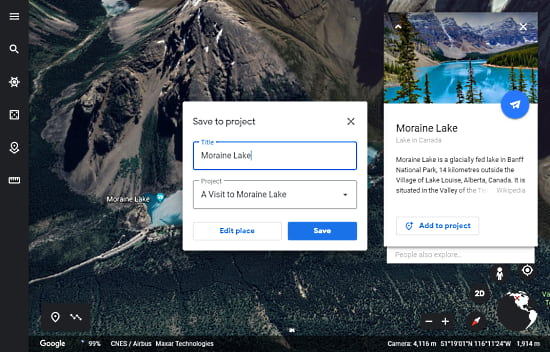
To add a place, click the “New Feature” button from the project and select “Search to add place”. This shows you the search bar where you can type a place and locate it on Google Earth. Google Earth shows you an info card for the search place with an option to “Add to project”. Click this option and select your project to add the place.
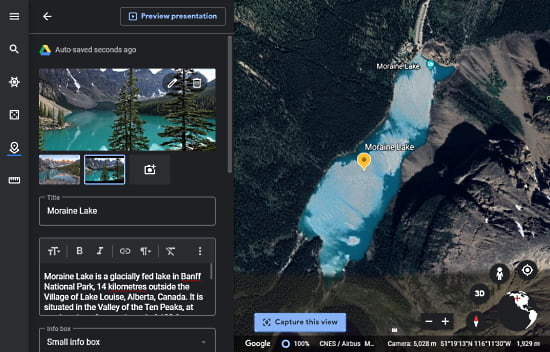
When you add a place to your project, you can add lots of details to that place including multimedia, description, placemark, view, etc. You can add a sequence of multimedia for that place. The multimedia will appear in the presentation where users can scroll through to view all the added media files.
In multimedia, you can add images and photos. You can either upload the media from your computer, add from Google Image Search, YouTube, Google Drive, Google Photos, or via URL. In the case of an image, you can find the relevant results from Google Images and select multiple images to add them to the project. When you select an image, it shows you the URL of the image near the “Select” button. This way, you can make sure whether you can use that media or not (for copyright confirmation).

Apart from the media, you can select a placemark for the selected location and customize it accordingly. You can select a placemark from dozens of options and choose a custom color for that.
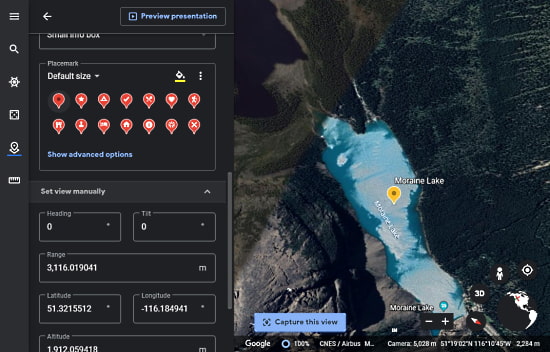
While you adding details to the place, you get a view of the place on Google Earth. It also has a button saying “Capture this view”. This allows you to set the default Google Earth view of the place int the project. You can also edit it in the place details by changing the geographical data forms.
Similarly, you can add multiple places to your project. After adding all the places, save the project. Doing so opens the project in the presentation mode and you can share it with others using the current URL of the presentation mode. Make sure, you made your project public before sharing the URL. You can do that from the project section of Google Earth. The procedure is similar to sharing Google Docs or Sheets.
Present Mode
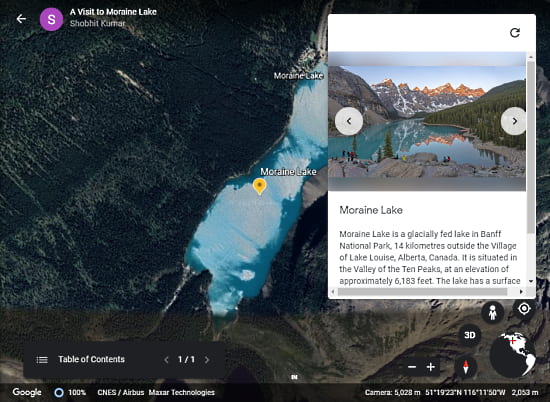
The presentation mode shows a table of content at the bottom left corner and marks the active place on the map. It shows a card for the current place that covers the place details along with multimedia. If the project has multiple places, users can jump between those places from the table of content and the switch transition shows a stunning zoom out and zoom in animation.
Wrap Up
This is how you can create tours in Google Earth web version. With this feature added to the web version, you can easily create attractive tours within your web browser with no need for installing the Google Earth desktop client. The tours show a beautiful animation with zoom out and zoom in transitions that you can share with others. Give it a try and do share your thoughts with us in the comments.