Fabpic is a Free Online Screenshot Editor with a good collection of features to define background, border, shadows and more. The modified screenshot can be copied to the clipboard or downloaded in PNG format.
Many times, the default screenshots that you grab are unappealing and boring. You need to carry out some changes in their visual appearance and aesthetics to make them look more professional and acceptable. You can anytime use a range of graphical editing applications to do this. Fabpic is tailored and customized to handle this work of yours.
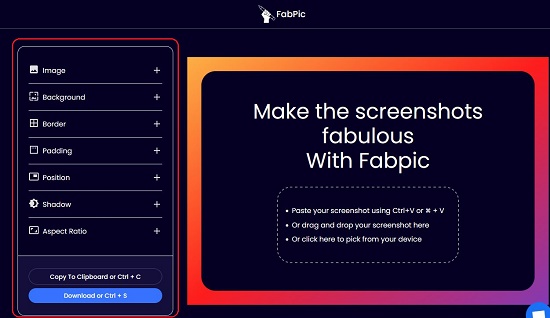
It has a very simple and easy to use interface with the Editing Options on the left panel and the Screenshot Window at the right. The following features are available to manipulate your screenshot:
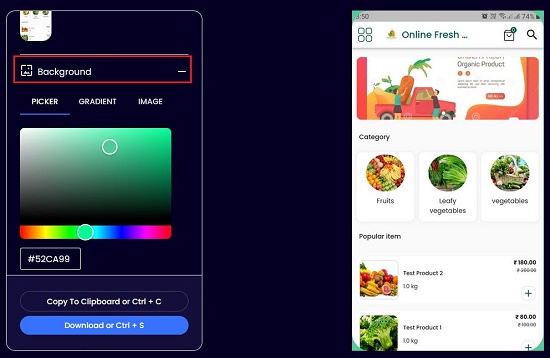
- Background: Pick a Background Color and the Gradient or choose a Background Image for your screenshot.
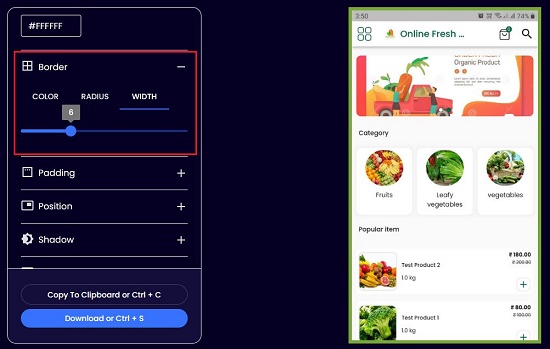
- Border: Specify the Border Width, Color and Radius (for rounded edges)
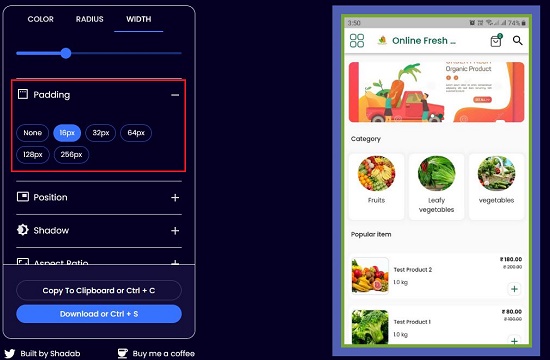
- Padding: Choose the Padding Size in pixels
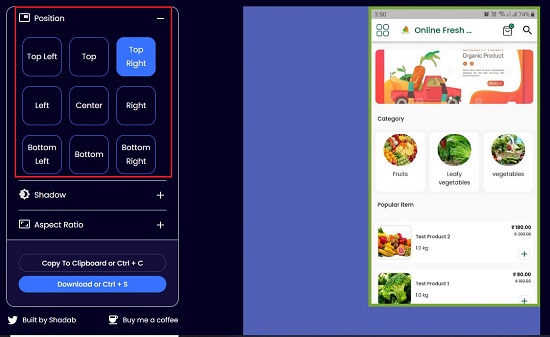
- Position: Choose the Position of the image from 9 choices like top left, top right, bottom left and more. This is effective only in case of a large padding
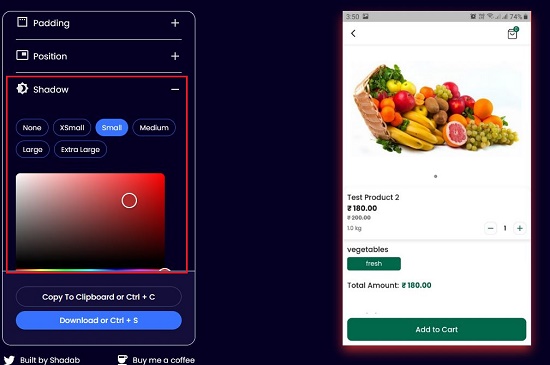
- Shadow: Select the size of the Shadow from 5 choices
- Aspect Ratio: Define the Aspect Ratio of the Screenshot like 16:9, 4:3, Square and more
Once you carry out the required changes, you can download the Screenshot in PNG format or copy it to your clipboard application.
I uploaded a few screenshots to Fabpic and carried out a couple of changes to improve its appeal. It worked beautifully without any hiccups and the results were far better than the original default Screenshot.
Here are the steps to be followed:
1. Navigate to Fabpic from the link present at the end of this article.
2. Click on ‘Image’ and then click on ‘Upload Image’ to upload your Screenshot from the local disk. Alternatively, you can also paste you Screenshot using Ctrl + V or Drag and Drop it at the specified location.
3. Click on ‘Background’ to specify the background color and gradient. Click on ‘Image’ in the background section to upload a background image for your screenshot.
4. Click on ‘Border’ to specify the border width and color. You can click on ‘Radius’ in this section to generate rounded edges.
5. You can create a Padding space between the Screenshot and the outside border by clicking on ’Padding’ and choosing a specific size.
6. In case you specify a large Padding, click on ‘Position’ to specify the location of the Screenshot from the available choices.
7. If required, click on ‘Shadow’ to define Size and Color of the Shadow
8. At the end, if you wish to specify an Aspect Ratio for your Screenshot other than the default, click on the relevant link.
9. Click on ‘Download’ or press Ctrl + S on your keyboard to save the finished Screenshot on your local disk. Alternatively, you can also press Ctrl + C to save the Screenshot to your clipboard.
Downside:
- Setting related to Aspect Ratio aren’t working and nothing really happens if you change it.
- There are some issues pertaining to Screen Refresh. Often when you make any changes, they aren’t reflected in the screenshot window in the right.
Verdict:
Fabpic is a very nice application Screenshot Editing Application. It doesn’t require any prior image editing skills that are often associated with the standalone graphics applications like Adobe Photoshop. The final rendered screenshot turns out to be far better and visually appealing than the default one and can be used in your documentation and videos.
Go ahead and try it out from this link and make for yourself some really Fabulous Screenshots.