Dome is a free online tool that enables you to seamlessly backup any kind of files such as JSON, Word documents, Images, Music, file-based databases and more with great features like custom dedicated URLs per resource, automated backup deletions, API key-based authentications, IP whitelisting and more.
Each resource (file) that you require to backup gets its own unique URL from Dome. To initiate the process of backup, the user simply needs to make a POST request to the unique URL and specify the file and its format. The data is backed up in memory stores (unique URLs) that are file based. This speeds up the process of fetching information as well as the overall operations.
How it Works:
1. Click on the link that we have provided at the end of this article to navigate to Dome and register for a free account using your Google credentials.
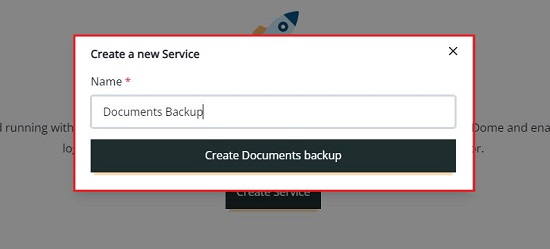
2. The first step will be to create a Service which is a key component of Dome that allows you to logically group the various resources for which you intend to create the backups. Click on ‘Create Service’, assign a Name to it, and then click on ‘Create’.
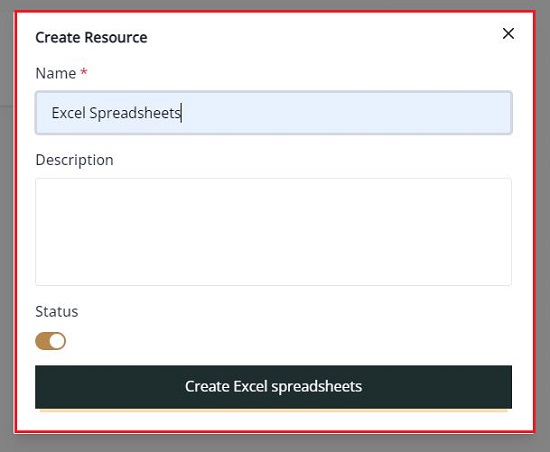
3. Next, you must create your Resource for the Service you just created above. Click on ‘Create Resource’, give a Name and optional Description to it, and click on ‘Create’.
4. Repeat the above process for creating additional Services and the Resources under each service.
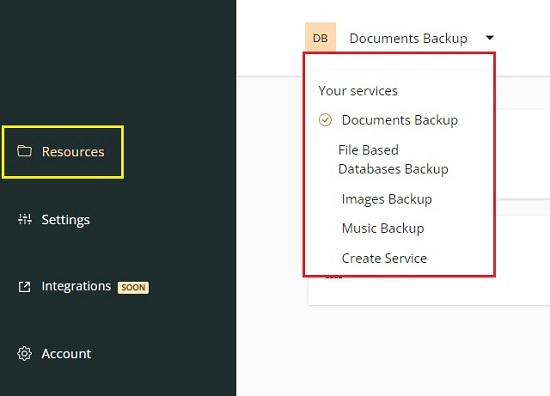
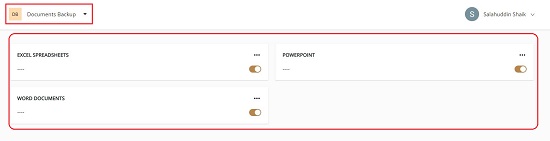
5. To view all the Services have been created, click on ‘Resources’ in the panel on the left side and click on the ‘arrow mark’ beside the current service name. When you click on any Service in the drop-down list, all the Resources that you have created under that Service will be displayed on the screen.
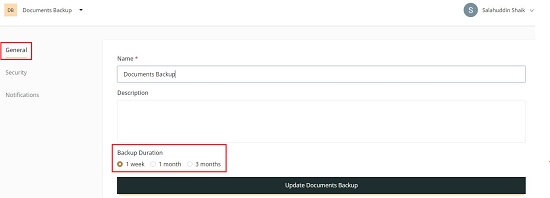
6. To specify the Backup Duration, click on ‘Settings’ in the left panel and choose from the available options such as 1 week, 1 month or 3 months. Click on Update Service to save your settings. You can specify the backup duration for every service that you created by selecting the service from the drop-down list as explained earlier.
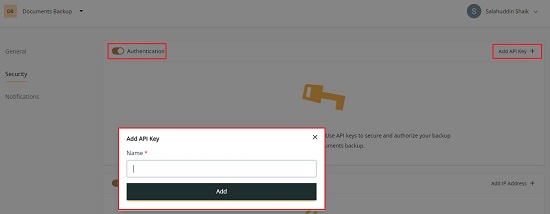
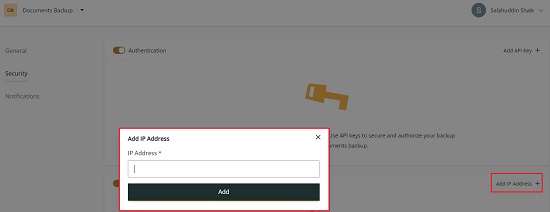
7. To secure and authorize your backup requests, click on ‘Security’ as indicated in the screenshot below, enable ‘Authentication’ using the toggle switch and click on ‘Add API key’ for the selected Service. You can also add an extra layer of security by ensuring that only the requests from whitelisted IP addresses are able to backup your resources. For this, you must enable IP Whitelisting using the toggle button and click on ‘Add IP address’ to specify the whitelisted IP addresses.
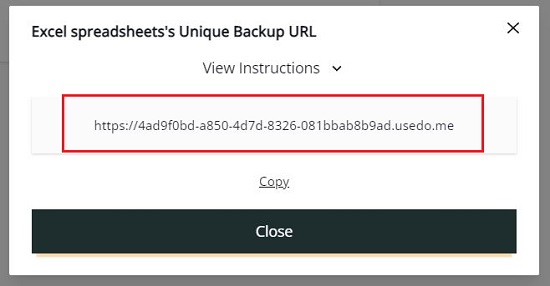
8. Finally, to get the Unique URL for any Resource, select the Service using the drop-down list at the top, click on the 3-dots icon next to the Resource, and click on ‘View URL’. You can copy this URL and send the POST request to this URL in any language you desire. You can even use command line utilities such as CURL.
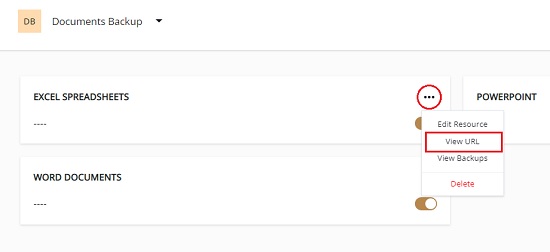
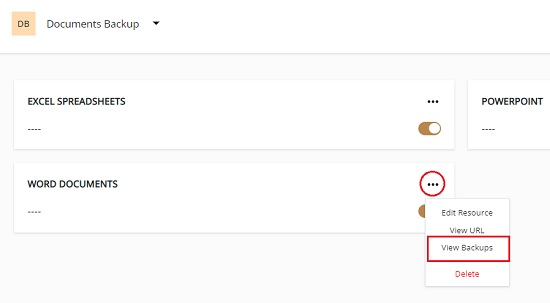
8. To view your backups, click on the 3-dots icon and choose ‘View Backups’
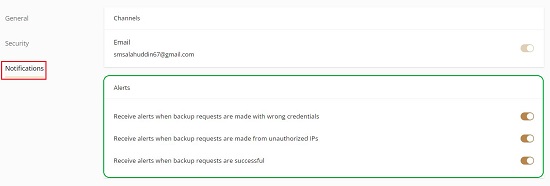
10. To enable backup notifications, click on ‘Notifications’ as shown in the screenshot below and enable the alerts that are required using the respective toggle buttons.
Closing Comments:
Dome is a fine tool especially for software developers and others to easily automate file-based backups and focus on the issues that really matter. You can decide how long you want the backups to be stored, and which notifications to receive for the various resources. It also allows you to enable API based authentication and IP whitelisting to authorize and secure the backups.
Click here to navigate to Dome