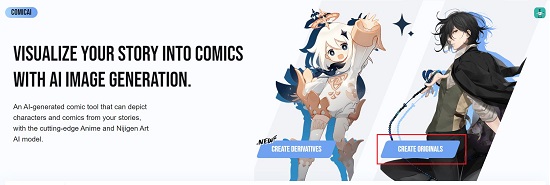
Comicai is a free AI-powered tool that enables you to convert any story into high-quality comics and manga without the requirement of any creative or drawing skills. All that you are required to do input the story in simple natural language and Comicai auto-generates the scripts, designs the characters and fashions all the visuals with ease based on your original idea.
Comicai depicts characters and comics from your stories using the cutting-edge Anime and Nijigen Art AI models. It is a great endeavor for all those people who are truly passionate about making visual storytelling easily accessible to everyone but do not have the necessary drawing skills to go about achieving it.
Working:
1. Click on this link to navigate to Comicai, click on ‘Start for free and register for a free account using your Google or Discord credentials.
2. Since the product is still in the Beta stage, you require an invitation code to try it out. Click on the link provided on the screen and follow the instructions to get an invitation code from the Comicai Discord channel.
3. Paste the invitation code in the text box and click on ‘Submit’ to get started.
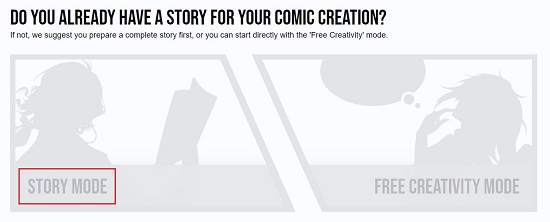
4. Click on ‘Create Originals’ and then click on ‘Story Mode’ to continue. If you do not have a story ready, you can click on ‘Free Creativity Mode. This mode provides you with ideas for your story as well as enables you to create your characters on the fly using natural language text prompts.
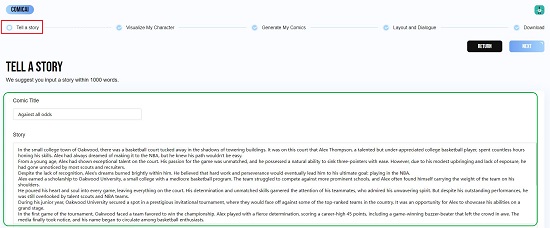
5. Step I: Tell a Story – Now, in Story Mode, type / paste the Comic Title and Story in simple natural language text and click on ‘Next’ to move to Step II. You can also upload a file containing your story in TXT or PDF format instead of pasting the text.
6. Wait for some time while the AI Art Models of Comicai visualize all the characters of the story, create the panels and write the dialogues for you.
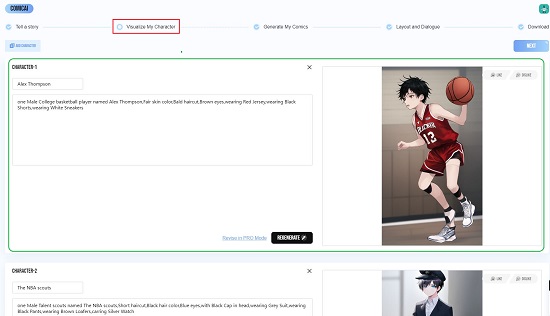
7. Step II: Visualize My Character – In this step Comicai will present the characters based on the story that you have chosen. You can scroll down the page and go through all of them. Each character will have a name and the natural language text prompt that was used to generate the character will also be displayed. You can edit the prompt and click on the ‘Regenerate’ button to rebuild the character once again if you aren’t satisfied. Also, you can click on ‘Add Character’ at the top left to insert additional characters if you needed. When you are satisfied with the number of characters and their appearance, click on ‘Next’.
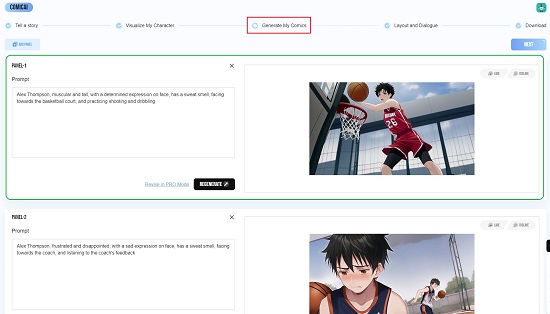
8. Step III: Generate My Comics – This step allows you to visualize the Comic Panels along with the text prompt used for their generation. Like earlier, you can scroll down to go though the list of panels, modify the text prompt and regenerate them if required. You can also create additional panels if the need be. Once you are through with this step, click on ‘Next’.
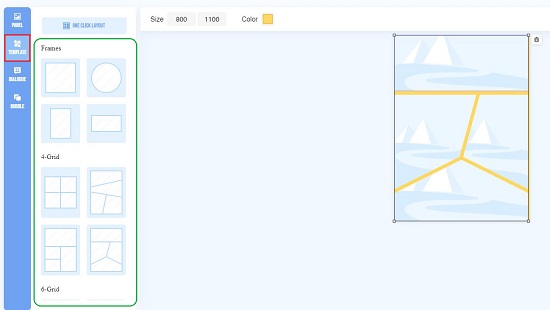
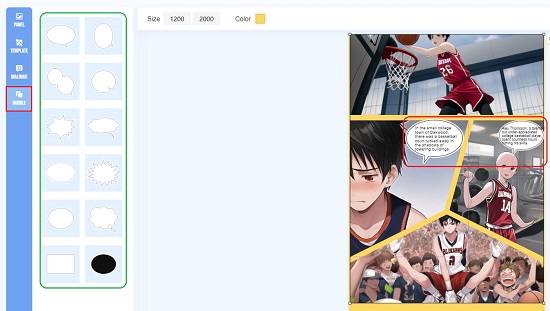
9. Step IV: Layout and Dialogue – In this step you will be allowed to choose the Size and Template of the comic, select the Bubbles and arrange the Dialogues accordingly. Specify the size of the page in Pixels and select the background color using the toolbar at the top. Next, click on Template in the panel on the left side and choose anyone that you desire from the Frames, 4-Grid or 6-Grid options. Adjust the size of the Template to fit the page or as per your custom requirement by dragging its corners.
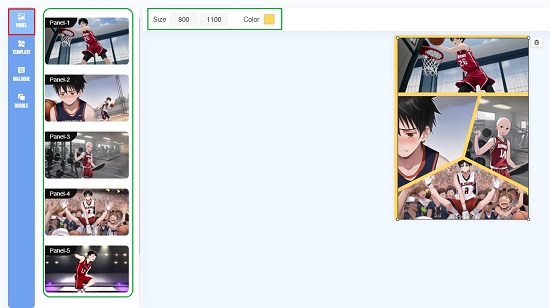
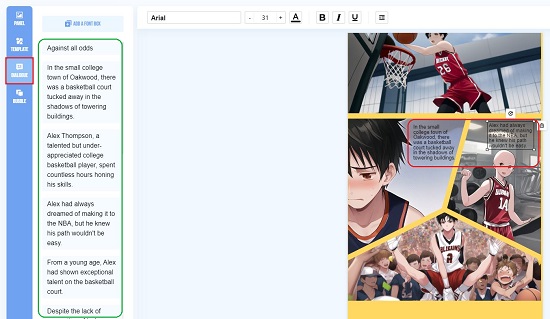
10. Now, click on Panel and one by one, drag and drop all the panels on to the frame or grid. Repeat the same process to fill up the entire page. Next, click on ‘Dialogue’ and insert the required dialogues into the panels by clicking on them. You can easily drag and move the dialogue boxes to the appropriate positions next to the required characters. Finally, click on ‘Bubbles’, select the Bubble that you desire from the available choices and click on them to add them to the panels. Like earlier, you can drag and move the bubbles to the required positions so that the dialogues appear inside them correctly. Click on ‘Next’ when you are through with this step and have verified the entire comic.
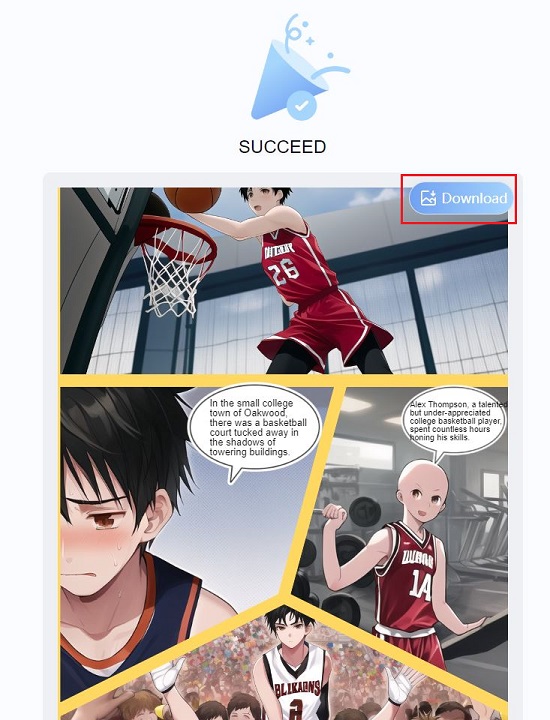
11. Step V: Download – Click on ‘Download’ to download the comic to your computer in JPG format and use it wherever required or share it with others.
12. As stated earlier, if you do not have a Story to begin with, you can select the ‘Free Creativity Mode’ that inspires you with ideas about your story and also helps you to generate any character on the fly using text prompts. The remaining steps in the creation of the comic are much the same.
Closing Comments:
Since the product is still in the Beta stage, you many encounter some issues in its functionality. But overall, I feel that Comicai is a great product that revolutionizes the way you can create Comics by just starting with a story while sitting back and watching the magic of the characters and panels being created automatically. What’s more, you do not require any drawing or creative skills to use Comicai.
Go ahead and try out the product and let us know what you think. Click here to navigate to Comicai.