In this post, I will explain how to serve WordPress media files from external cloud such as Amazon S3, DigitalOcean Spaces, Google Cloud Storage, and Azure. WP Cloud is WordPress plugins that lets you do that after syncing your site content with any of the aforementioned services. Just install the plugin, configure the storage, and then serve files from it. This plugin also keeps syncing the newly uploaded media files to your cloud storage as well. The UI is very simple and you can have multiple storage configured here but use only one or none. The synced content is served from the cloud while the un-synced content is served from media gallery.
If you want to serve your WordPress media files from an external source, then use WP Cloud. This can be useful in many cases for example if your host is slow then you can just start serving files from cloud. Or, if you want to keep backup of media files then this is helpful too. The UI is very simple and all you need is cloud storage account. For now, it only supports Amazon S3, DigitalOcean Spaces, and Google Cloud Storage. Except for DigitalOcean, the other two offer a free tier that you can activate after adding a valid billing method.
How to Serve WordPress Media Files from S3, DigitalOcean, Google Cloud?
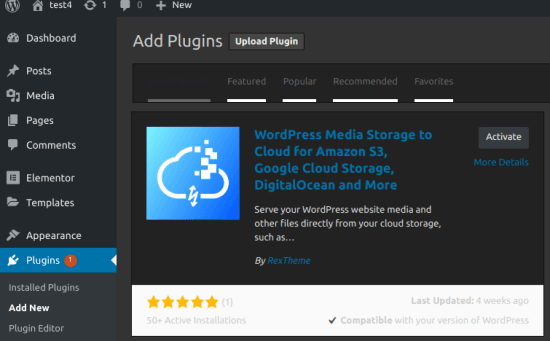
In order to simply server website content from external storage, you just have to use WP Cloud. You can install this plugin in the same way you install other WordPress plugins. Just look for it in the plugins directory or you can use this link to find it. Install it and then activate it to proceed with the configuration.
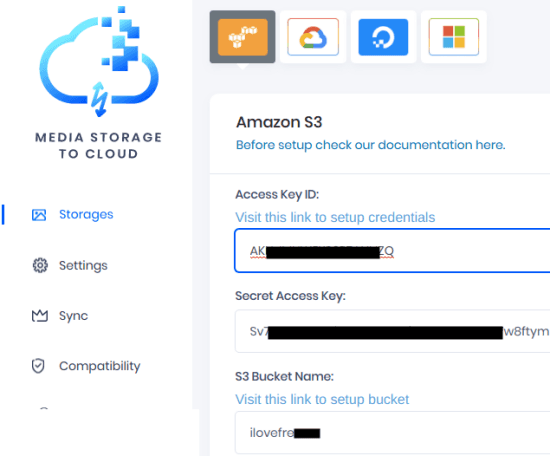
In my case, I am adding Amazon S3 storage so specify the correct credentials here such as AWS access key id, secret, and region. However, here you will have to create a new user with S3 full access policy in order to configure the plugin The whole process how to do that is mentioned here.
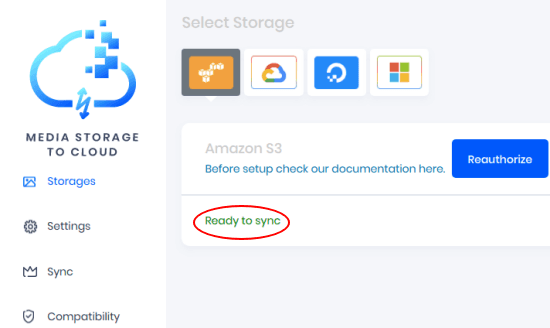
When the credentials are correct then it will add the storage there and will show you the sync option.
Now, you can simply start syncing the website data with your storage. In the plugin, go to the “Sync” section and then select the sync method and start syncing the data. It will take a while for it to sync all data and you can see its progress right there. But do not refresh the tab while it is syncing the media files with the storage.

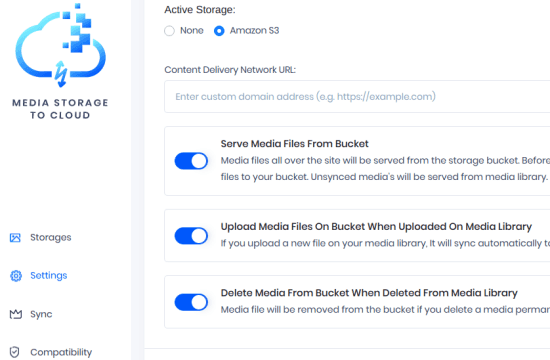
After the sync operation completes, you can now opt to serve the files from the cloud. From the “Settings” section of the plugin, you enable configured storage(S3 in my case) and then enable the other options. If you want to automatically sync the newly uploaded or deleted files from the media gallery to cloud then you can specify that. But make sure that storage you have selected is synced and the finally save the changes.
This is it, this is how you can configure the WP Cloud plugin and then server the content directly from cloud. It has two advantages; speed and security. If unfortunately your hosting service shuts down then you will have backup of all the data. Also, the plugin gives you freedom of switching between the different cloud storage anytime you want. But you need to make sure they are synced before you activate them. Only the synced files are served from the cloud, the un-synced files are served from the local storage.
Final words
If you want to offload your WordPress media and serve it from an external storage then WP Cloud can help you with that. Just configure the storage that you have and then leave the rest on it. You will however have to sync the data in the beginning and then it will keep doing that automatically. I really liked the concept of serving files form a cloud and the way WP Cloud lets you do that. The UI is simple and I liked the fact that you can switch between the storage anytime you want.