A Timeline is a visual display of a list of important events in their chronological order, starting with the earliest and moving ahead with time. It basically consists of a graphic design with a long bar labelled with dates parallel to it and depicting the events that you want to enumerate.
Timelines are extremely useful for studying History, Biographies and more, as they convey how things change over a period of time. For example, Wars, Social movements, Revolutions etc. are often shown as timelines in History books as students can easily understand the relationship between various events that have occurred during those times and correlate them.
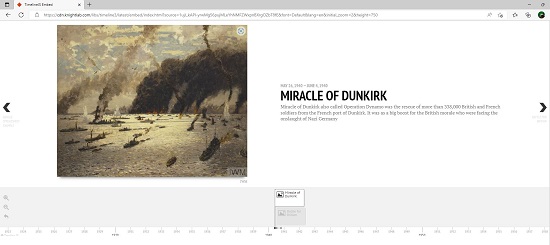
In this article, we will be discussing about how you can easily make a beautiful and interactive Timeline using TimelineJS which is a Free open-source tool that anyone can use to generate visually rich and appealing timelines with which you can freely interact. It is released under the Mozilla Public License (MPL), that means you are free to use, modify, distribute it etc. without any permission.
If you are a beginner, you can create a timeline by using a Google Spreadsheet template provided by TimelineJS. But if you are an expert developer, you may as well use your JSON and other programming skills, to create highly customized installations built on the core functionality of TimelineJS.
How it Works:
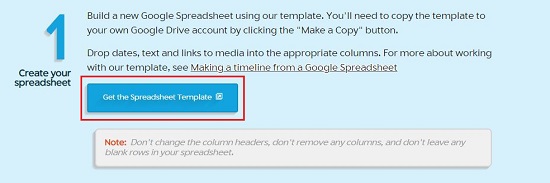
1. Login to your Google Account and navigate to TimelineJS using the link provided at the end of this article. To create a new Spreadsheet using the TimelineJS template, click on ‘Get the Spreadsheet Template’ and click on ‘Make a copy’ in the page that appears.
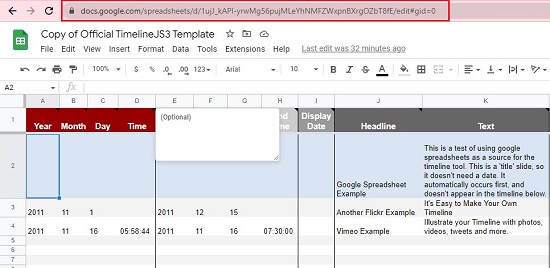
2. Type the data related to your Timelines in the Spreadsheet, such as Start date and time, End date and time, Headline, Text description etc. Ensure that you do not change any column headers, remove any columns or leave blank rows in the spreadsheet.
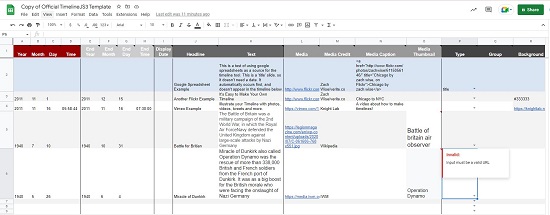
3. You can also insert any Media into your Timeline by pasting its URL, Caption, Thumbnail etc., in the respective columns in the spreadsheet. You can use Media from a variety of sources such as Twitter, YouTube, Vimeo, Google Maps and more.
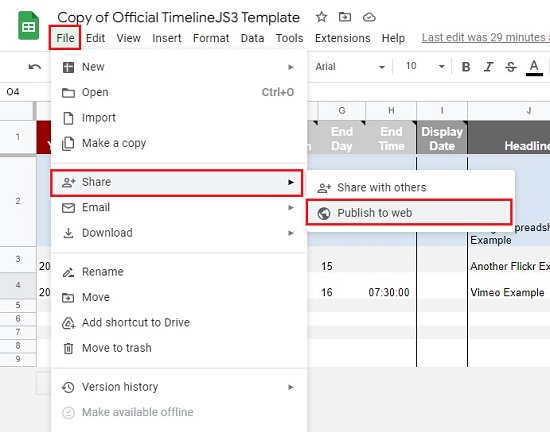
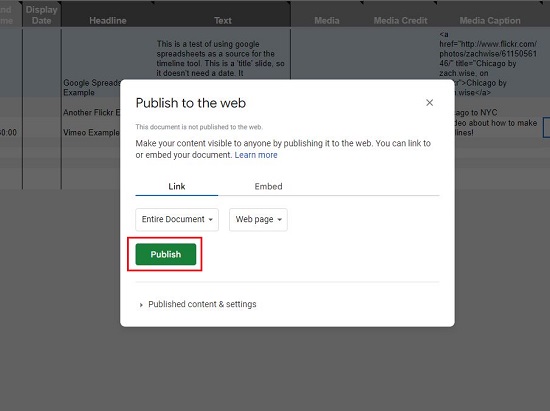
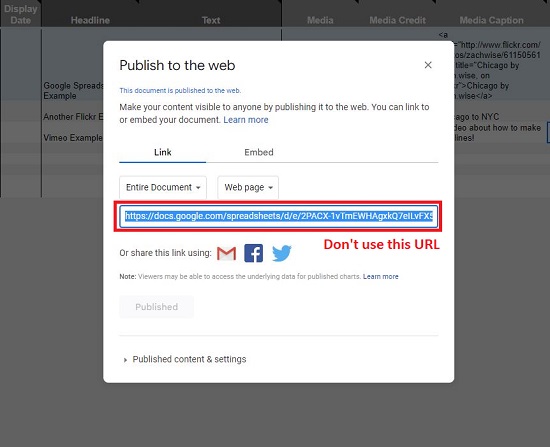
4. Now, click on the File menu and then click on Share | Publish to Web. In the next window, click the green colored button ‘Publish’ and confirm the same when prompted. Just ignore the URL that appears and close the windows.
5. Next, copy the URL that is displayed in the address bar of your browser and paste it at Step no. 3 on the Timeline JS Page. (Link available at the end). You can customize the width (percentage) and height (pixels) of your timeline using the relevant boxes.
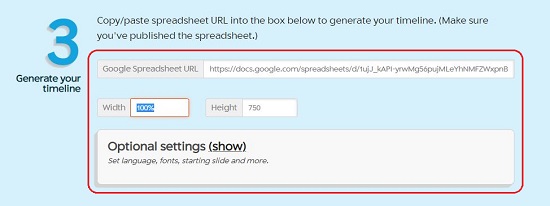
6. To configure the Language, Font type, Zoom level, Default start slide and more, you can click on ‘Show’ and carry out the necessary customizations.
7. Copy the URL displayed below ‘Share Link’ at Step no. 4 on the TimelineJS page and use it in your browser to directly navigate to your Timeline.
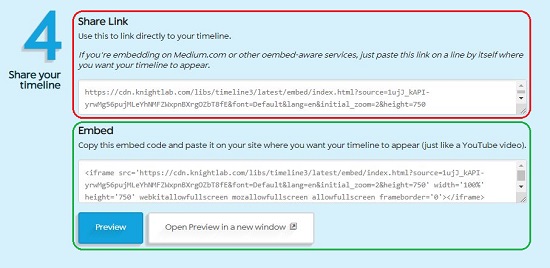
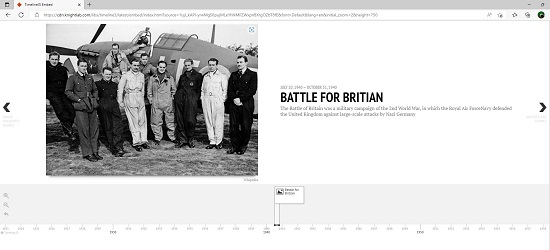
8. If you want to display the Timeline on a webpage, use the Embed Code available at Step no. 4. You can click on ‘Preview’ to visualize how the Timeline will appear when you embed and use it on your webpage.
Once a Timeline is Published, any changes that you make in your Spreadsheet are automatically reflected in the Timeline without the need to repeat the ‘Publish to the Web’ step.
You will receive an error message saying ‘Invalid Google URL’ at Step no. 5 above if you use the URL from the ‘Publish to the Web’ popup box. You must remember to use the Google Sheets URL from your browser’s address bar.
If you aren’t happy with the Font size, color, and other elements, you can override the CSS of TimelineJS and exercise complete control over the look and feel of the timeline. All this and more detailed documentation is available on the TimelineJS page in the section titled ‘Technical Documentation’.
Final Comments:
After testing TimelineJS, I was really impressed by the simplicity, ease-of-use, and flexibility of this tool. The Timelines that are generated are indeed very rich, interactive and visually appealing. You can further enhance and customize them if you have the required JSON and CSS skills. Go ahead and use this tool to create any Timelines that you may require in your studies, at work or for personal use.
Click here to navigate to TimelineJS.