If you have used Snapchat then you might be aware of the term “Camera Filters“. It’s a collection of filters and frames that you can apply on your phone’s camera in real time. Facebook also has a similar feature called “Camera Frames” which you can use in the Facebook app.
This article covers a simple tutorial to show how to create custom Facebook Camera Frames. By following this simple tutorial, you can learn how to create and publish your own custom frames for Facebook Camera. Once published, your frames are made available on Facebook Camera from where anyone can use them.
Also read: How To Delete Sent Messages on Facebook Messenger?
How to Create Custom Facebook Camera Frames?
Creating your own custom Facebook Camera Frames is very easy. All you need is a picture of the frame with transparency and a Facebook account.
You can use software like PaintdotNet, GIMP, Krita which are available for free. You can also use premium software like Adobe Photoshop, Affinity Photo, etc. as well. In case, you have no photo editing experience at all, you can use these software to easily remove the background from a photo and in order to make a frame.
Once you have the frame photo, visit this link and log in with your Facebook credentials. This opens the Facebook Frame Studio where you can create Facebook Camera Frames.
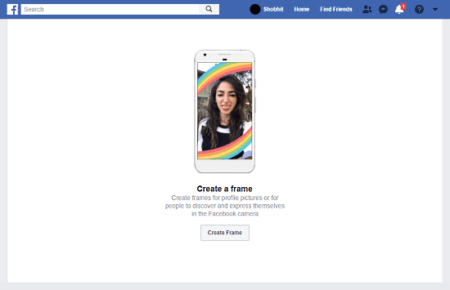
Since you haven’t created any frame yet, so, Frame Studio shows you an option to create a frame. Otherwise, simply tap the Open Frame Studio button.
Both these buttons open a window on your screen where you can create a frame. From here, creating a Facebook Camera Frame is a simple 3-step process.
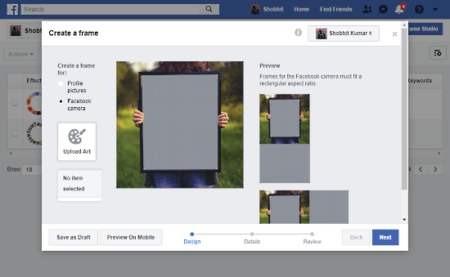
Design:
To create the Facebook Camera Effect, select the “Facebook Camera” option under “Create a frame for” option on the top left side. Then, upload the frame photo you have created earlier. Resize and reposition the frame to fill the whole area or however you want it to be positioned. This window also shows you a preview of how the Camera Frame will look like on portrait and landscape orientations. After finalizing the frame position, click the Next button to move to the next step.
Details:
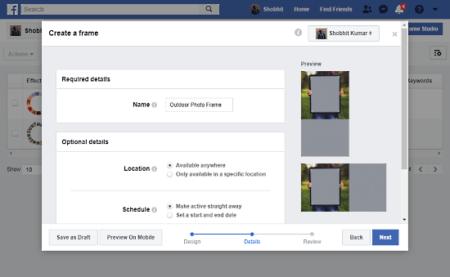
In this step, you have to enter the details for the frame including name, tags, location, and schedule. The name field is required whereas the rest of the details are optional.
Review:
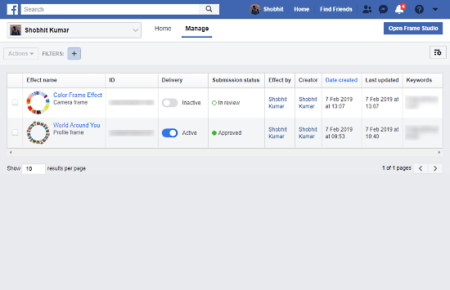
After this the Details step comes, your frame is in the review state where it will be reviewed by Facebook. It usually takes a few hours and then the frame is made available on Facebook. You can check the review status in under the Manage section of Frame Studio. This way, you can easily create Facebook Camera Frames.
Create custom Facebook Camera Frames here.
Closing Words:
Creating Facebook Camera Frames is a simple process. By following this tutorial, you can create your own custom frames for the Facebook Camera and publish them on Facebook.