This tutorial explains how to remove silence from starting and end periods of audio files.
Batch Audio Silence Remover is a free software that helps to remove silence from multiple audio files together. It simply scans silence at the beginning and end of input audio tracks and removes silent part(s) automatically. You can also set percentage of scanning area. For example, you can set 10% to scan silence at the beginning/end of total duration of audio files.
It’s a handy software to remove unnecessary start and end parts from your audio files. Moreover, it will also help to trim size of your audio files. Audio quality is not compromised for output files which makes it more efficient.
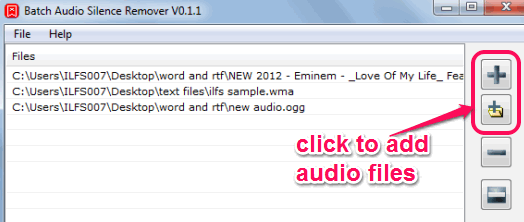
In above screenshot, you can see interface of this software where you can add multiple audio files for processing.
We have also covered 5 free ringtone maker software.
How To Remove Silence from Audio Files Using This Freeware?
First of all you need to download this Batch Audio Silence Remover software. You can use the link present at the end of this review. It comes in a zip file which is 7.07 MB in size. Its installation process is very basic, so you will install it very easily.
To remove silence from start and end periods, use these steps:
Step 1: Open its interface and add audio files using Add Files or Add Folder button. It supports multiple audio files, like mp3, wma, and ogg.
Note: This software also supports drag n drop feature, but in my testing, it didn’t work. Also in ‘Open’ window, it shows that it supports Video file types as well. But it is able to add only audio files.
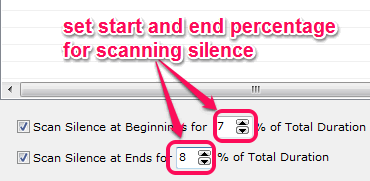
Step 2: After adding the audio tracks, you can set silence scanning percentage for beginning and end periods of input tracks. By default, it is set to 5% for both ends. But you can increase decrease this value according to your need using available buttons.
Step 3: This is the optional step which you can even skip. This step helps to set a threshold limit of audio level and adjust attack & release time (in ms) for audio files. All these options help to find out if an audio file contains silence part or not. For too noisy or high quality audio tracks, this would be helpful to categorize which audio files are with silence parts and which not.
Leave all options settings by default if you are not sure about correct input value. Otherwise it will result in an error while analyzing the input files for processing. If you want to use, then access Options present in File menu to set audio threshold value and attach & release time.
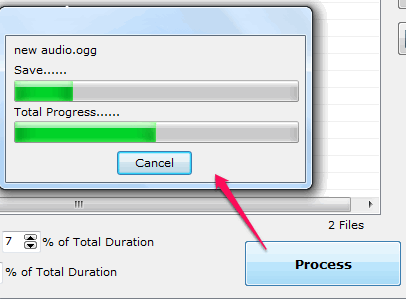
Step 4: This is the last step in which you need to tap on Process button. After this, it will prompt you to select destination folder for storing output audio files.
Select your destination folder and all input audio files will be first analysed, then processed, and finally saved to destination folder.
Conclusion:
Batch Audio Silence Remover is really handy to remove unwanted silent parts occupying unnecessary space. It will also trim audio files size and just the relevant audio tracks will be left for you.


